How to Draw a BMW
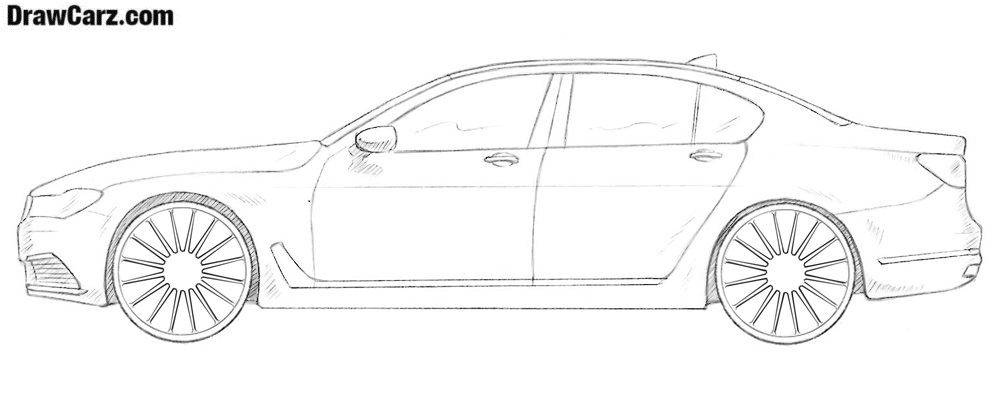
Today the team of DrawCarz.com will show how to draw a BMW – a high-quality German manufacturer of cars, motorcycles, and even bicycles. At first, they specialized in aviation and brakes for trains. But then they decided that it was much more profitable to create cars.
How to Draw a BMW
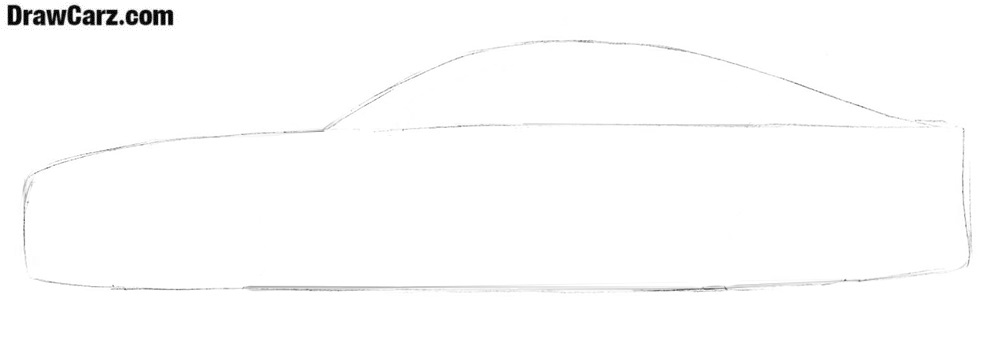
Step 1
With the help of very coarse and common lines, we depict the contours of our BMW. The lower part is a rectangle, and the upper part is sketched with a long curved line.
Step 2
Make the shape more similar to BMW. Sketch the integral parts, such as the windows, mirror, headlights, and taillights. Also depict the wheels using two circles.

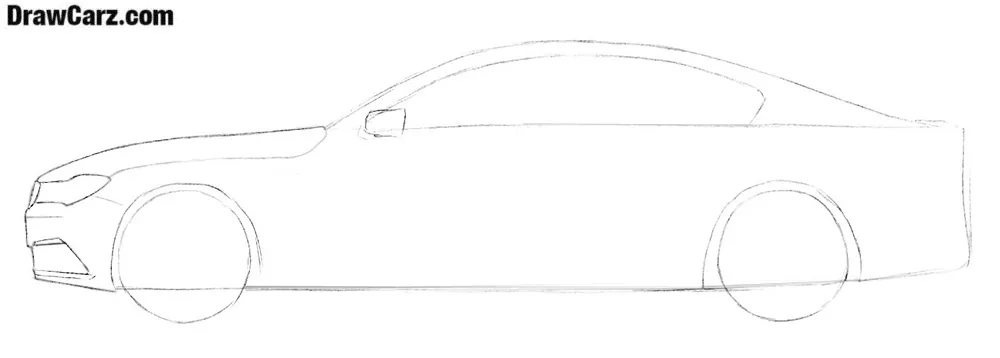
Step 3
The main elements are ready, let’s get down to the smaller details. Let’s start by depicting the bumper and headlight. Do not forget to depicture the hood and remove unwanted lines.
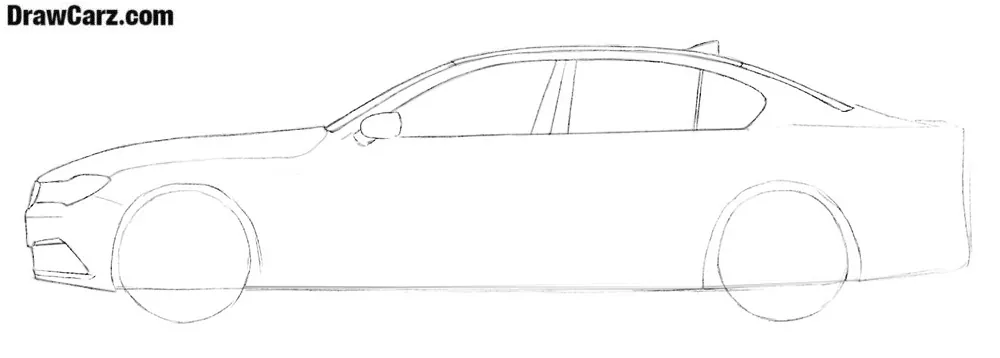
Step 4
Now gently depict the windshield, roof, and rear window. In the fourth step, we also depict the windows and mirrors of the BMW.
Step 5
It is very easy to draw the details of the back part of the BMW. Here we will only need to draw the contours of the trunk, rear light, and rear bumper.
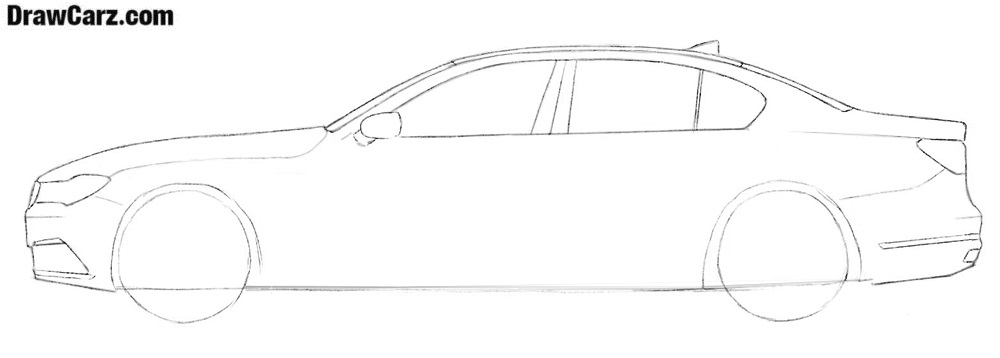
Step 6
Now let’s erase the auxiliary circles – now we will not need them. Next, draw out the doors and handles of our cool premium car.
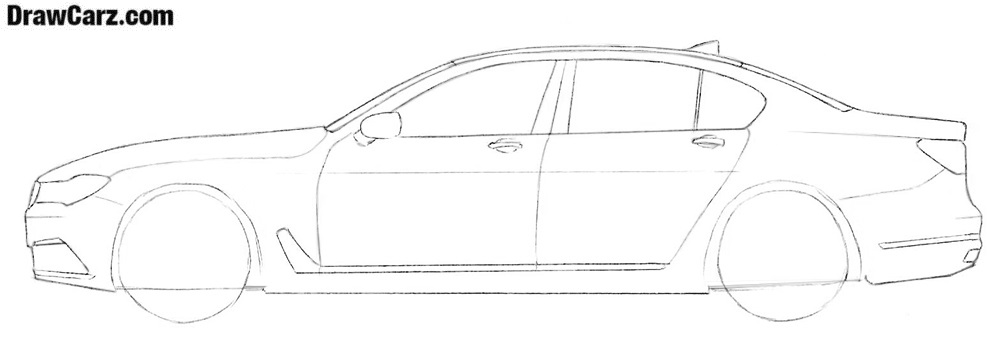
Step 7
Now draw the perfectly round tires and outlines of the rims. Next, draw the spokes of the rims, as shown in the example below this text.
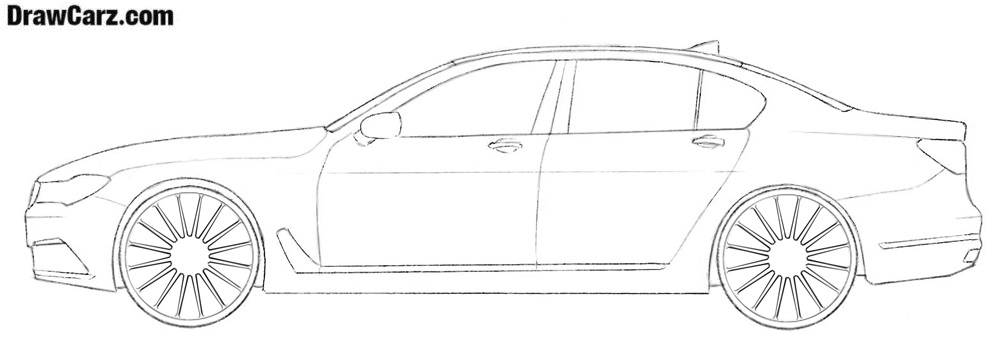
Step 8
Our BMW is almost done, and now we need to give it a more cool look. For this purpose, we will outline the shadows as in the example below.

This lesson was devoted to how to draw a BMW. You can draw this car either directly from our website or print the steps of this lesson. You can also paint this BMW in your favorite color.


I love this app
Thanks
me to
very nice app if you want to draw the perfect car
It helped me with my homework and the results are good.
This app is the best because it makes my family think I can draw good