How to Draw a Car
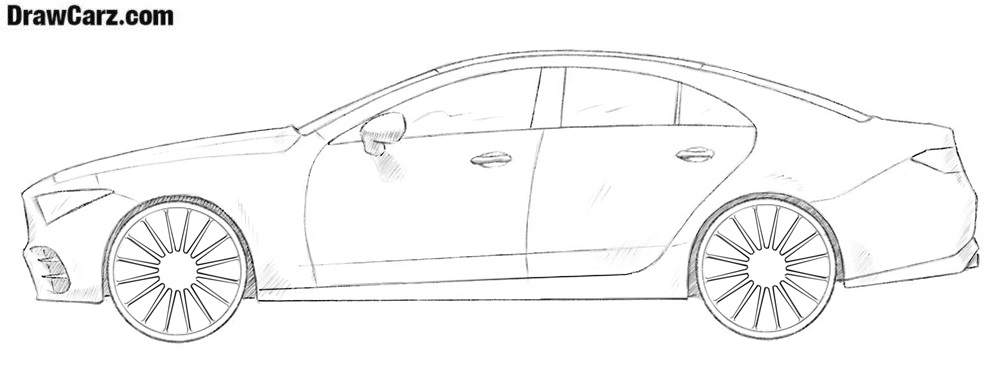
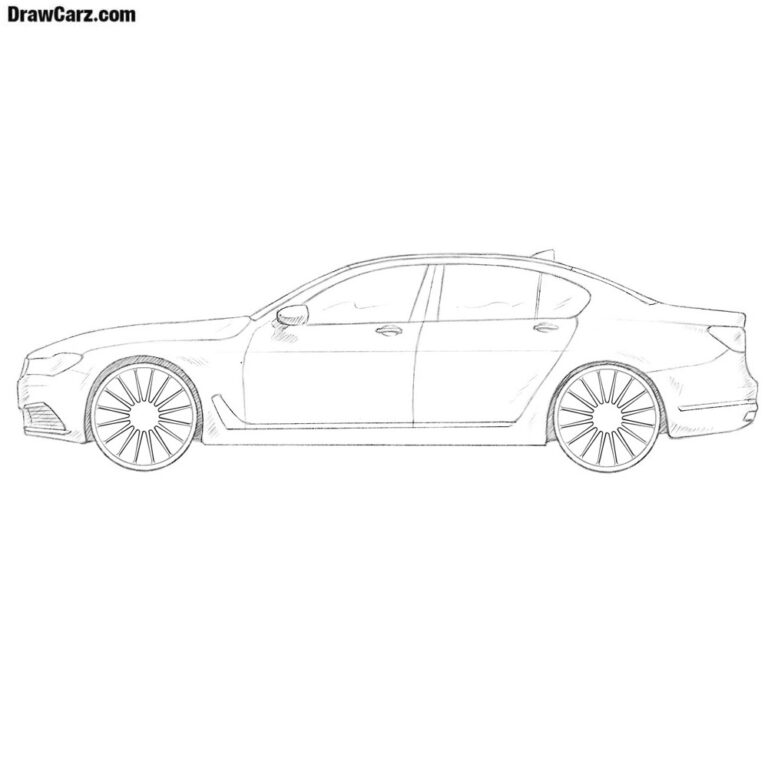
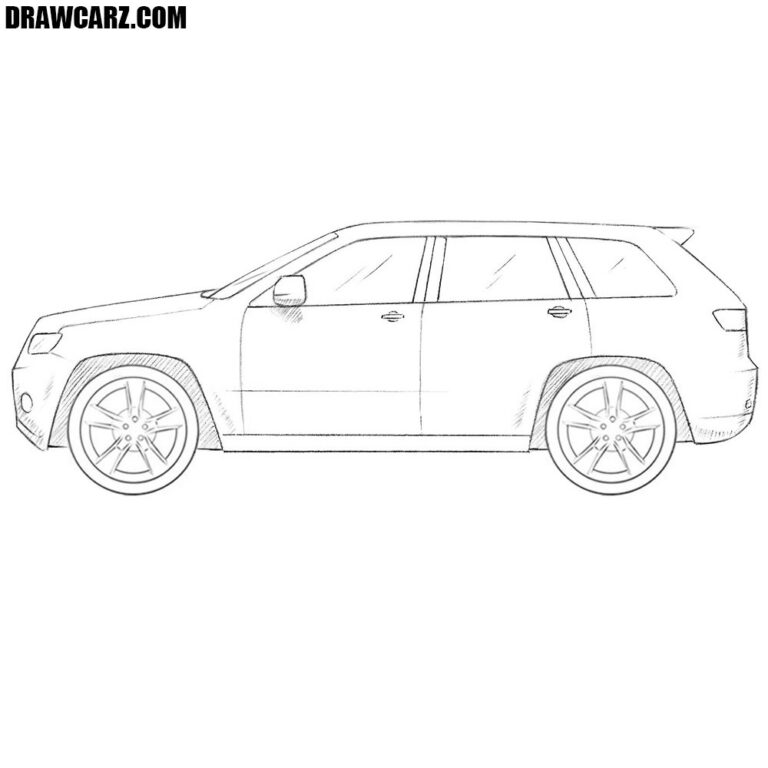
Our site is called DrawCarz.com and here we show how to draw cars, both the most simple cars and sports cars of the highest class. Basically, all cars are in our site drawn in approximately the same way, and therefore you need to know the very basic principles, methods, and tricks for drawing cars. So in this step by step drawing instruction, you will learn how to draw a car very easy and quick.
How to Draw a Car
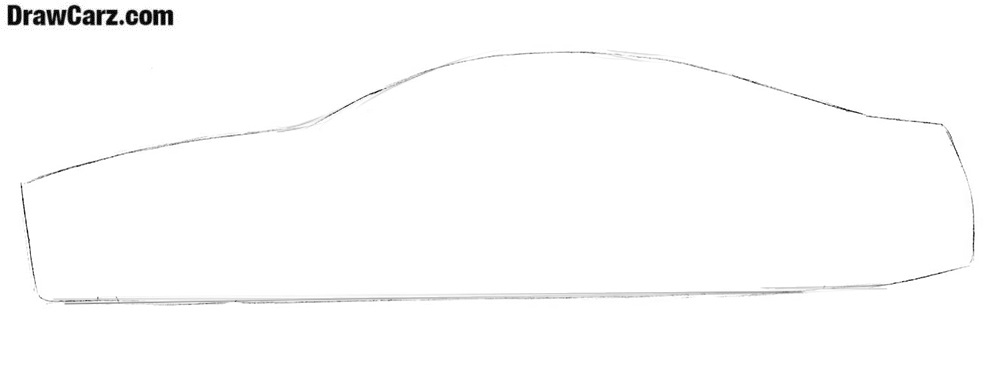
Step 1
Let’s start with a sketch. We do it very roughly (within reasonable limits). At this stage, it is not necessary to draw perfectly neat lines so that we have a chance for corrections if we make mistake. So, depict the contours using coarse and general lines.
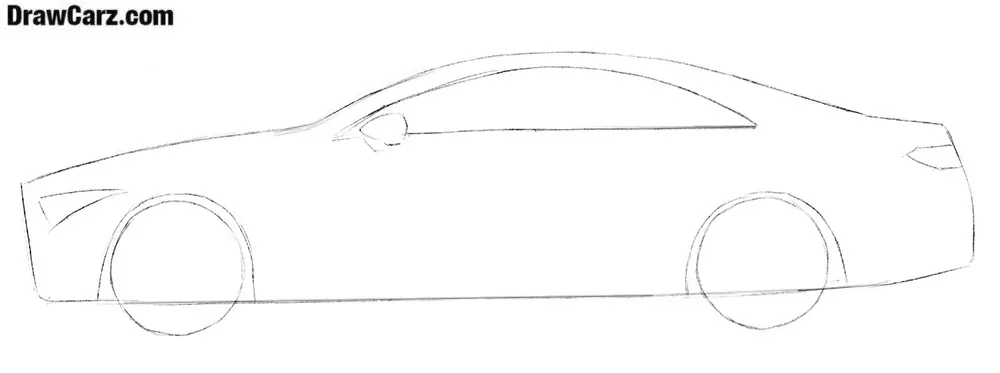
Step 2
The approximate shape of the car is drawn, but our draft is not similar to a car. In order to fix this situation, we design the most basic details. Using contour lines mark the windows, headlights, and wheels. All the details also differ depending on the models, but their location is about the same.
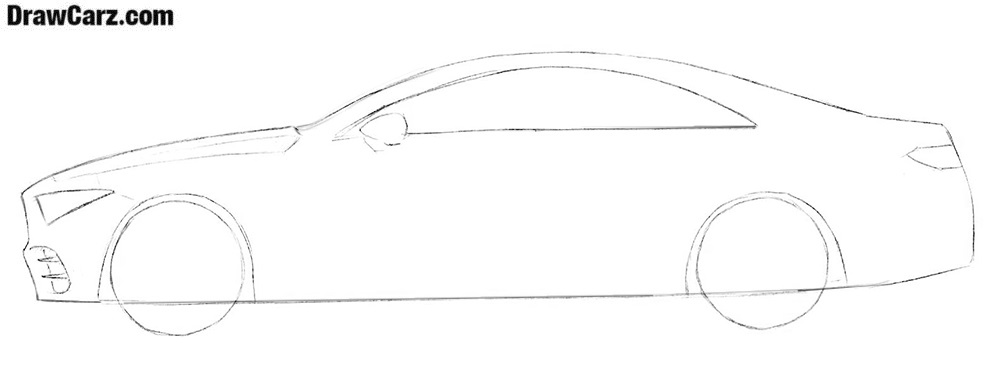
Step 3
Starting from the third step we start working with trifles and details. Depicture the hood and the headlights. In this very step, depicture the grille and remove the auxiliary lines from the front part.
Step 4
Depict the roof, which smoothly passes into the back. The roofs of different cars look completely different, in our example, it is very low and flat. After that, give the windows of the automobile a more complete look, delete the needless auxiliary lines.
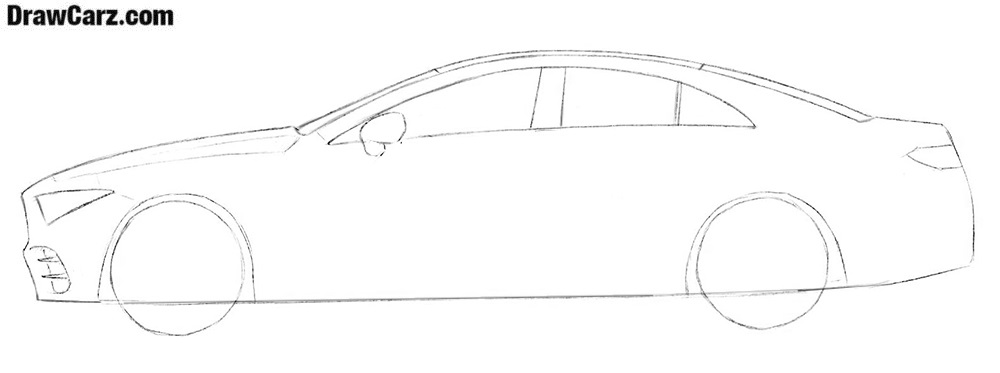
Step 5
Repeating all the manipulations, with each step in front of you will get the subject, more and more like a car. Step number five will be dedicated to the rear part. In the same fifth step, we are drawing out the taillight and the exhaust pipe.
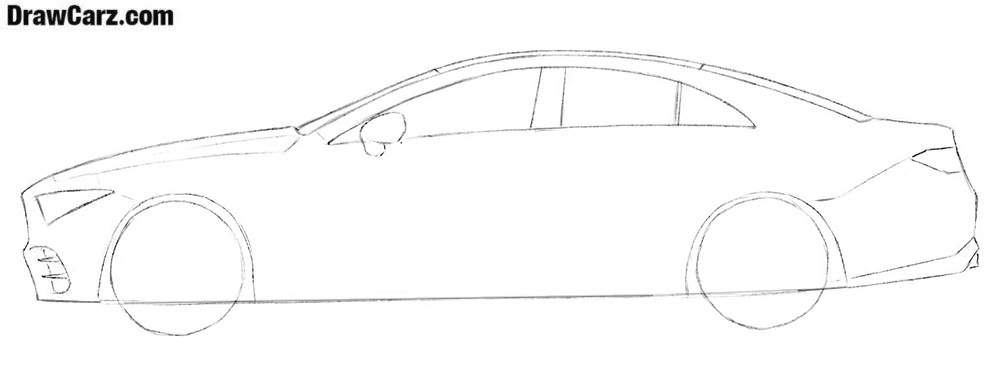
Step 6
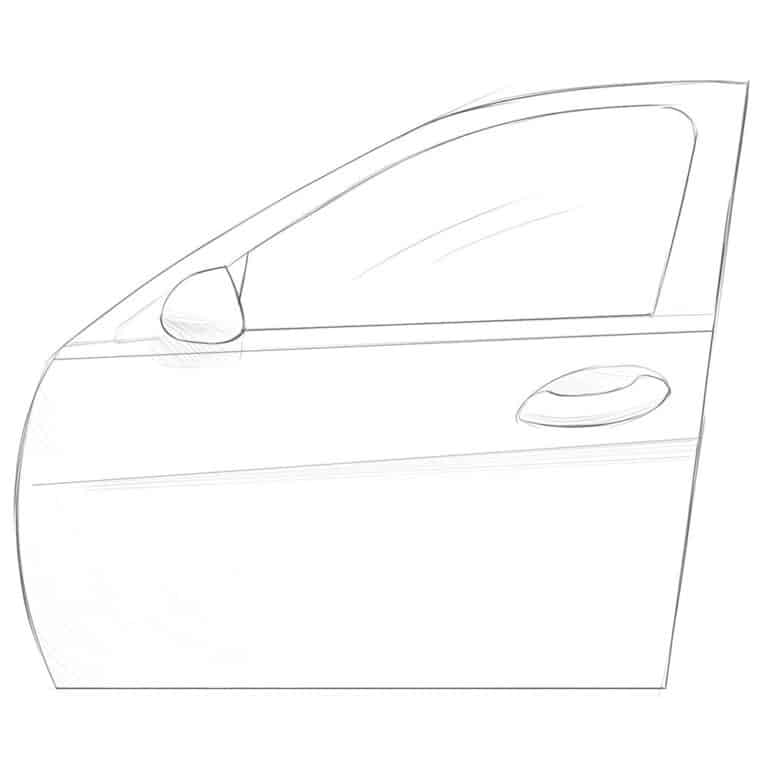
Now it’s time for the doors. In the drawing of the car, we see the car from one side only, so we draw two visible doors. Be sure to add lines on the body and handles (which are very different depending on the car).
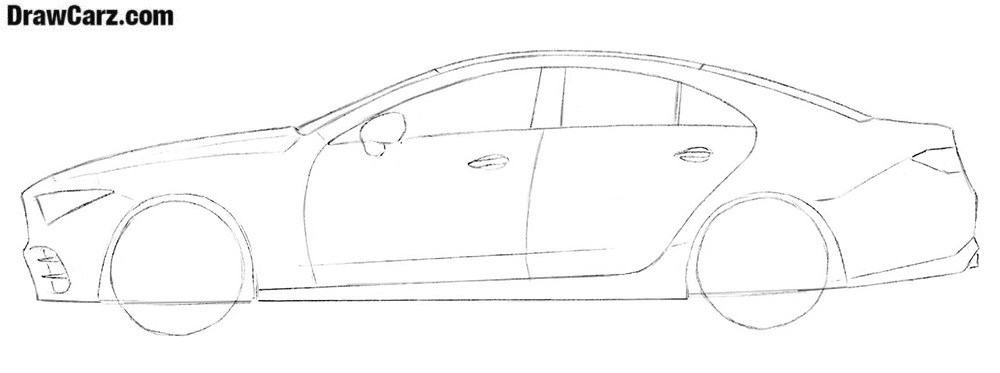
Step 7
Mandatory elements of any car – wheels. They should be even and of equal size. To make the wheels look good, add rims inside the wheels. If you did everything as shown in the instructions, you should get the correct form of the vehicle. Now you can gently erase all remaining guidelines.
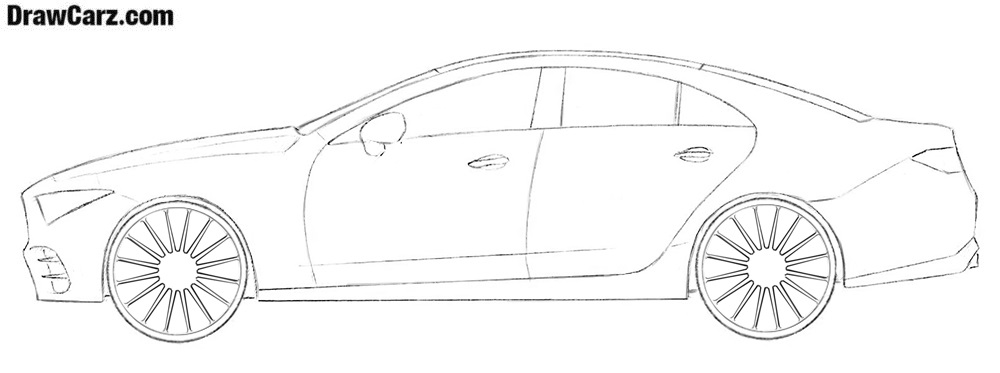
Step 8
The car drawing is almost done, and then in the eighth step of this step-by-step instruction on how to draw a car we should draw out the shadows. These actions must make the body of the car bulky and give some dynamics to it.
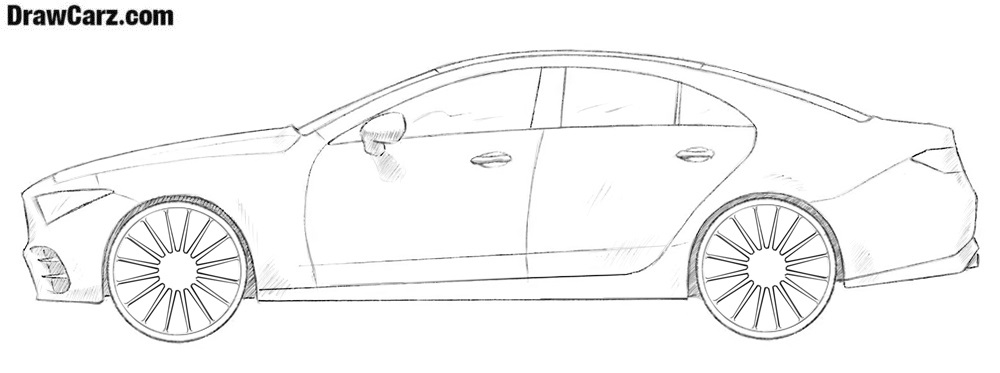
The team of DrawCarz.com today tried to teach you how to draw a car. We have described the most basic principles and tips for drawing a car, which can be useful for drawing a variety of brands and models. This drawing guide is not complicated and having mastered it, you can sketch a car of any brand. As you understand, our site is about how to draw different cars, so that in the future we plan to create a lot of cars based on this guide.

How to Draw a Car: Video Tutorial
How to Draw a Car: Conclusion
On this site, we show and tell you the process of sketching cars strictly from the side, but for the most obvious purposes, we decided to make some more lessons, in which we will depict this very car (in our example it is a Mercedes CLS) from all sides. Thus, in a short time on our site, there will be lessons about cars with a top, rear and front view. In addition, on DrawCarz you will learn how to draw any individual parts of the interior and exterior. And as you understand, we will show all these little things using the external and internal forms of the Mercedes-Benz CLS. In addition, you can paint your car in your favorite color. We love black in cars very much, but no one bothers you to show imagination and paint your car in the color of hellfire or the color of the hip of a frightened nymph. So, if you want to draw the same way, then welcome to the DrawCarz.com.


like the car
YOU ARE A … !!!!!
HELPFULLLLLLLLL
thnx a lot very elpful
Helpfull
HI every one my name is Bad 2020 and i need help with my drawings so if there is a PROFESSIONAL DRAWER IN THIS CHAT PLEASE HELP ME!! Thank yo very much
i am a professional.
Thank you need horses on this thing
This is
What?
Lol
cool
cool
super cool
All of the drawings have come out good besides my shakey hands. Your tutorials are very easy. Keep up the great work.
thats cool
Please give dimensions
?
Do you mean to make the lessons more voluminous?
hi