How to Draw a Taxi Car
With this simple lesson, you will learn how to draw a taxi car, a vehicle designed or converted for the purpose of transporting people.
In this picture, you see a taxi car of standard shape. Outwardly, it is not much different from other cars that we see on the roads.
A distinctive feature is the presence of checkers, which are located on the car’s roof. Squares are usually depicted on a checker, situated in a particular order.
In many ways this tutorial follows our main car drawing tutorial, but has a number of very important features that we will pay special attention to in the steps of the guide.

How to draw a taxi car: step-by-step tutorial
Step 1 – Sketch the basic silhouette with roof and base
With the help of smooth lines depict the outline of the car. Use a thin line so that later you can easily correct your drawing if necessary.

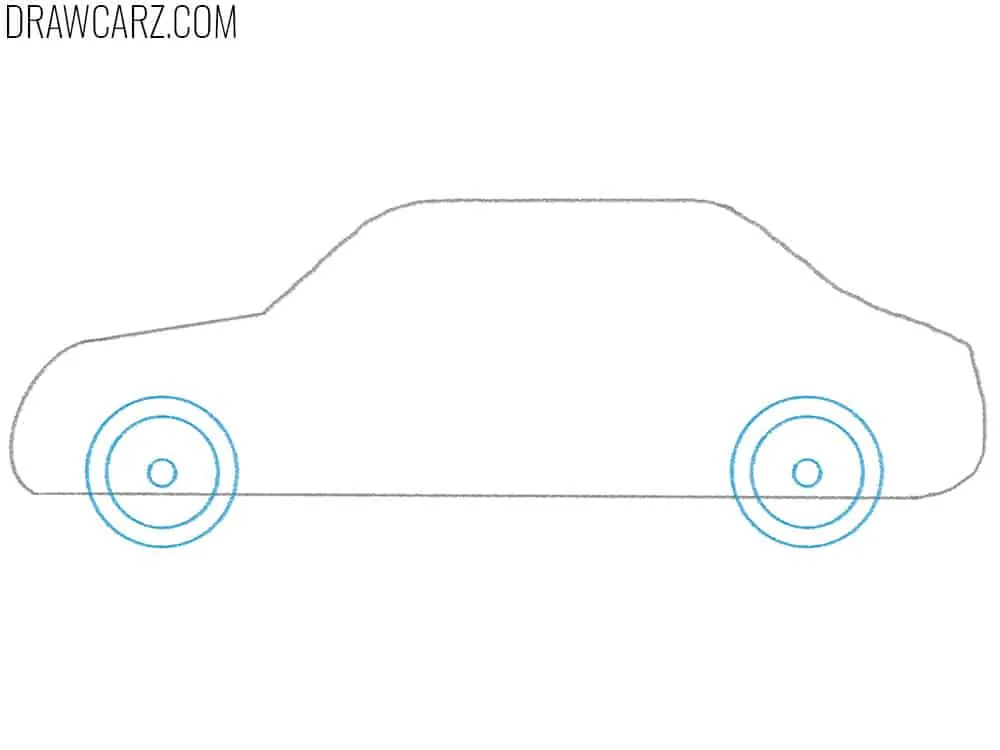
Step 2 – Draw the front and rear taxi car wheels
Depict the front and rear wheel. Try to make smooth rounded lines and keep proportions. Both wheels must be the same size.
Step 3 – Outline the cab window and mirror
Add the side window. To do this, draw a straight horizontal line in the middle part of the car body, draw the upper part using smooth lines. Depict the side mirror.

Step 4 – Form both doors with horizontal handles
With the help of straight and rounded lines draw the front and back door of the taxi car. Add door handles in the form of small elongated rectangles.

Step 5 – Draw the taxi car head and back light units
Add front and rear lights. This is a very simple step.

Step 6 – Add the rooftop checker with square pattern
Draw checkers on the roof of the car. First, add the outline with a smooth line, then depict small square checkers.

Step 7 – Remove the extras, finalize the details
Finish drawing. Carefully correct inaccuracies if necessary and then trace the outline of the drawing.

This was a simple step-by-step guide with which you learn how to draw a taxi car. We hope you enjoy this lesson. On our site, you can find other interesting lessons that will help you improve your artistic skills.


