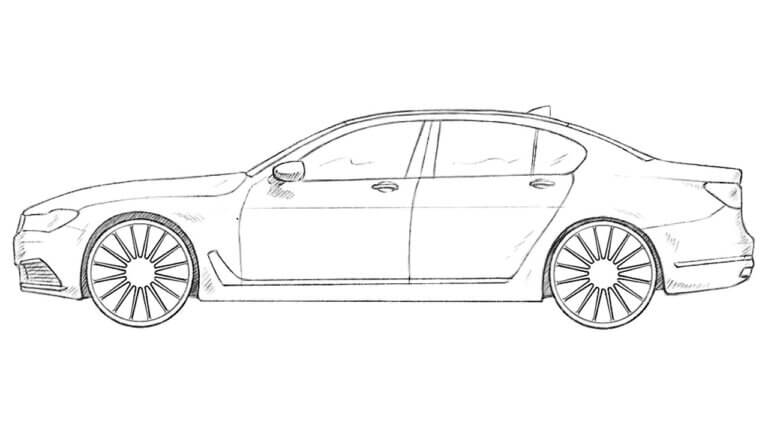
How to Draw an Audi RS6
Learn how to draw an Audi RS6 – one of the fastest and most iconic performance cars from Audi with unmistakable RS features.
As any other Audi RS model, this one has iconic aggressive bumpers and rimes. Since the Audi RS6 is a variant of the A6 model, you can also draw other versions, such as the standard Audi A6 or the electric E-Tron model.
Before starting, you can explore our previous Audi drawing tutorial to learn about most important and essential design elements of the brand.
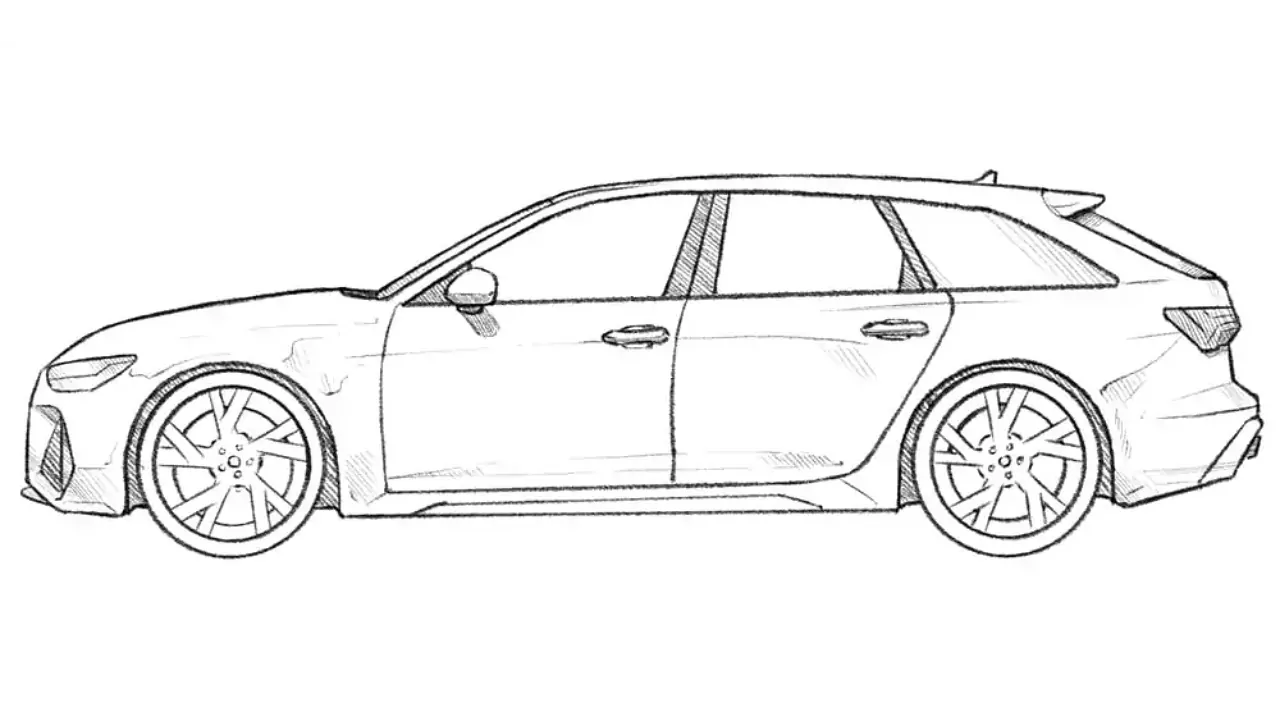
How to draw an Audi RS6: step-by-step tutorial
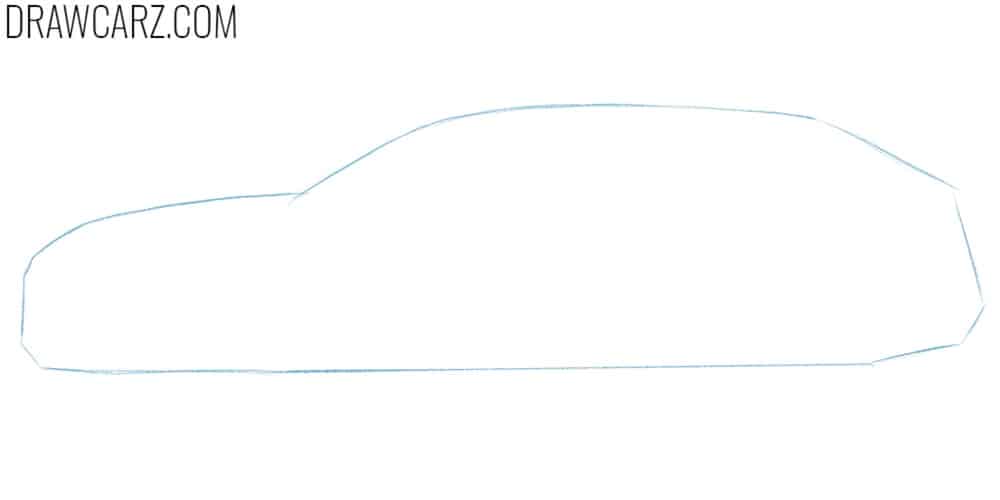
Step 1: Sketch the basic car shape
As always, we start with the basics and sketch the shape of the car with very light lines. Define the hood, cabin and back. We draw an avant model, but using the same principles, you can draw the fastback sedan models. The front parts will be the same, the only difference is in the back part.
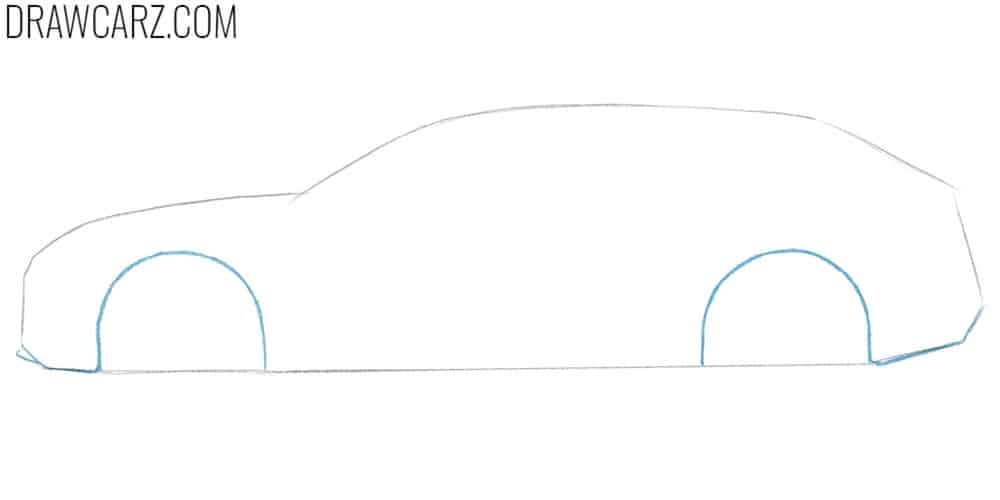
Step 2: Draw the wheel arches of the Audi RS6
Now, move to the bottom of the car body and draw the wheel arches with very smooth circular shapes. The size and shape of the arches should be equal. You can also trace the bottom edge of the car with darker lines.
Step 3: Detail the front and back
Draw the Audi RS6 front bumper using sharp and angular lines. Define the shape of this part and sketch the air intake. Then, draw the Audi RS6 thin and long headlight. Next, move to the back part to draw the taillight and rear bumper.
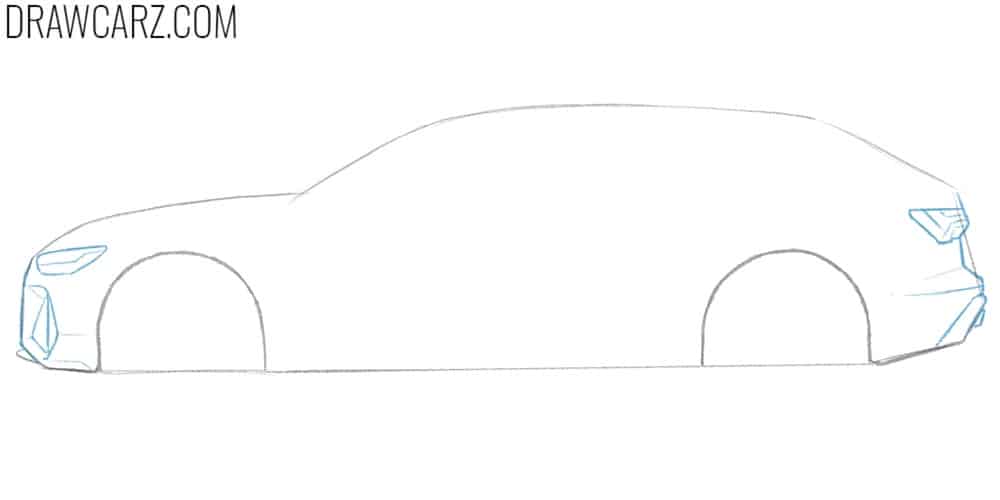
Step 4: Draw window frame of the Audi RS6
Let’s return to the central part of the car and draw the window frame using long and sharp lines. After that, trace the hood, roof, and back of the Audi RS6 giving these parts a finished look. Don’t forget to draw the antenna on the roof.
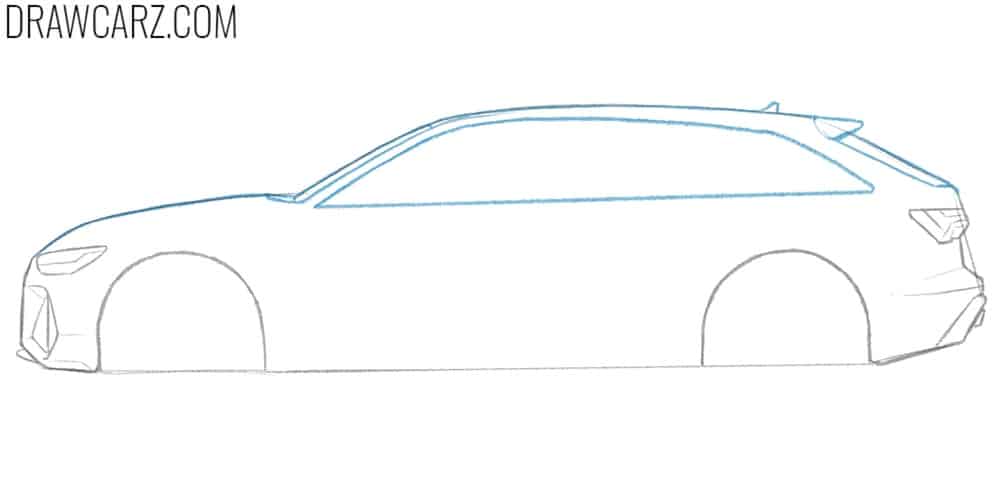
Step 5: Detail the windows and add the mirror
Inside the window frame draw pillars, to separate the individual windows. After that, draw the front mirror using smooth lines. Move a little lower and draw Audi RS6 the door handles.
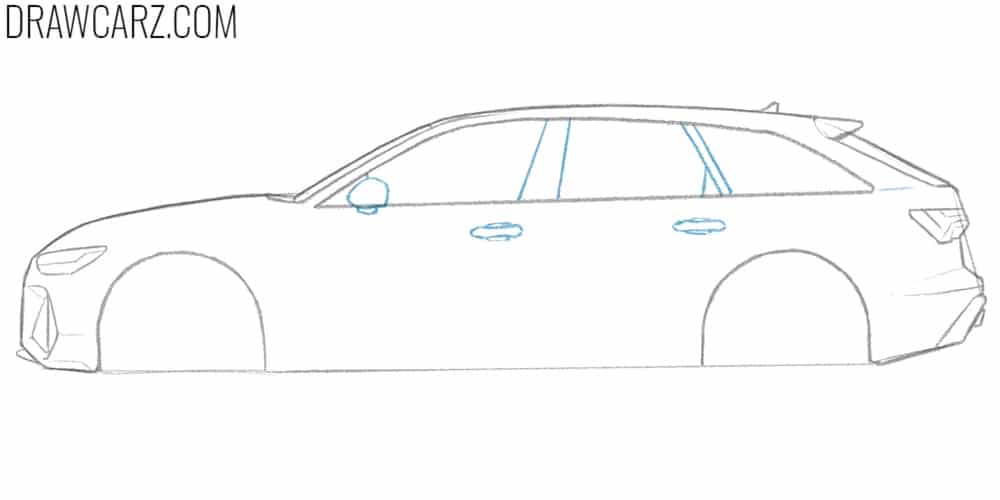
Step 6: Draw the doors of the Audi RS6
Make the side of car look more detailed by drawing the doors. Carefully depict the front and rear doors with very smooth lines. Next, draw some design lines on the side surface of the car and detail the skirt.
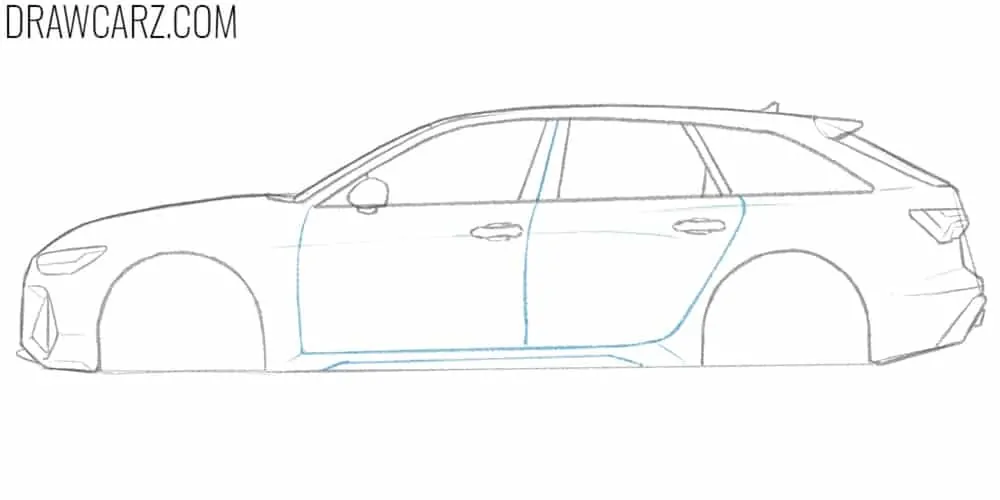
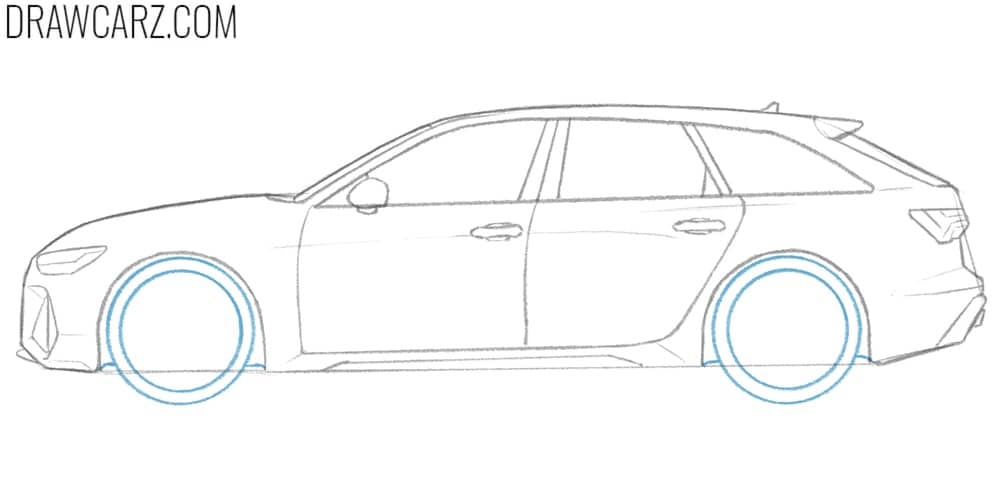
Step 7: Add the wheels of the car
Now, draw the wheels inside the wheel arches using two perfect circles. As always, remind that the shape and size of these wheels should be identical. Then, draw the rime edges located inside the wheel shapes. As the wheel outlines, the rimes should be identical.
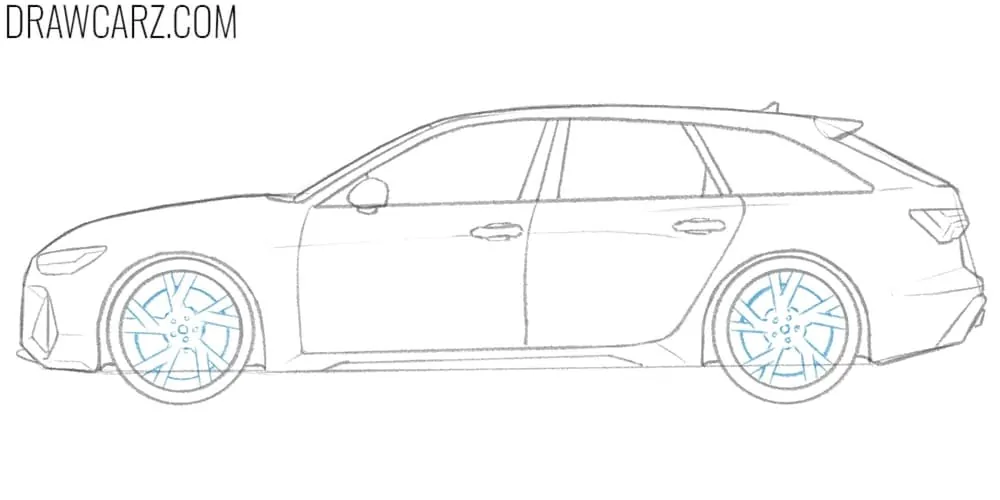
Step 8: Draw the Audi RS6 wheels
Rimes can have any shape and any amount of spikes, so you can draw them as in our example of depict any other type. But in any case, start with the central parts and then sketch spikes evenly spreading around this part.
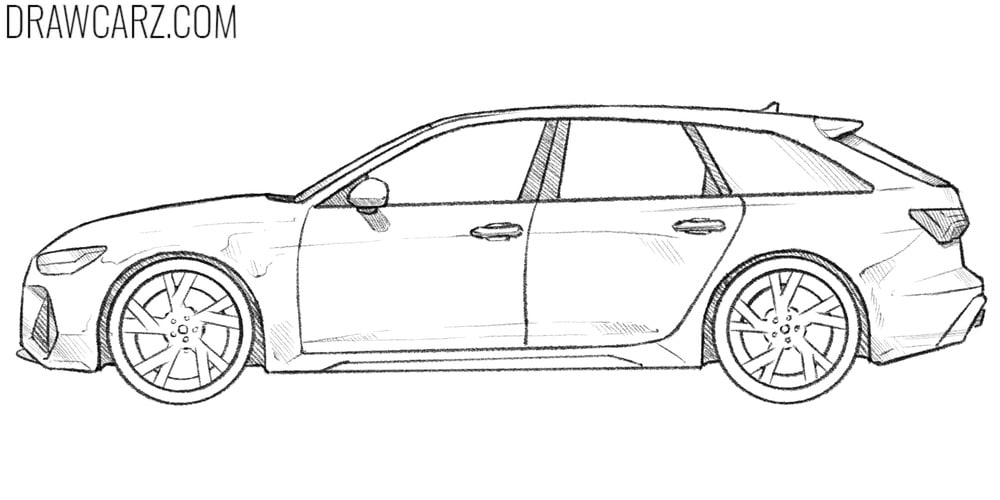
Step 9: Erase the guidelines and add hatching
Now, erase the guidelines from your Audi RS6 drawing giving it more clear and clean look. After that, add hatching on black surfaces do the car. The, create highlights on the windows with angled hatching. Add shadows, giving this artwork more dimensional look.
Audi RS6 video tutorial
Further Audi drawing and coloring practice
As we’ve said before, you can draw any other type of the Audi 6 family. You can adjust the necessary part to achieve the desired outcome. You can also add more details to your car. For example, you can make the windows transparent and draw seats inside the cabin.
In the Audi lineup, there are many other models worth drawing, and we cover a large number of them in our Audi drawing lesson collection, where you’ll find a wide range of approaches to continue developing your drawing skills.
At the end of that collection, we also share several useful observations about drawing this particular brand, as well as common visual characteristics found across Audi vehicles from different generations produced within the VAG group.
Most of our lessons demonstrate how to work in a black-and-white palette, using realistic and consistent shading to create volume.
But hatching is not the only way to finish your drawings. Another effective option is to add fully rendered shadows and color, which you can practice through our Audi coloring pages collection, where we’ve included many models and variations.
As in the drawing ideas collection, the final section of that page also contains practical notes—this time focused on how color affects the finished artwork, which tones work well for Audi vehicles, and how you can incorporate them into your drawings.


