How to Draw a 3d Car
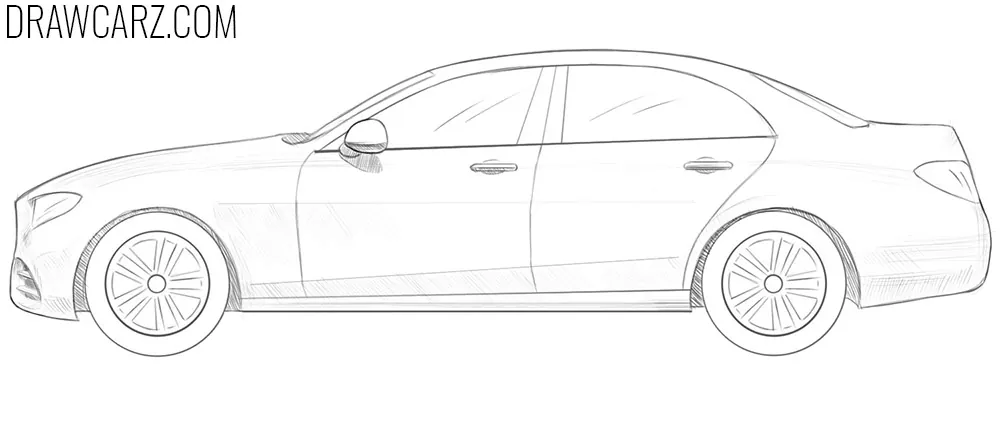
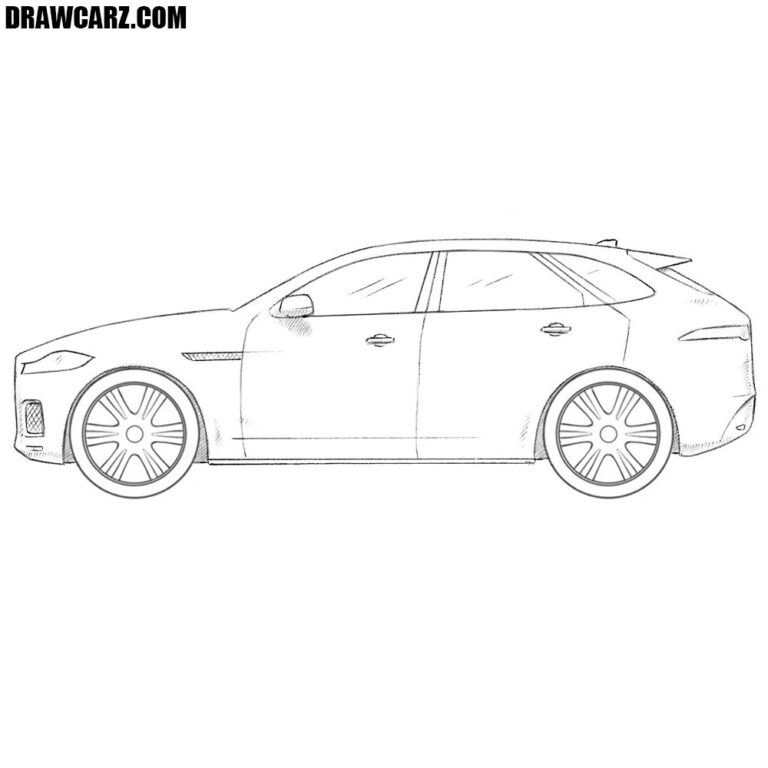
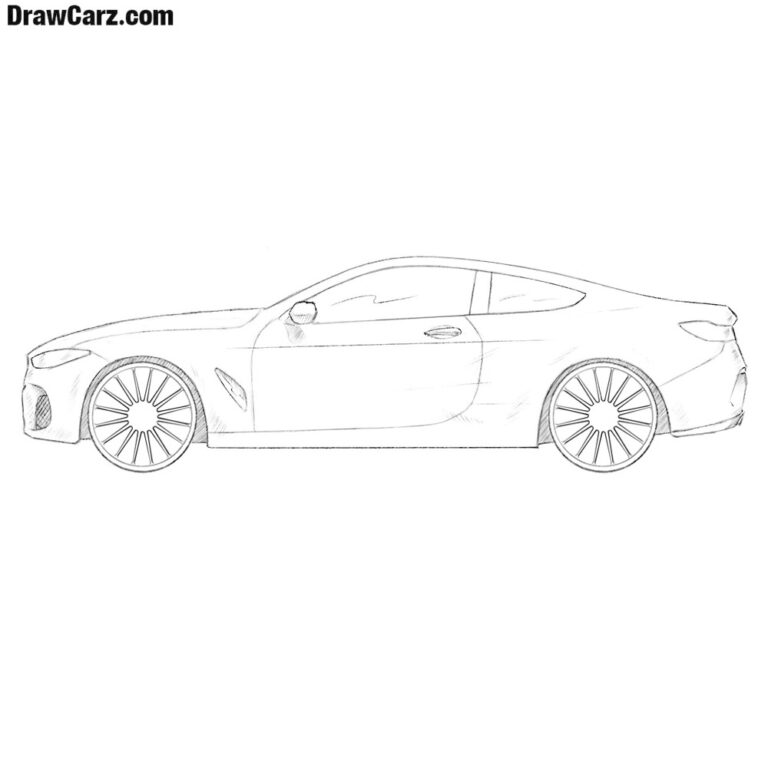
On our site, there are already a huge number of very different instructions about realistic cars, and now we will show you how to draw a 3D car. In fact, the realism and volume of the car are achieved primarily with shadows. The more realistic and academic the shadows are, the more 3D your car will look.
In addition to the shadows, it is very important to make the contours as realistic as possible. That is, the car should be as similar as possible in shape and details to a real car. It will also add realism and dimension to the car drawing.
So, if you are ready, then scroll down the page to start the instruction on how to draw a 3d car.
How to Draw a 3d Car
Step 1
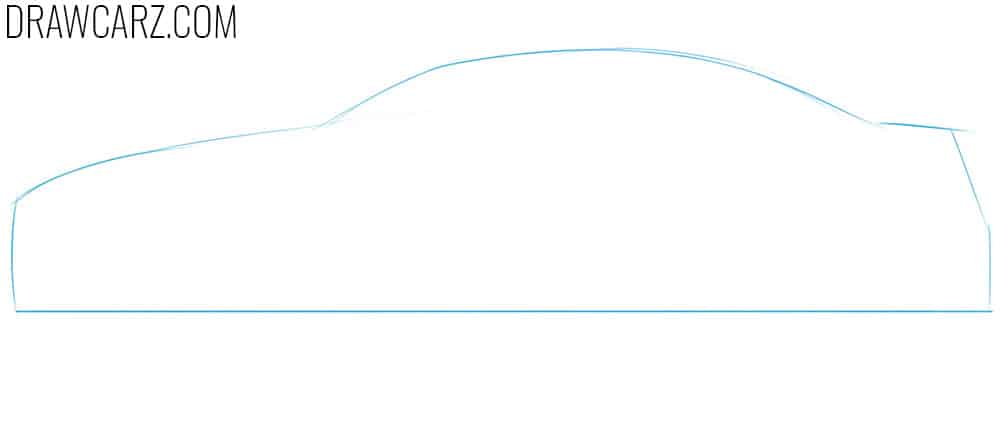
So, to draw a 3d car, you need to start with the most basic outlines. Use loose and rough lines to depict the outline of the car. At this stage, we also indicate the dimensions and location of the sketch on the sheet of paper.
Step 2
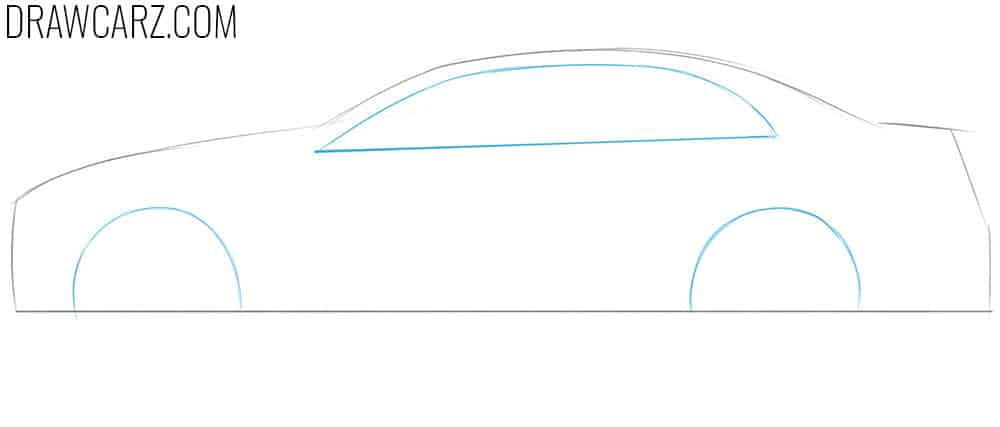
Now depict the wheel arches at the front and rear of your car. Arches should be as round and smooth as possible. In the same stage, depict the line of windows at the top.
Step 3
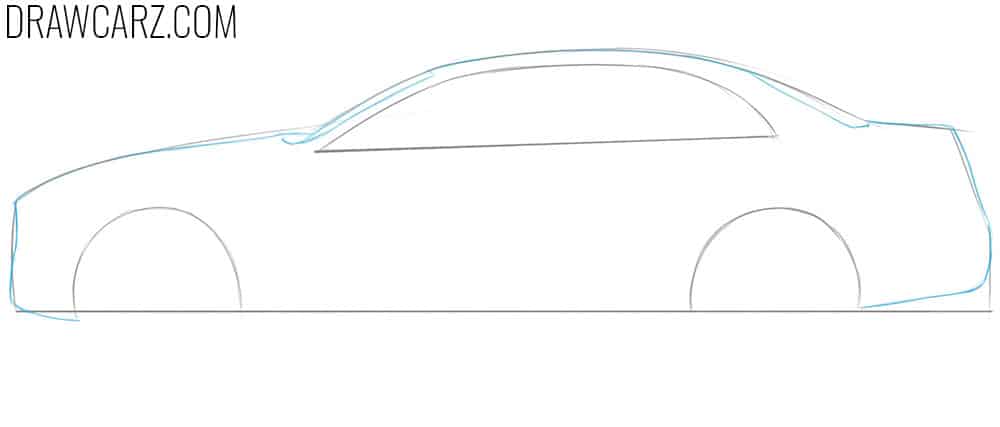
Now carefully adjust the outlines of the front and rear bumpers, making the lines smooth and beautiful. The exact same operation must be done with the roof. In the same stage, depict the front and rear window.
Step 4
In the front and rear, depict the headlights and tail lamps. Depict an air intake below the headlight. While drawing, we advise you to move away from the sketch from time to time in order to better see all the imperfections.
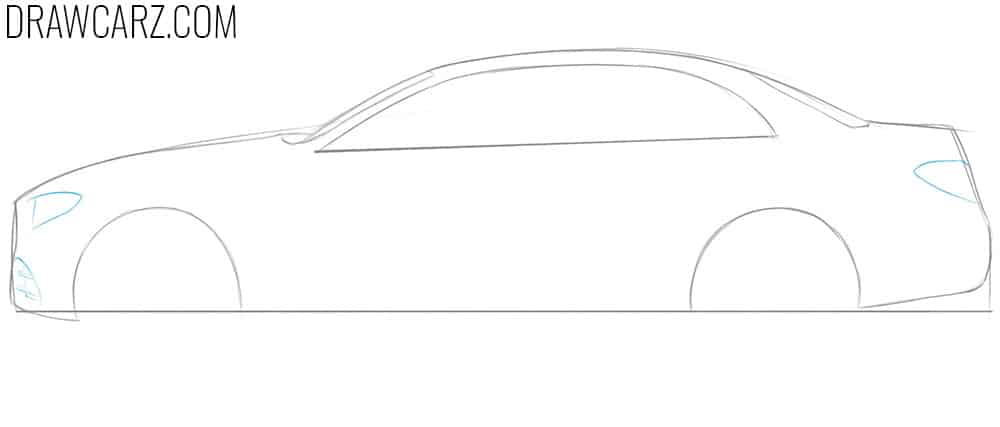
Step 5
Draw the pillar in the central part of the window frame. On the side, under the window frame, depict the front and rear door. Draw a horizontal line under the doors connecting the rear and front arches.
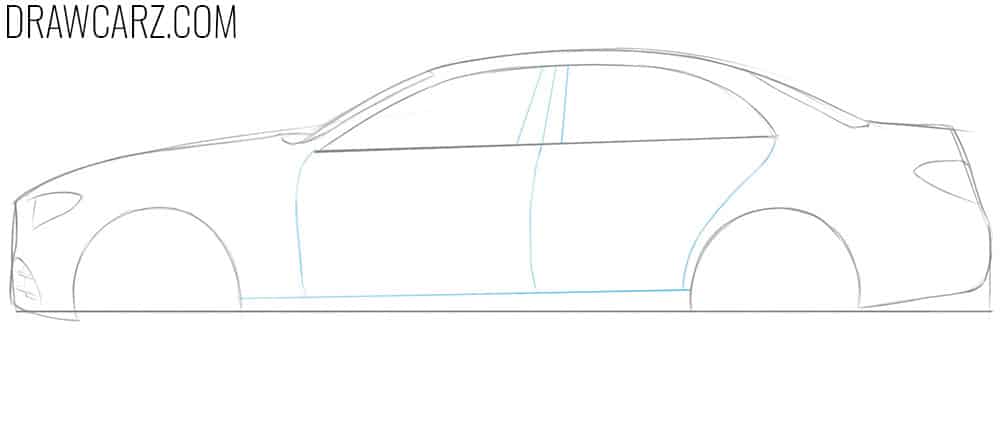
Step 6
Depict the rearview mirror in the front corner of the window frame. In the same stage, depict the handles. The back handle should be slightly higher than the front handle.
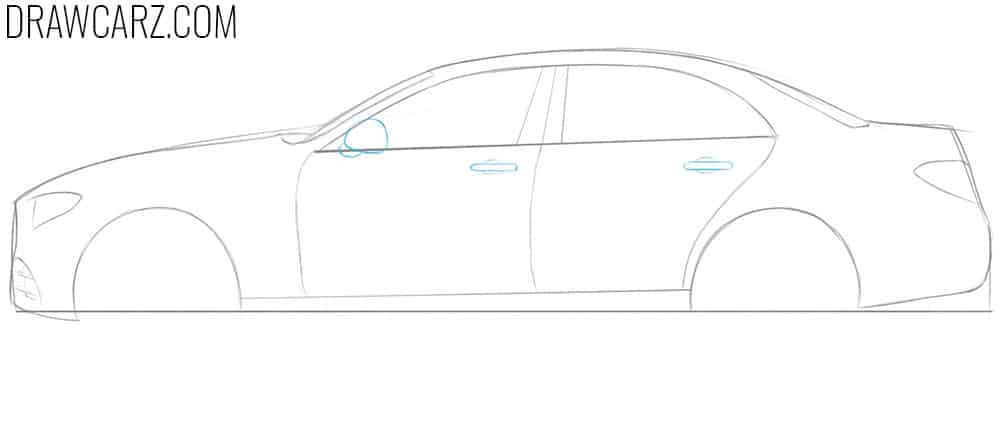
Step 7
Remove the construction lines and draw the front and rear tires. Depict the outlines of the rooms inside these tires. The rims should be perfectly round and follow the contours of the tires, which should also be perfectly round.
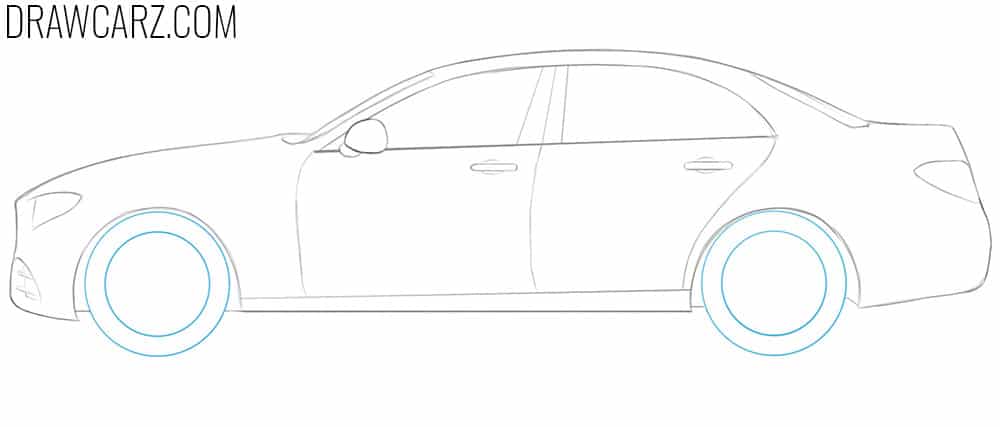
Step 8
Now let’s depict the rims themselves. First of all, draw the central round part of the wheels. Next, draw the lines of the spokes going from the center to the edges of the rims.
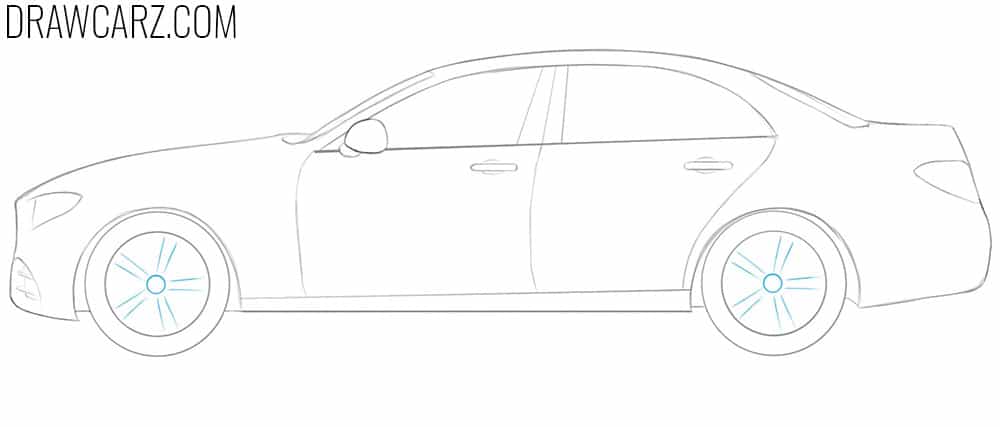
Step 9
Finish off drawing the rims by adding the rest lines of the spokes. Check the proportionality and correctness of the lines, if you find a mistake, correct it to start adding shadows to the finished drawing.
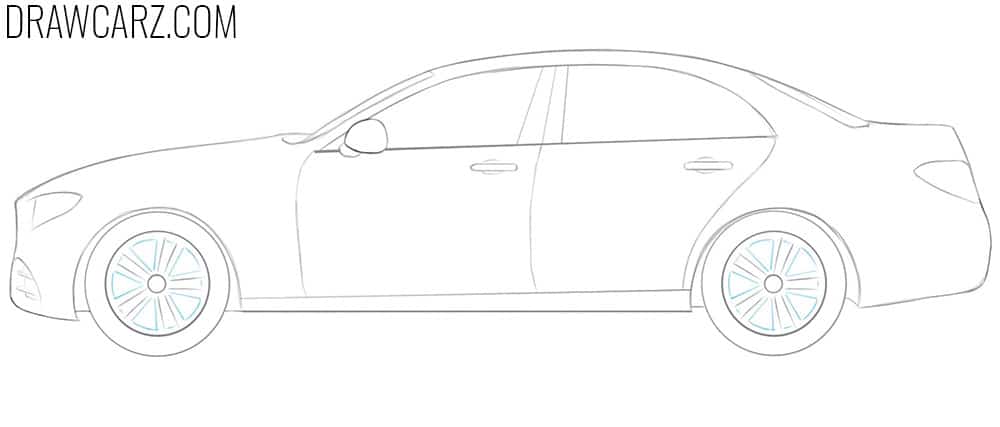
Step 10
Start drawing shadows from the darkest places. First, draw shadows on the inner surface of the arches. Next, add shadows to the rearview mirror, handles, and bumpers. Draw glare on glass surfaces.
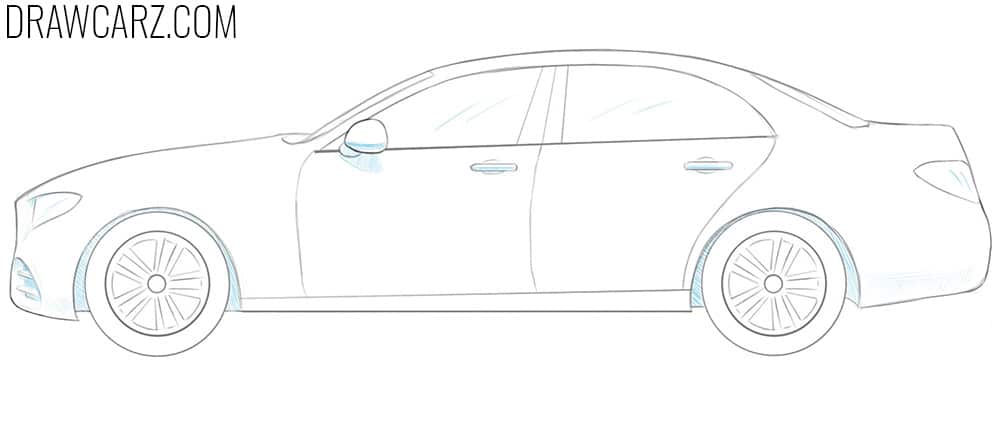
Step 11
Keep adding shadows. Draw lighter shadows and halftones across the entire surface of the car body. In the same stage, darken the necessary places by adding a second or third layer of shadows.
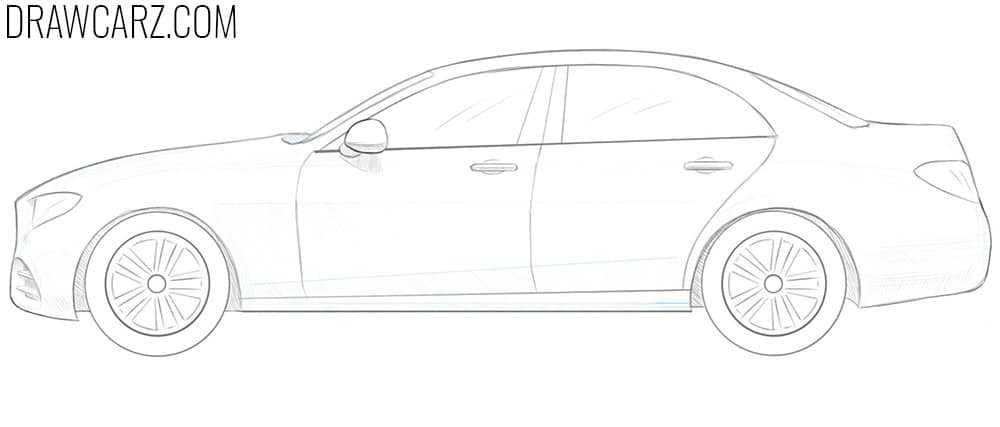
Step 12
Now compare your 3d car drawing with that of the artists of Drawcarz.com. Find mistakes, if any, and fix them. Recall that by looking at a drawing through a mirror, you can easily find all the mistakes and inaccuracies in the artwork.

In addition, you can add a shadow under the car. This will help to land the vehicle and get rid of the effect of hanging the car in the air. Other than that, you can add some color to your car drawing. This, in turn, will revive the drawing of the car and give it even more volume.


Good
I do not draw the shadows right so it looks horrible.