How to Draw a Car from the Front
Continuing our series of lessons on drawing a car from different sides, we want to show you how to draw a car from the front and how to depict all the important details of this plan.
The goal of DrawCarz is to teach how to illustrate different vehicles. And if you want to be a real auto designer, then you need to be able to draw any car from all sides.
We have already studied other sides, and it is time to learn how to sketch the face of an automobile and how to change certain parts to display in your sketch exactly the brand or model you want.
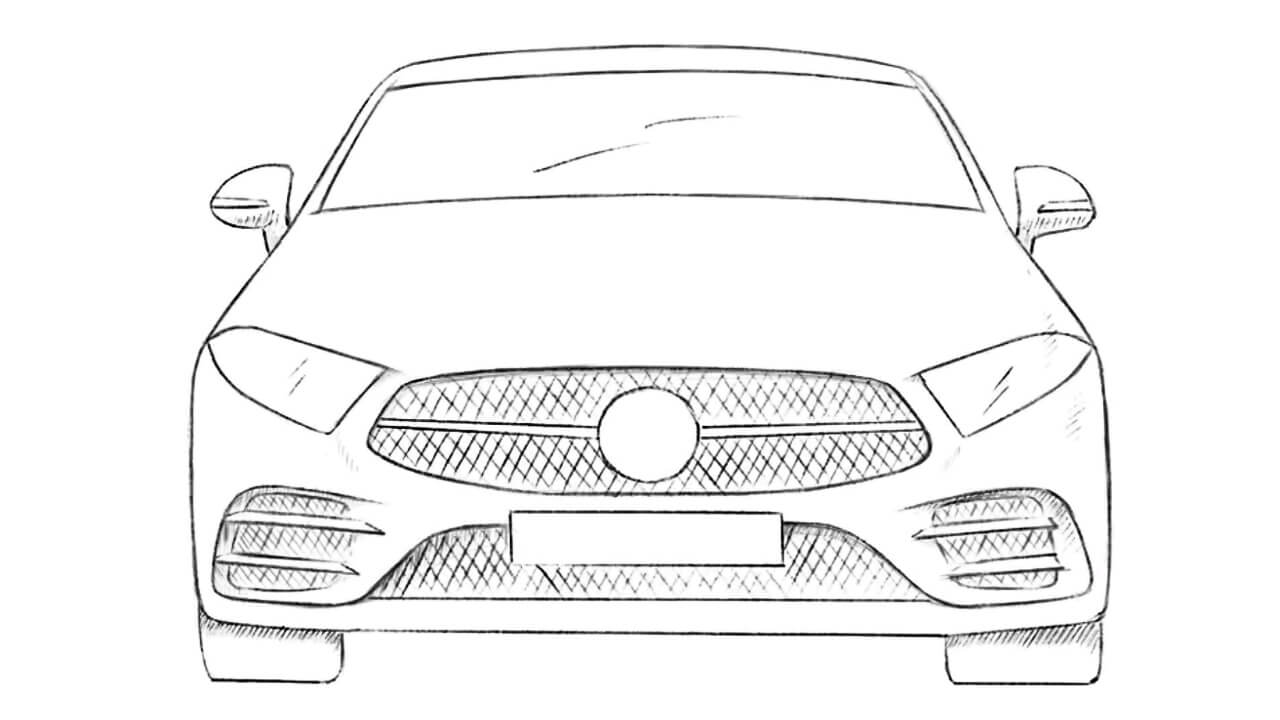
How to draw a car from the front: step-by-step tutorial
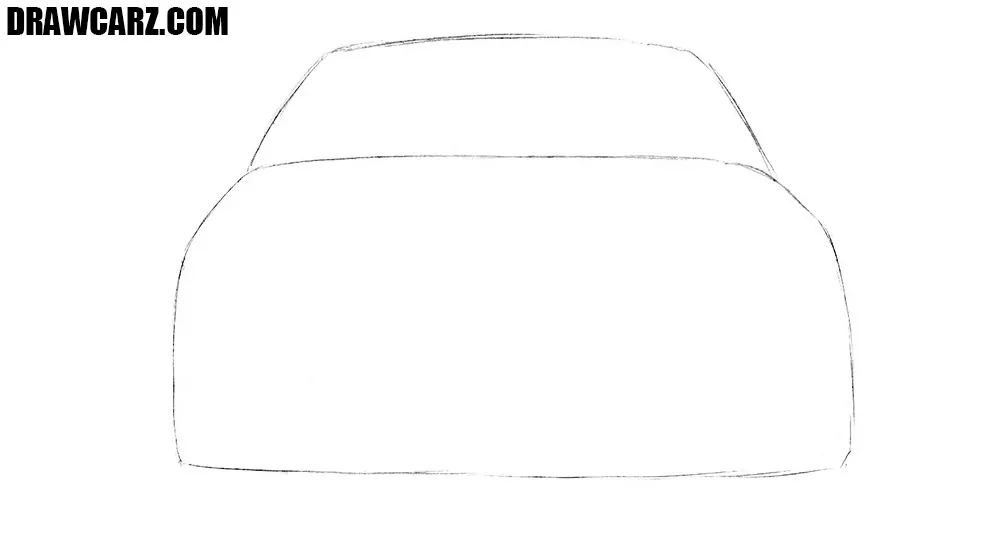
Step 1 – Sketch the car front with simple shapes
In the form of a loose sketch, depict the front view of the vehicle body. Here we can see the lower part, which includes the hood and the bumper, and the upper part, which includes the roof and cabin. By the way, this step is very similar to the first step of the lesson about how to draw a car from the back. The hood and bumper should form a wide rectangle at the bottom.
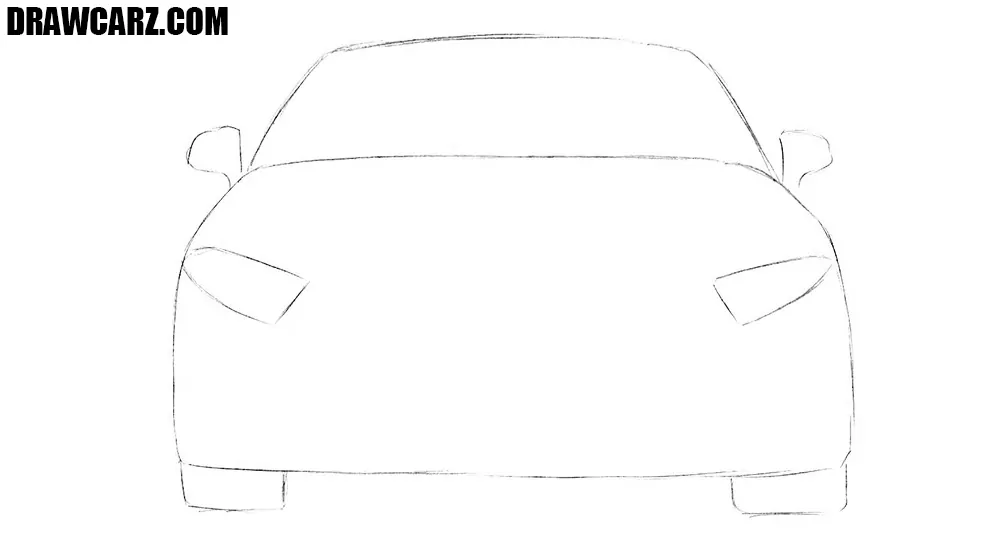
Step 2 – Sketch the main front details of the car
A good and competent car drawing consists of many details. In this step, we will deal with the most essential details. Sketch the headlights on both sides of the hood, making them the same size and height. Indicate the front wheels as partial curves at the base. Depending on the model, they can be sharp, rectangular, or rounded. Add mirrors slightly above the middle line. The appearance of these parts determines the nature of your car, so be careful when drawing these details.
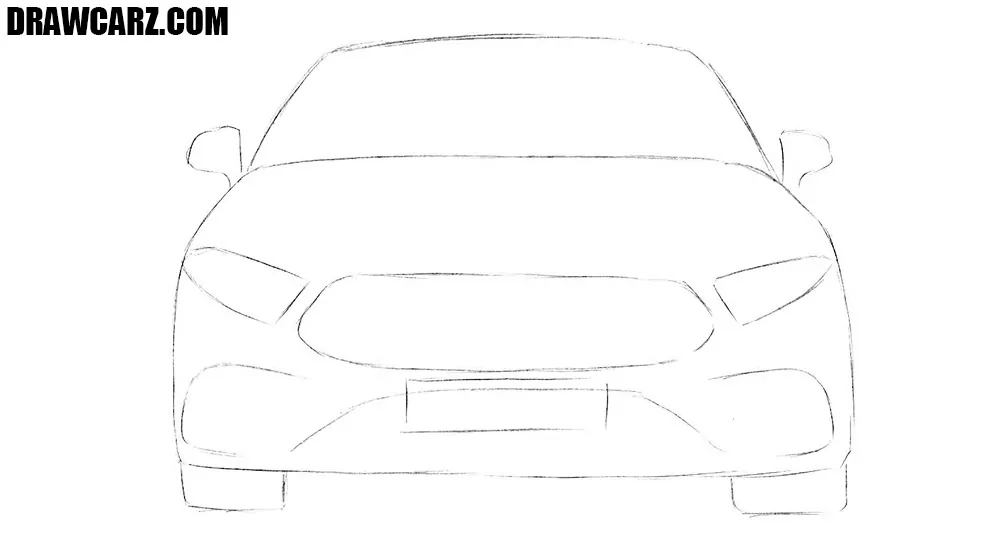
Step 3 – Draw the car’s bumper intakes and grille
The car must have air intakes in order to take the air for the engine and cool the car. In this step, we will go into the details of the bumper and draw a radiator grille. Draw the grille centrally, shaping it according to the style you want – tall and wide for an SUV, or narrow and sleek for a sports car. Add the air intakes on each side of the bumper. Do not forget about such a mandatory detail as a license plate.
Step 4 – Outline the top section with dark lines
Above, we depicted the car in the form of a loose sketch, and now it’s time to go into detailing, giving the car a finished look. We will start from the top and move down. Carefully trace over the roof, keeping it symmetrical. Define the windshield as a wide trapezoid beneath the roofline. Draw out the mirrors of,the car, giving them a symmetrical look.
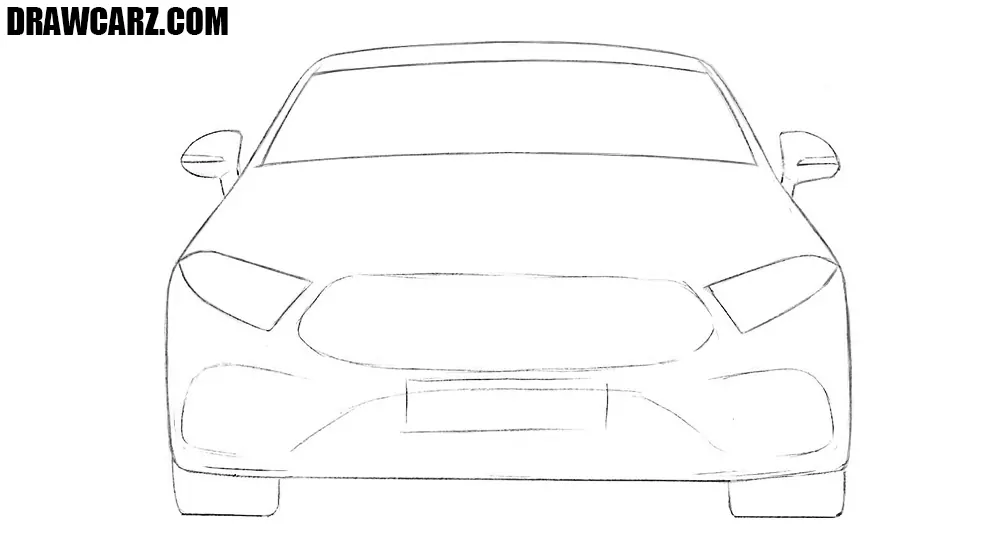
Step 5 – Draw out the car’s lower front details with clean lines
The same actions will be performed at the bottom of the car. That is, in this fifth step, we need to trace all remaining details with very dark lines, draw the logo and add texture of the grille. Go over the grille with firm strokes, then add vertical or mesh textures depending on the brand identity you want. Outline the headlights and bumper carefully. To permanently clear the drawing, use the eraser.
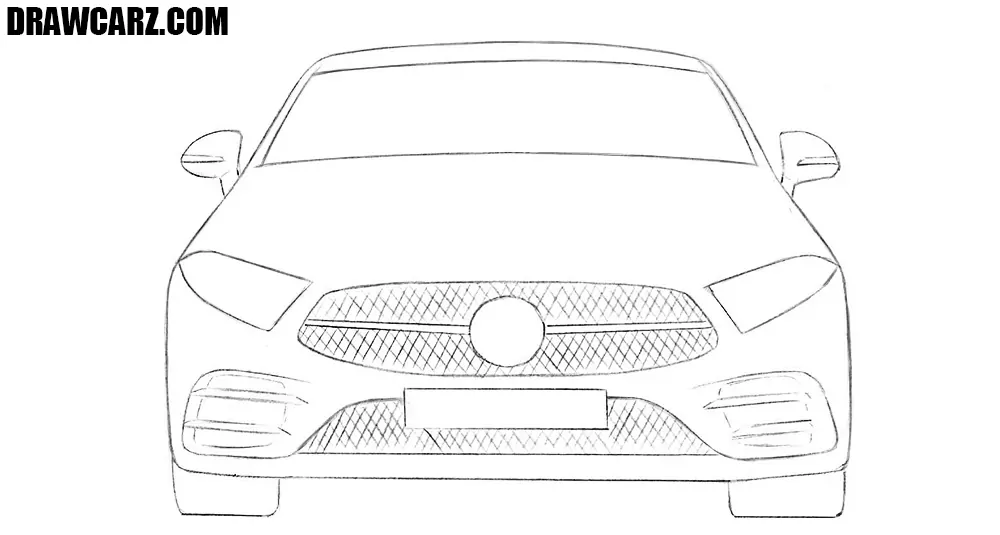
Step 6 – Add shadows on the bumper, hood, and glass
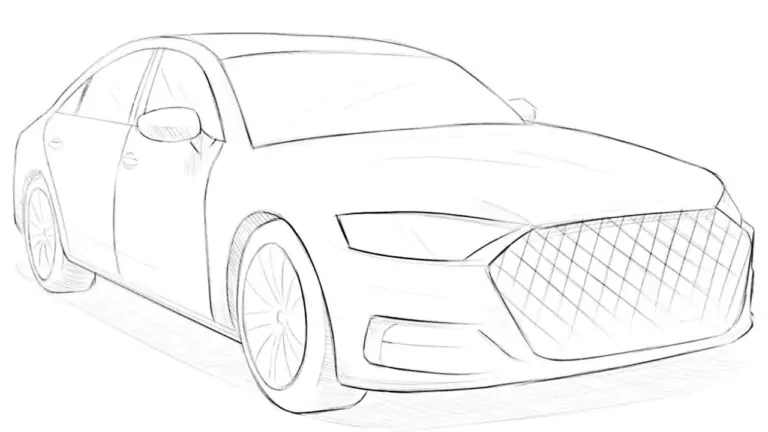
Do you want to make your car drawing become realistic? Then add some shadows, as shown in our image below this text. Experiment with the number and location of the shadows to better understand how the shadows should look. The windshield should have diagonal highlights to represent glass. Adjust the intensity of shadows to match your imagined light source.
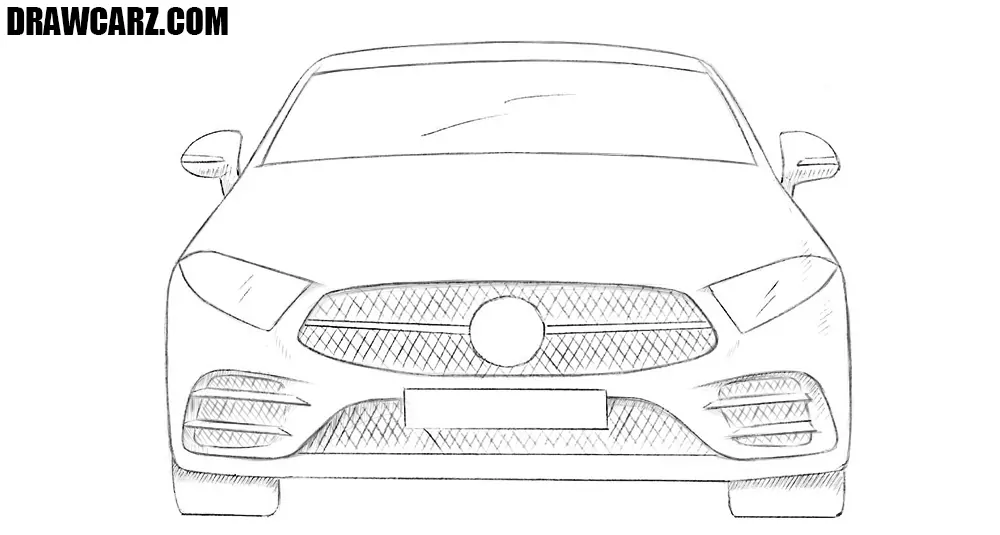
Front view drawing tips
It is very important to be able to know how to draw a car from the front, if you want to be a professional in the field of automotive design, and we think that this step-by-step guide could teach you this.
When drawing a car from the front, the first thing that defines its character is the outline of the roof. From this angle the roof appears narrow, and depending on the model it can be low and flat like on a sports car or taller and rounder like on an SUV.
Right below the roof comes the windshield. From the front it usually looks like a wide trapezoid, but the angle can change the impression a lot.
A steep, shallow windshield will give the car a fast and aerodynamic feel, while an upright one makes it look more classic and robust.
The hood occupies much of the visual space in the front view. Its slope and length vary from brand to brand: some cars have short, sharply angled hoods, while others display long, horizontal surfaces.
The grille is the most recognizable part and usually the centerpiece of the front. Every manufacturer has its own signature shape, so changing it immediately changes the identity of the car.
Paired with the headlights on either side, the grille defines the expression of the vehicle.
Finally, the bumper closes the composition at the bottom and sits on the closest plane to the viewer. Here design differences become even more obvious: smooth and restrained lines are common in luxury models, while wide intakes and aerodynamic cutouts dominate in performance cars.


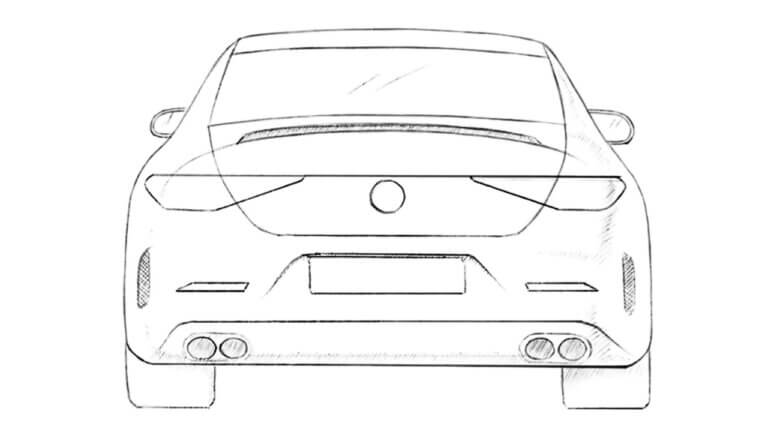
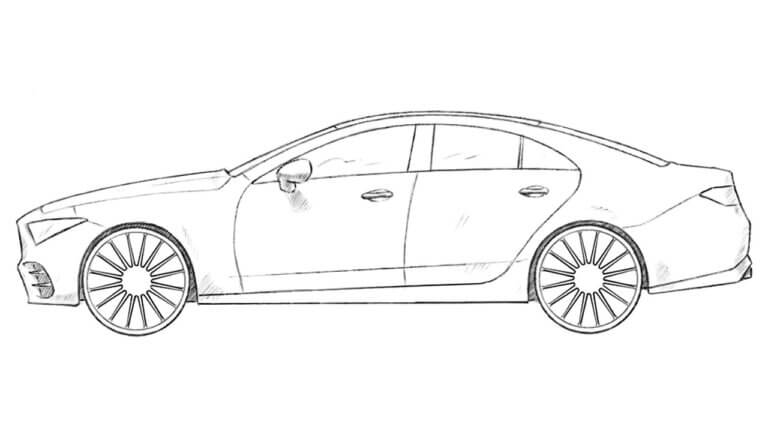
Name the car your drawing
It’s a Mercedes-Benz CLS
Mercedes-Benz.
this has helped me become a artist
Great to hear it inspired you to draw more.
This has been very helpful for my school project lol.
Glad it helped with your school project.
What colour is it?
Can u do the front of a Tesla Cybertruck pls?
Soon we will create a lesson about Tesla Cybertruck, so don’t forget to check our website.
can you please make a buggatti veyron
A good idea. Soon we will create a lesson about Bugatti Veyron.
very helpful,thank you.
Thanks, glad it was helpful.
can you do a mclaren from the front view
Good idea, we’ll plan a McLaren front view tutorial.
can you do a JDM Mazda rx-7 from the side and the front
Nice choice, we currently have Mazda RX-7 from the front: https://drawcarz.com/how-to-draw-a-mazda-rx-7/
Can you draw a lamborghini urus from front side
Thanks for the idea, Lamborghini Urus front side is a good option.
Pls draw a land rover discovery 3 2001 front side thanku
Thanks for the suggestion, Land Rover Discovery 3 will be noted.
Front view of land rover discovery 3! please!
2 gud
Thanks, glad you liked this tutorial.
I love this drawing a lot i am drawing it for my brother
That’s great, hope your brother enjoys the drawing.
Thanks very helpful
Happy this drawing guide was helpful, thank you.
Love cars, canyou pleassssse draw a car motor
Good idea, a car engine drawing tutorial would be interesting.
It is good and helpful for my home work
Thank you too. We are very happy this tutorials was really helpful.
ama