How to Draw a BMW i8
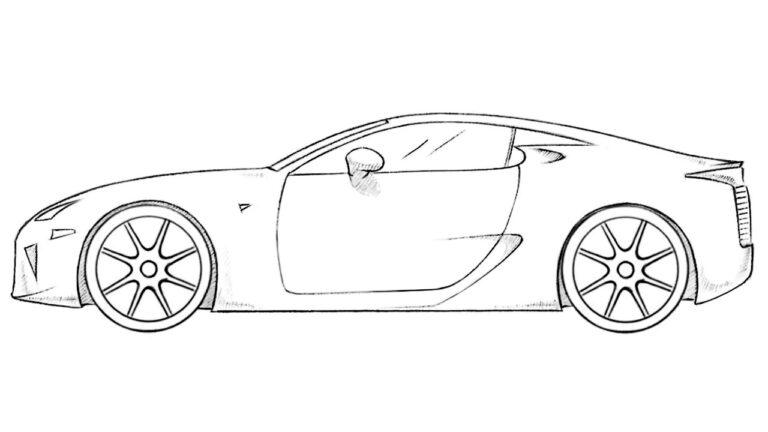
In this tutorial, we want to put you in the role of a futuristic vehicle designer and show you how to draw a BMW i8.
In our opinion, the BMW i8 is a true work of art – there are no better words to describe how striking this sports automobile looks.
Its ornate lines, wing-style doors, and futuristic character attract the attention of millions worldwide.
Below, we will describe in detail the techniques and tips you can use to illustrate such a piece of automotive art in your sketchbook.
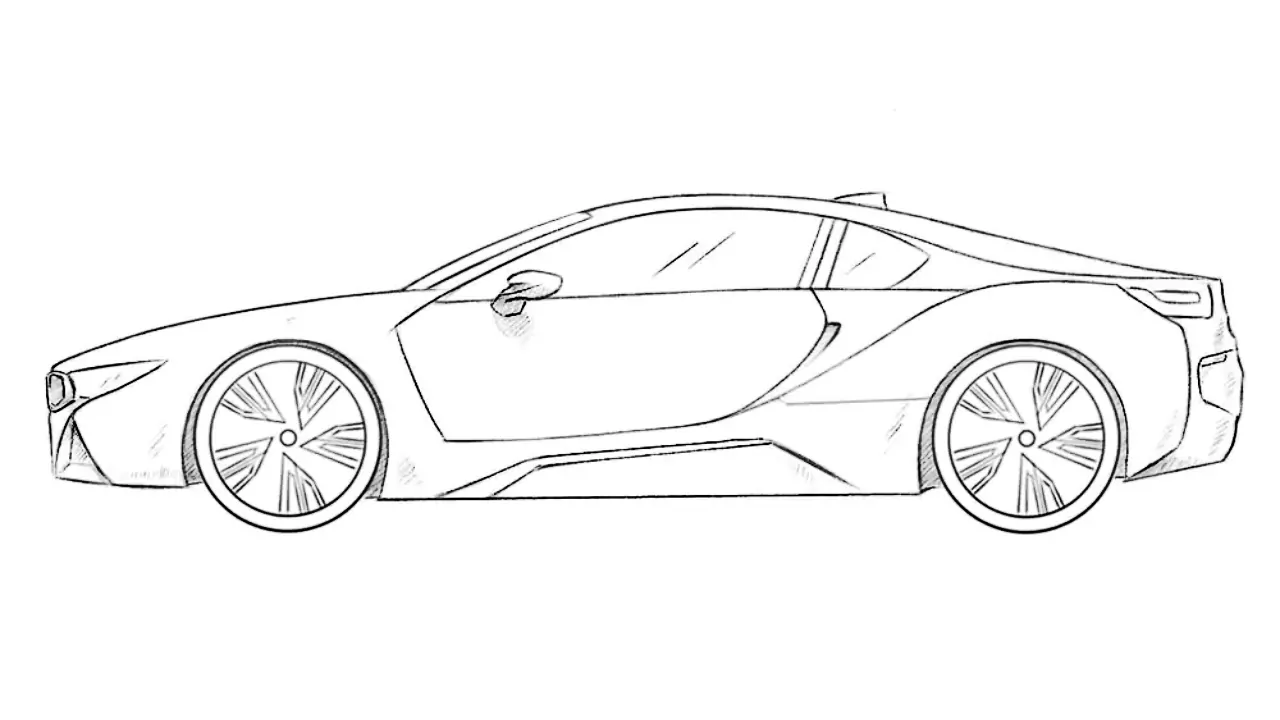
How to draw a BMW i8: step-by-step tutorial
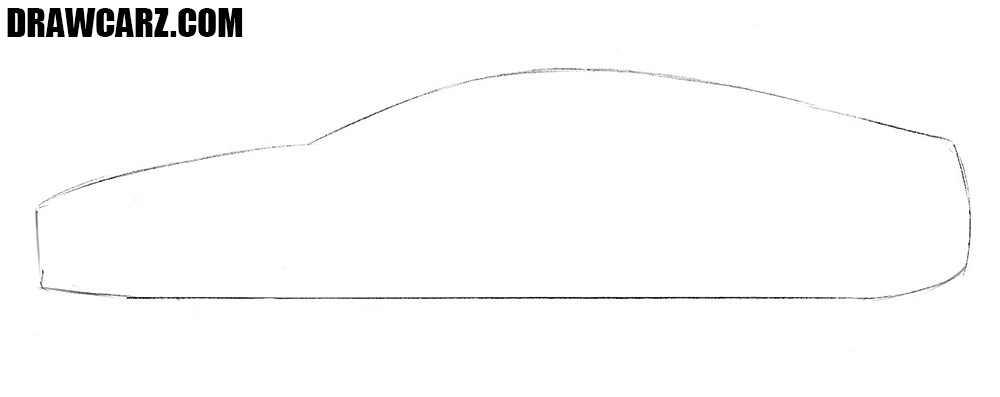
Step 1 – Sketch the futuristic body contour
Any car, including the BMW i8, begins with the outline of the body, and that is what we will sketch here. Keep it as a loose sketch. The contours should be smooth, since we are illustrating a futuristic sports coupe. Create a long, low, and flowing shape. The i8 is characterized by its futuristic form, so make the roofline slope toward the rear.
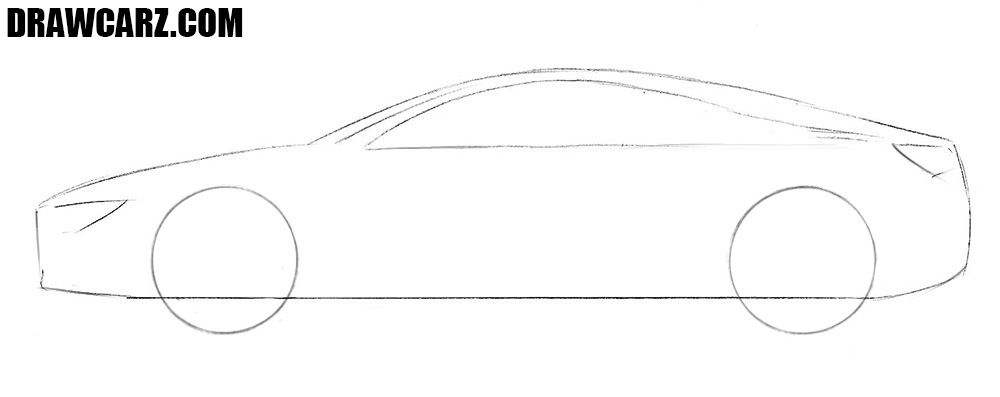
Step 2 – Sketch the futuristic details of the BMW i8
The BMW i8 is very unusual, and its features lie mainly in the details. In this step, outline the sharp lights, narrow window lines, and the contours of the large tires. The windows should be slim and stretched, following the aerodynamic cabin. These elements already set the i8 apart from traditional coupes.
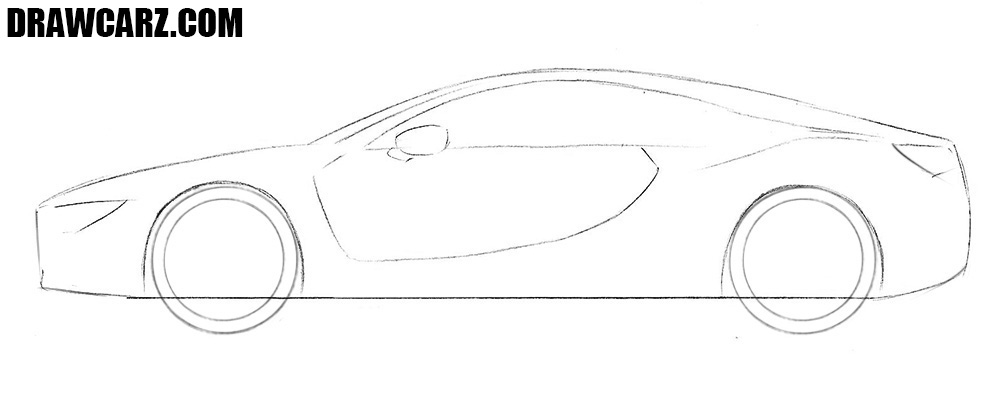
Step 3 – Depict the coupe doors, windows, and futuristic mirrors
The doors of this hybrid sportscar open upwards, so their lower edge sits much higher than that of ordinary doors. Depict this feature along with the rearview mirror. Keep the cutlines clean and sharp. At this stage, also sketch the rim outlines. By now, your i8 sketch should begin to look recognizably futuristic. The loose sketch is complete, and it’s time to move to detailed work.
Step 4 – Draw in detail the BMW i8 grille and unusual headlights
Use clear, dark lines to refine the front of the BMW i8. Trace the distinctive grille and the unusual headlight, which should appear as slim, elongated blades almost wrapping into the bumper design. Also trace the hood and the unique lines of the bumper. Add subtle lines to illustrate aerodynamic channels.
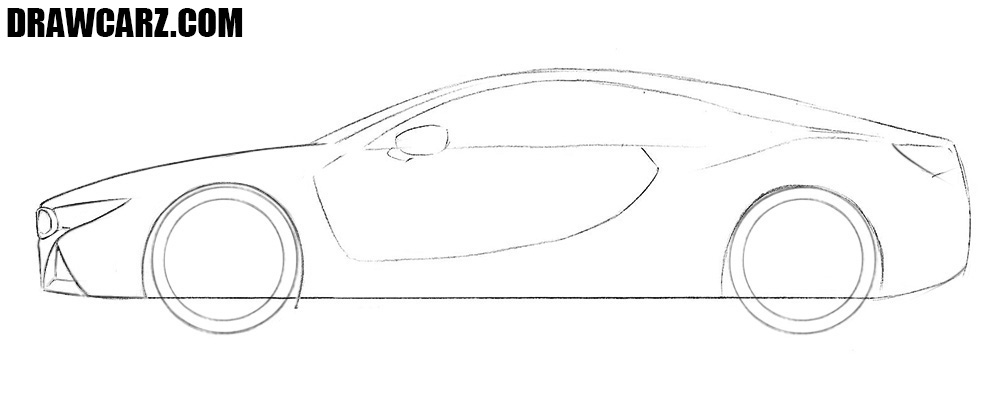
Step 5 – Draw the flat roof and windows with Hofmeister kink
The roof of the BMW i8 is flat and sloping, typical of sports cars. Characteristic BMW features here are the antenna-fin and the Hofmeister kink – the signature bend in the rear of the window line. Draw these details carefully. At this point, also finalize the mirror with its intricate details.
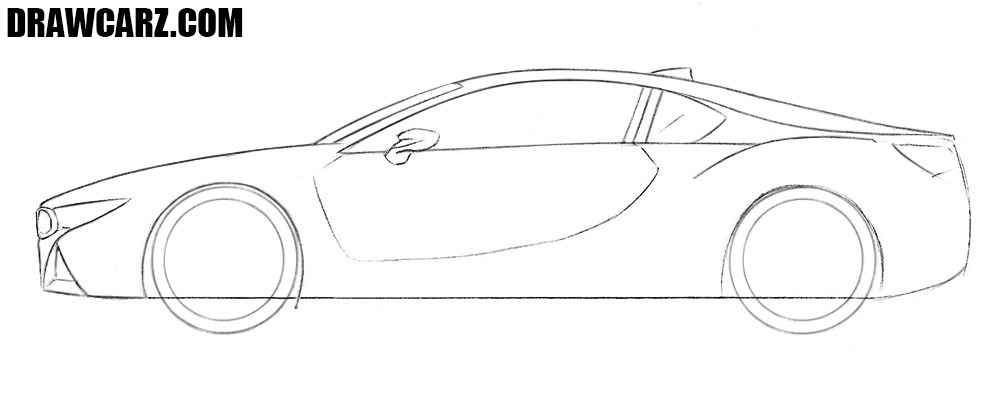
Step 6 – Refine the i8 rear with tail lamp and bumper
The rear of the BMW i8 is as unusual as the rest of the car. Trace the lines of the back, creating intricate outlines for the taillamp and rear bumper. Draw the pronounced rear wing of the i8 and its strong wheel arch.
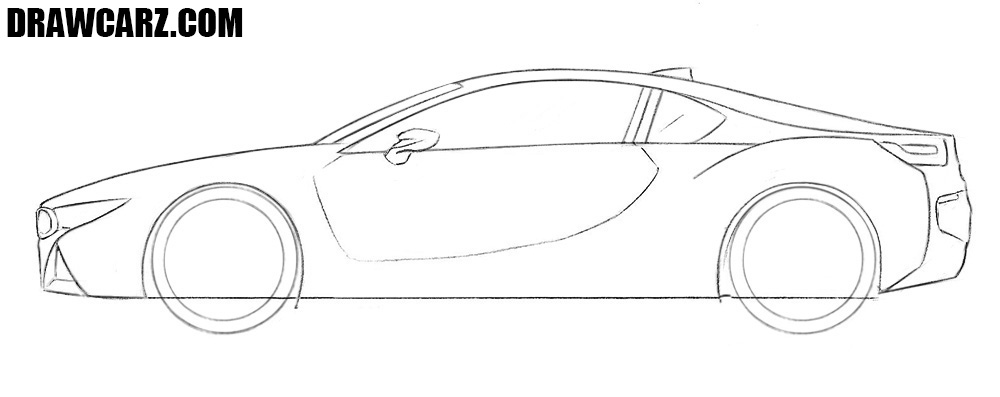
Step 7 – Detail the side door and complex surfaces
This is one of the most intricate steps. Trace the side door and the intersecting curves that form the aerodynamic cutouts. Mark the flowing intake shapes along the lower body. Carefully refine the edges, and use an eraser to remove leftover guidelines so the complex design looks clean and intentional.
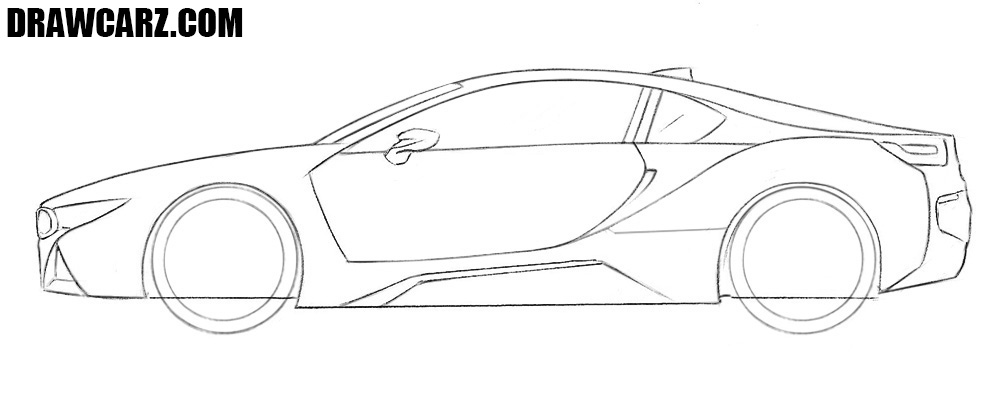
Step 8 – Draw the complex BMW i8 rims
This German hybrid supercar has very distinctive rims. They often combine thin, twisting elements with thicker spokes. Try to replicate this look as closely as possible. If it seems too complex, start with a simplified version like in the easy car drawing tutorial. Well-drawn wheels will make the car appear more realistic.
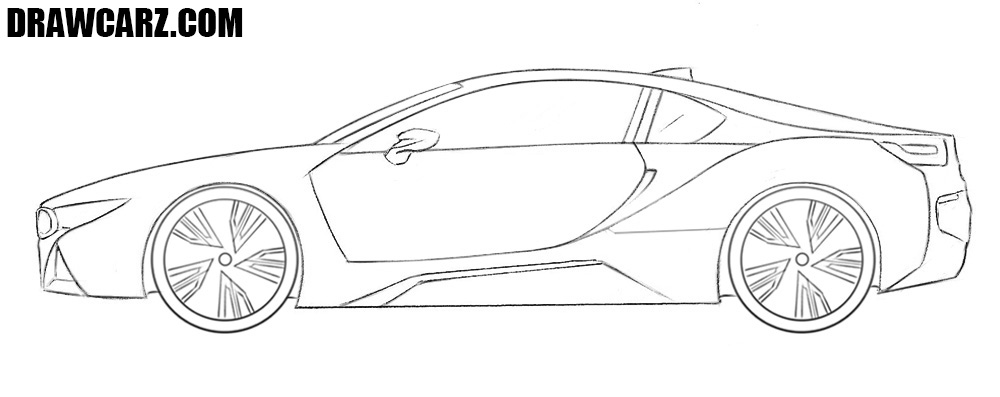
Step 9 – Shade the futuristic body with hatching
Shadows and highlights will make your BMW i8 drawing look realistic and dimensional. Focus shading on the lower edges of the body details and make the upper surfaces lighter to convey reflections. Use smooth hatching for lighter tones and layer cross-hatching in deeper areas. Adjust the intensity to give the glossy surfaces a three-dimensional effect.
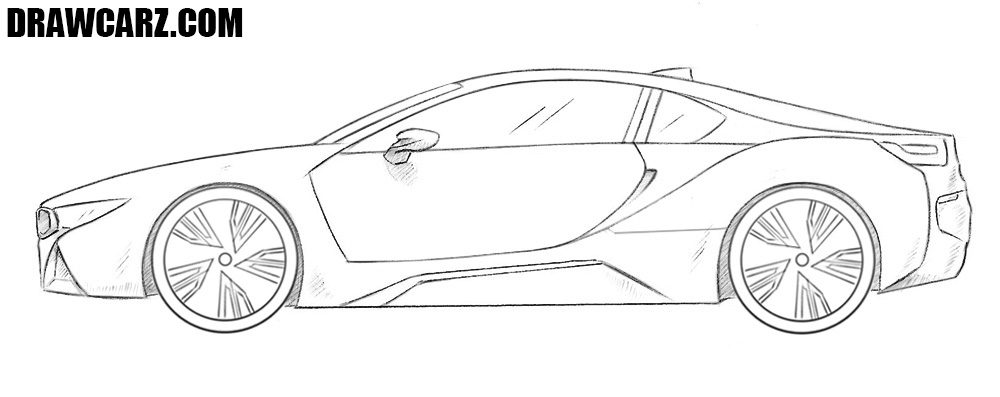
BMW design insights
Do not let the BMW i8 mislead you. Beneath its emotional appearance lies a very rational vehicle.
Even such a detail as a lifting door is a practical element. Doors wings help to better position the charging cable.
These and other elements were invented by engineers and designers of the BMW brand, and we hope that with the help of our drawing guides you are inspired to become a true auto designer, and in the future, you will be able to create no less impressive car than the BMW i8.
Now you also know the basics of creating such cars, and you can move on to the next tutorial to learn how to draw a BMW M5 – another legendary car from the top German automaker.
Don’t forget to visit the main BMW drawing lesson, where we tell you all the most important points inherent in this particular brand.
After studying these two lessons in a row, you will see in practice what the BMW design language looks like, what techniques this brand uses, and how certain elements visually unite the entire model range.
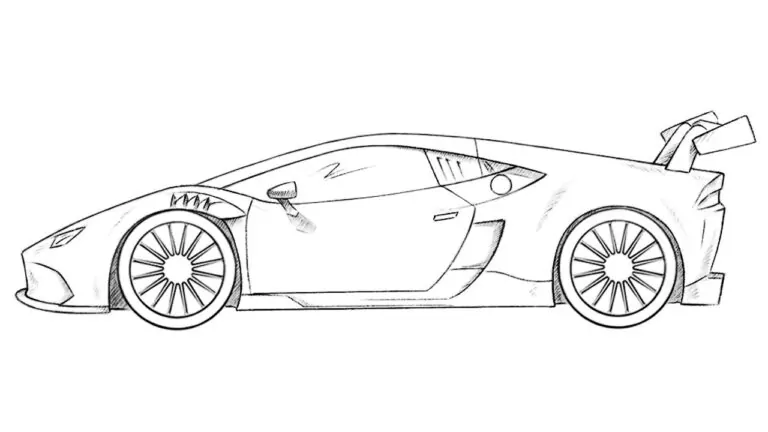
Also be sure to check out our sports car drawing tutorial, where we detail the entire process using Lamborghini as an example, to see how other sports car manufacturers solve similar design problems.





please do this for bmw x6 and bmw 528
Thanks, BMW X6 and 528 are interesting models, we’ll keep them in mind for future tutorials.
Drawcarz : In the seventh step, you will need an eraser.
Me: I required an eraser on each and every step lmao 🤣!
This is fine, because the eraser is the same drawing tool as a pencil.
I am so bad at drawing circles 😥😥😥
You’re not the only one…
Happens to everyone, erasing and sketching is part of the drawing process.
fr me to
Don’t worry, circles are tough, even car designers use guides to get them right.
True, many struggle with shapes, especially wheels and round parts.
You can use a coin for the circles
Very nice advise. It’s always works. Or your can use any other circular object to trace it.