How to Draw a Car Easy
Were you looking for an easy tutorial on how to draw a car? If so, this guide is exactly what you need. It’s a solid starting point for anyone who wants to practice sketching vehicles in a simple way.
In this tutorial, we’ll use the most basic techniques that help you understand proportions and shapes.
For someone who already knows how to sketch, this will not be difficult to follow, but it becomes more challenging if the student is a complete beginner.
We have studied car sketching techniques for a long time, and in this guide, we’ve gathered everything necessary to make your car sketches simple while still looking realistic.
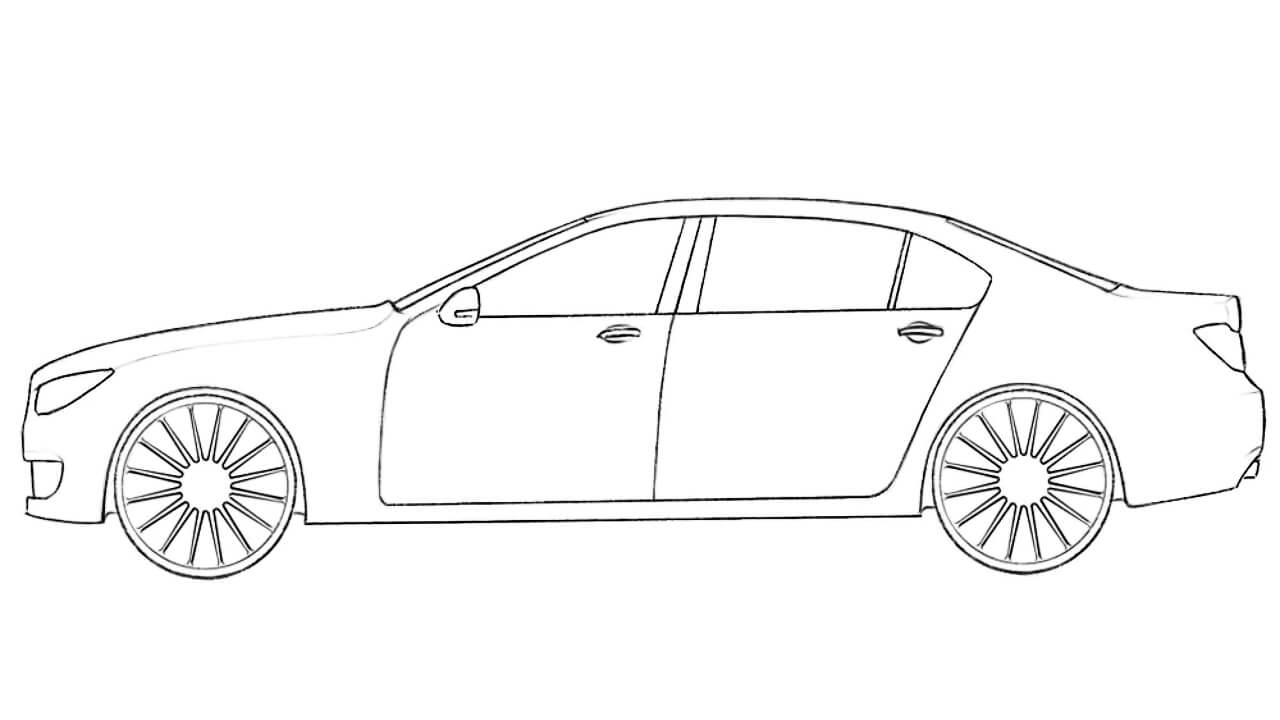
How to draw a car: easy step-by-step tutorial
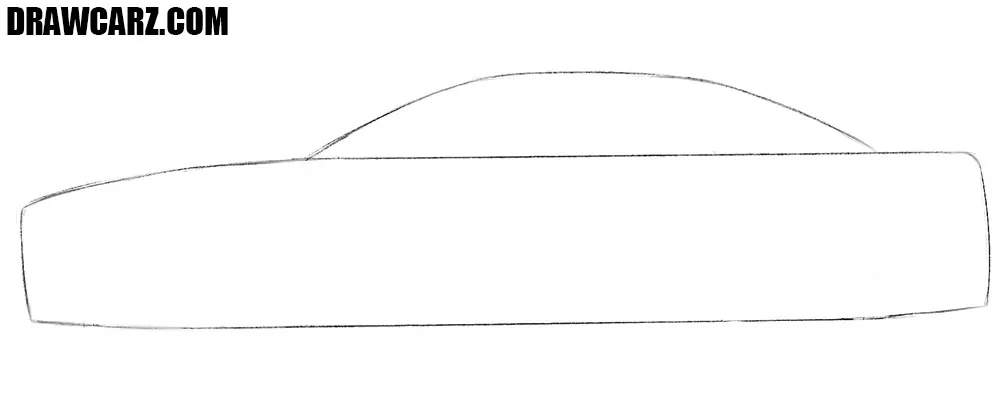
Step 1 – Outline the base rectangle and curved cabin line
First, lightly draw the bottom of the car, which looks like a long rectangle. Next, draw the upper part of the cabin as a curved line. The rectangle sets the proportions for the body, while the curved line begins to define the roof.
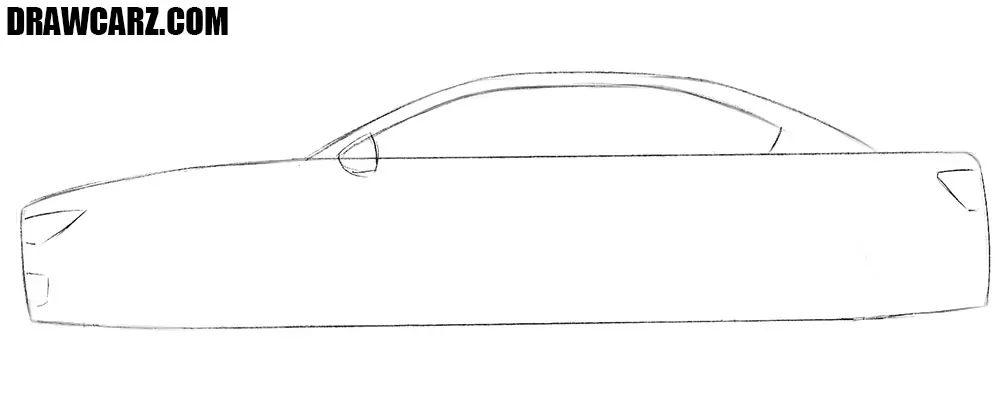
Step 2 – Add the front and rear lights, windows, and mirrors
To make your sketch look more like a car, add the most basic details. You can sketch the lights in any simple shape, as well as the outlines of the windows and mirrors. Place the lamps at the very ends of the rectangle. Keep them simple ovals, rectangles, or trapezoids depending on the style you want. The windows should follow the curve of the roof.
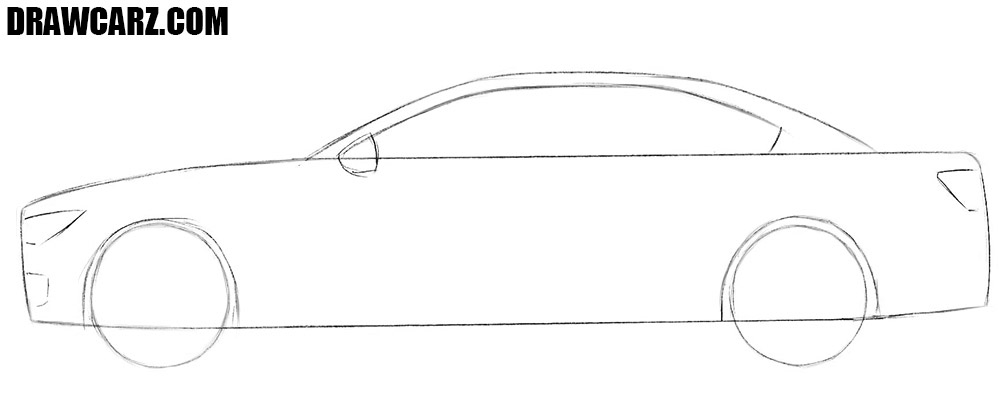
Step 3 – Sketch the wheels with simple circles
A car will be useless if it cannot move, right? To ensure that your vehicle can move, draw the tires. They should be as round as possible. Draw two circles that overlap with the base rectangle. Make sure they look symmetrical.
Step 4 – Sketch the doors and wheel rims
Cars most often (unless it is a coupe) have four doors, two on each side. In this step, sketch those doors. Divide the side of the rectangle with vertical lines to represent the doors. At the same stage, depict another exterior element – the rims. Inside the wheel circles, sketch simple rim outlines.
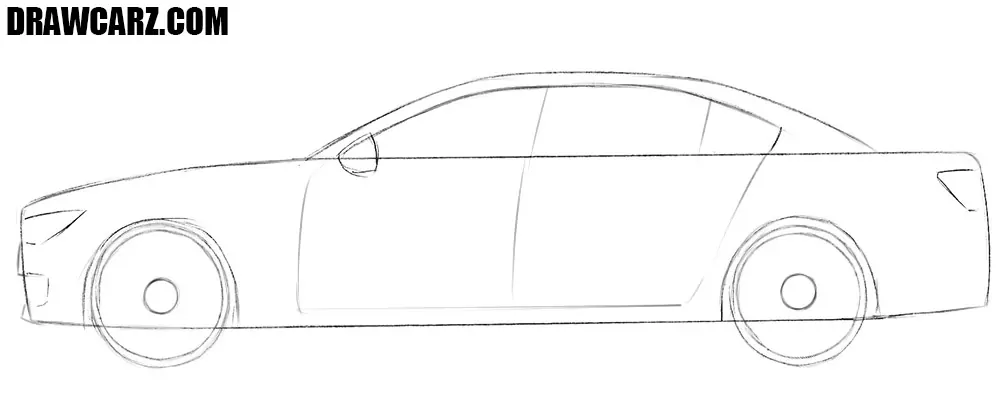
Step 5 – Refine the car’s front bumper and headlight
We are in the middle of the drawing tutorial, which means we will begin adding more details. Trace the front part, detailing the bumper and headlight. To do this, add curved lines around the front edge of the rectangle to form the bumper. Place the headlight clearly within this shape. Keep the forms simple.
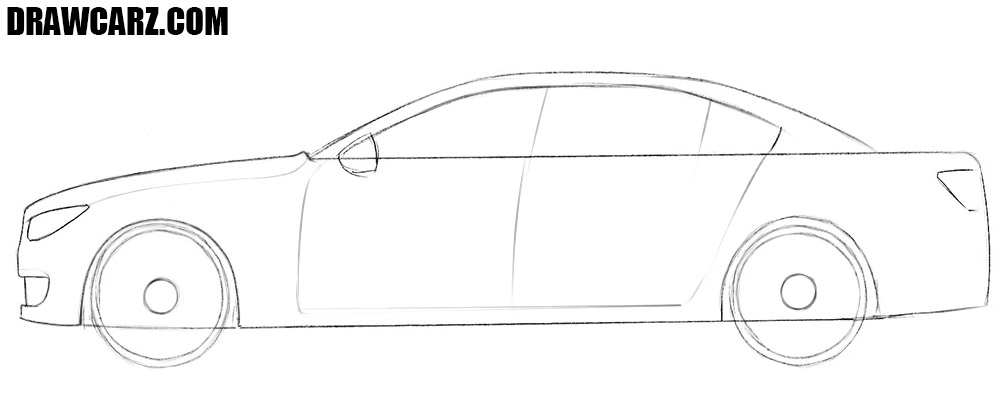
Step 6 – Detail the roof and windows of your car
Do the same with the upper part of the cabin. Trace the roof with more confident lines, giving it a clean outline. Detail the side windows, dividing them into front and rear sections. Don’t forget to add a windshield at the front and a small rear window at the back.
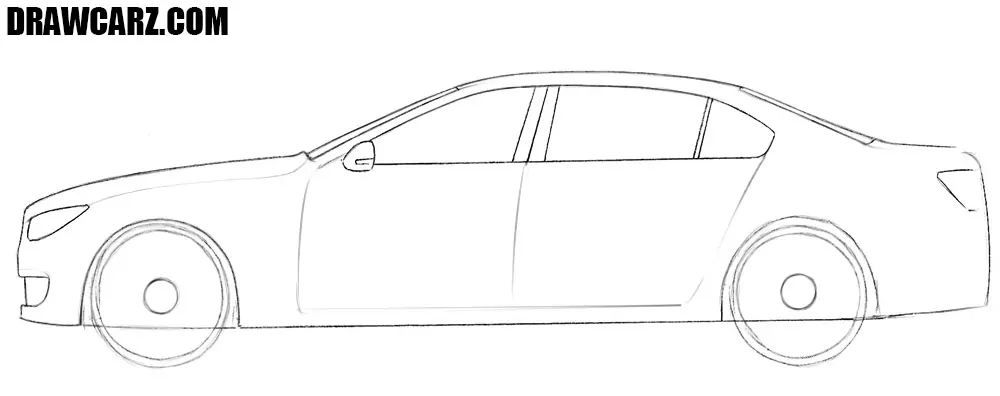
Step 7 – Draw rear details of your car
The rear of the car must be drawn in accordance with the front so that it does not look mismatched. With this in mind, trace the trunk and rear bumper along with a tail lamp. Detail the rear bumper at the bottom, mirroring the shape of the front bumper but simpler.
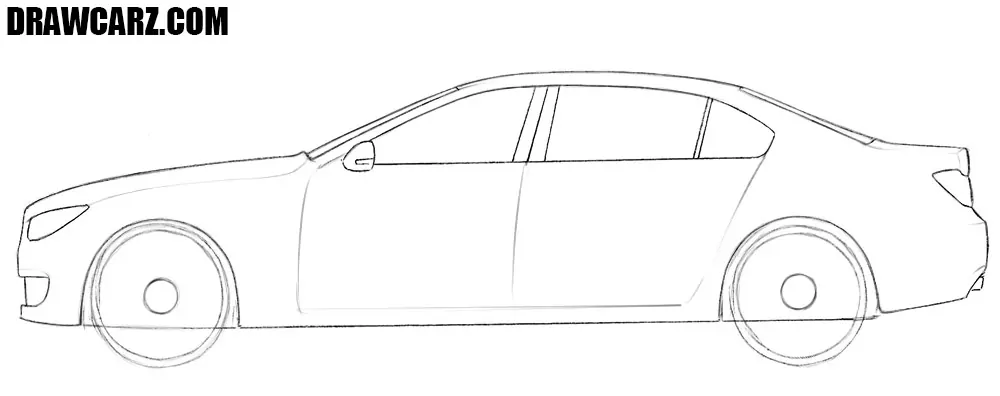
Step 8 – Draw the handles trace the doors of the car
The doors of all vehicles, although they may have some distinctive features, are usually sketched in a similar way. With this in mind, trace the front and rear doors. Make the outlines clearer by going over the vertical lines you placed earlier. Add handles as small rectangles or ovals, positioned near the middle of each door.
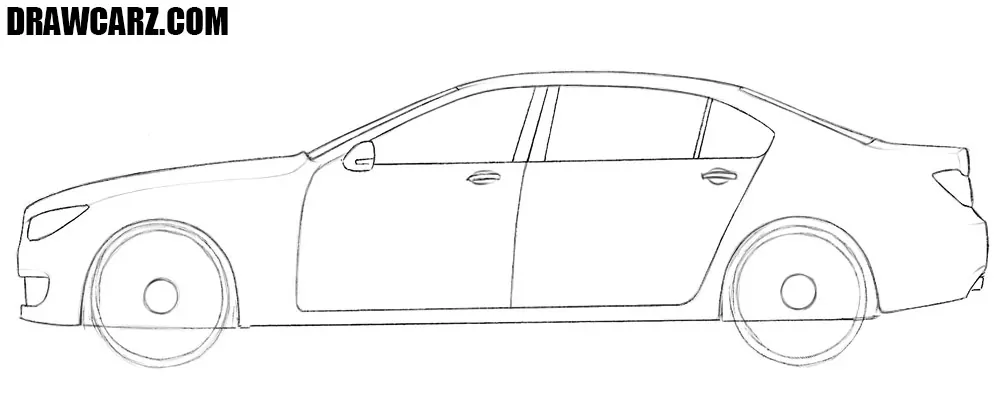
Step 9 – Customize the rims and erase the guidelines
In our example, we sketched classic spoke rims, but to make your car drawing look different, you can create them in another style. For example, check other drawing guides on DrawCarz for inspiration. Erase all leftover construction lines that clutter the sketch and refine the wheels.
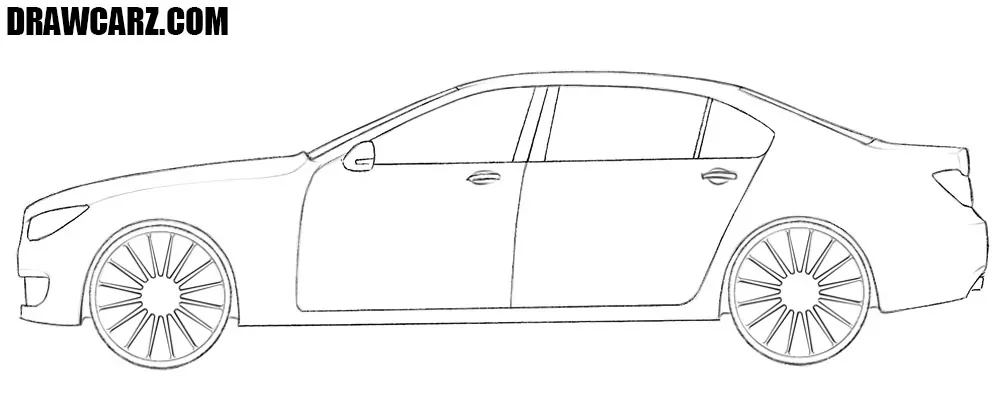
This easy car drawing guide was divided into 9 steps, each of which was as simple as possible. In fact, this is a kind of basic instruction that can be used to draw any other car in a very easy way.
In fact, it is with such simple drawings of cars that more complex creativity begins, leading, for example, to automotive design or other professions in this and other related fields.
Our other articles are built on this guide because in any case, all cars are sketched the same way.
If you are searching for a more complex basic article, then move to the advanced car drawing tutorial. It is the main guide, where we show the process in the most detailed way, so this easy car drawing tutorial is the additional, more simplified version.
Also, you can visit our category For Beginners, where we show the most popular brands and car body types in the simplest way.
Then, try to repeat everything as in this lesson, trying to sketch a completely different car using the steps presented in this guide.
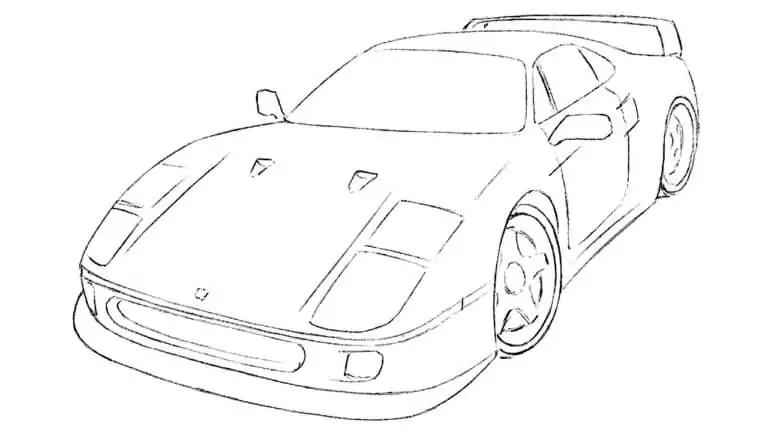
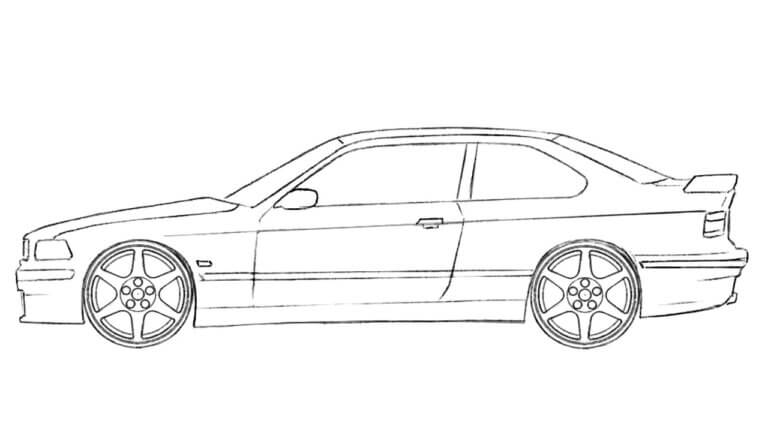
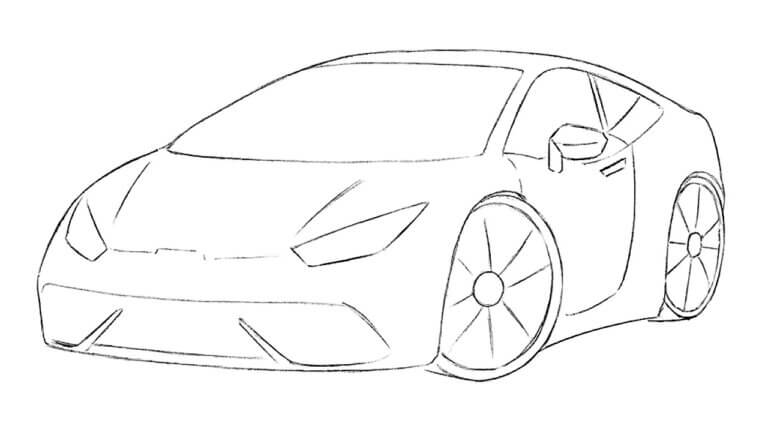
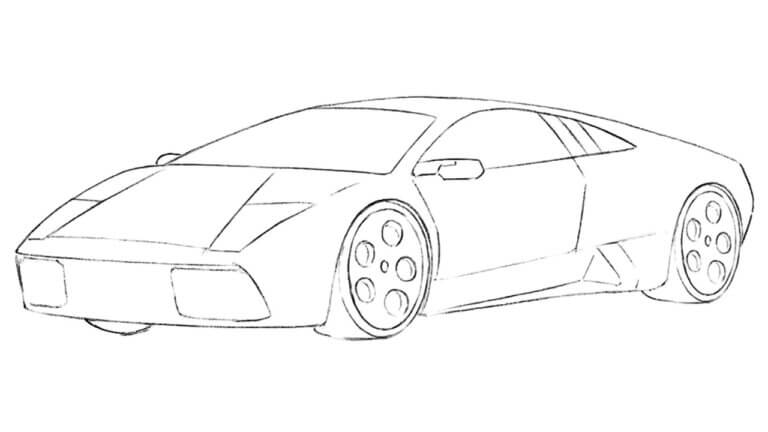
Here are some examples of what cars you can draw with this tutorial:
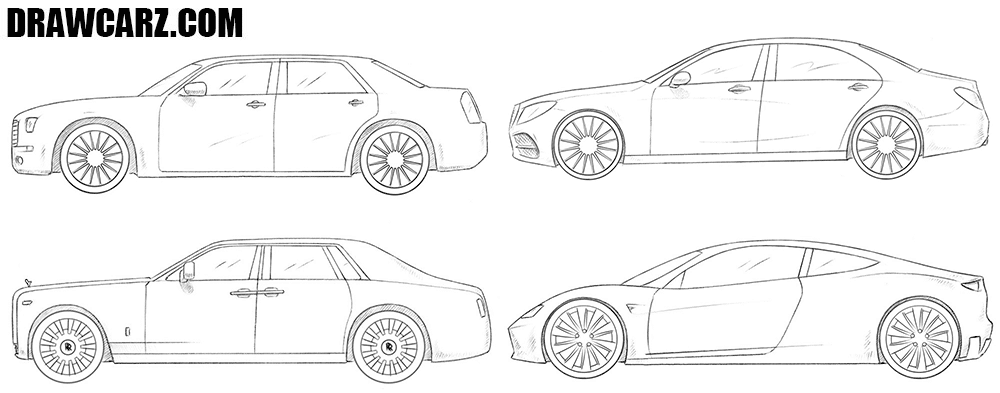
Look at the picture above, where we have collected a few examples of vehicles that can be drawn with the help of this sketching guide.
As you understand, to complicate the drawing and make it more realistic, you can add some details and shadows. Also, you can sketch automobiles of any other type, shape, brand, and model.

And now we want to give some useful tips for artists:
- Straight lines can be drawn with a ruler, circles can be drawn with a compass (but of course, it is much better if you can create everything freehand, without the help of additional tools).
- For a more complex and realistic look, you can add shadows or paint a vehicle. You can also trace the outline with an inker, which will give your sketch a more stylized or cartoon appearance.
- Try adding some details to make the vehicle illustration more interesting. For example, you can depict a spoiler or air intakes, for greater sportiness.
- To give your sketch a sportier look, you can make it flatter and more aerodynamic, and draw larger wheels.
- To make the automobile look more luxurious, and again sportier, depict one door instead of two.
- As mentioned above, use various designs of rims and bumpers to change the overall appearance.
- Do not forget that a longer vehicle looks more premium, while a shorter one looks more urban.
If this article was useful for you, then we are sure that our other guides will be enjoyed by you, so visit them and learn to draw with DrawCarz.
If this tutorial was useful for you, then we are sure that our other guides will also be enjoyable, so visit them and continue learning vehicle DrawCarz.


This is great and good.
Thank you
This Is Great!
Thank you so much
Great drawing tutorial
Thank you, glad you liked it.
Im not the best at drawing and my picture came out ok………………………………… XAXAXAAXA
Very good! If it turned out fine, just keep practicing, and your drawings will become even better.
cars are fun
We think so too.
i need transformer
Nice idea. Thanks.
Coool drawing guide
Thanks, glad you liked the guide.
im not good at drawing
No problem, just keep practicing and you’ll get better.
Good drawing tutorial
Thank you for the feedback.
Need some more car drawings.
Got it, we’ll add more car drawings.
Thank you
and yes i need more car drawings
cool!
Thanks, more car tutorials are coming.
Nice
Thank you.
i like cars
Same here, cars are awesome.
I ike cars
I liked the drawing I just couldn’t draw the perfect circle
Lol Me too😂🤣
That’s fine, circles are always tricky.
Cool car
Thanks a lot. We are very happy you live our car drawings.
Hd
this is not that easy
Yes, drawing cars can be challenging at first, but practice makes it easier.
i love this app it helps me draw beter
Glad it helps you improve your car sketches, keep practicing.
Love this drawing tutorial!!!
Thanks, happy you enjoyed this tutorial.
i am so sorry rong person and there is Multiple persons in this chat thingy
No worries, comments here are for everyone who likes drawing.
JUST kiding i love drawing i will never give up i mite say some mean comments about my drawing but i wont give up
That’s the right attitude, never give up on your drawings.
Hi every one
hi
Hi there, welcome to our car drawing site.
hello
Hello
hi
v v v v v v v v v v very good
Thank you, glad you liked it.
i want a buggitti
We have a Bugatti Chiron drawing tutorial: https://drawcarz.com/how-to-draw-a-bugatti-chiron/
Can you do a Tesla Model S Please
Thx
Hello. We have a drawing tutorial about Tesla Model S. You can find it through the search box.
my drawing really looks the same
i love this app
Many thanks, Anoosha.
it nice
Thanks, Sarah.
Yes! Finally something about cars.
this helped me with a project
Happy it helped with your project.
Glad you enjoyed the easy car tutorial.
THIS WAS WIERD BUT KINDA HELPFULL
Thanks, good to know this guide was useful.
this was great
Appreciate it, thanks for the feedback.