How to Draw a Classic Car
The vast majority of our tutorial show how to illustrate modern cars, but here our team will show you how to draw a classic car.
In fact, the concept of a classic car is very flexible. This term can be used both for cars from the beginning of the 20th century and for cars from the end of the same century.
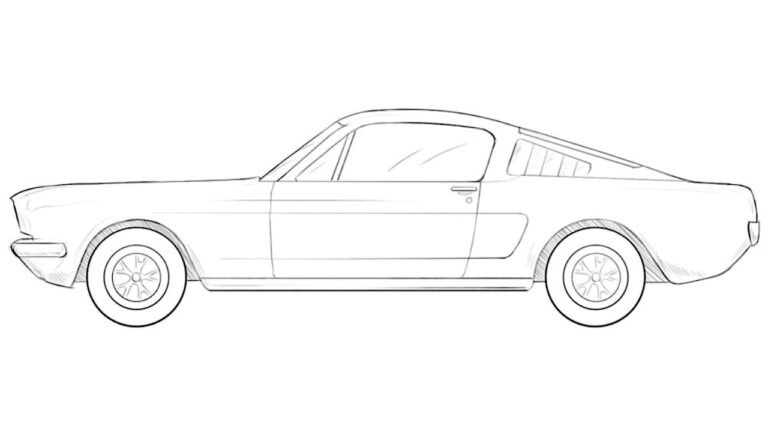
In this guide, the team of Drawcarz will show you how to sketch a classic car using the example of a mid-20th century Muscle Car, but using the same methods you can illustrate many other classic vehicles.
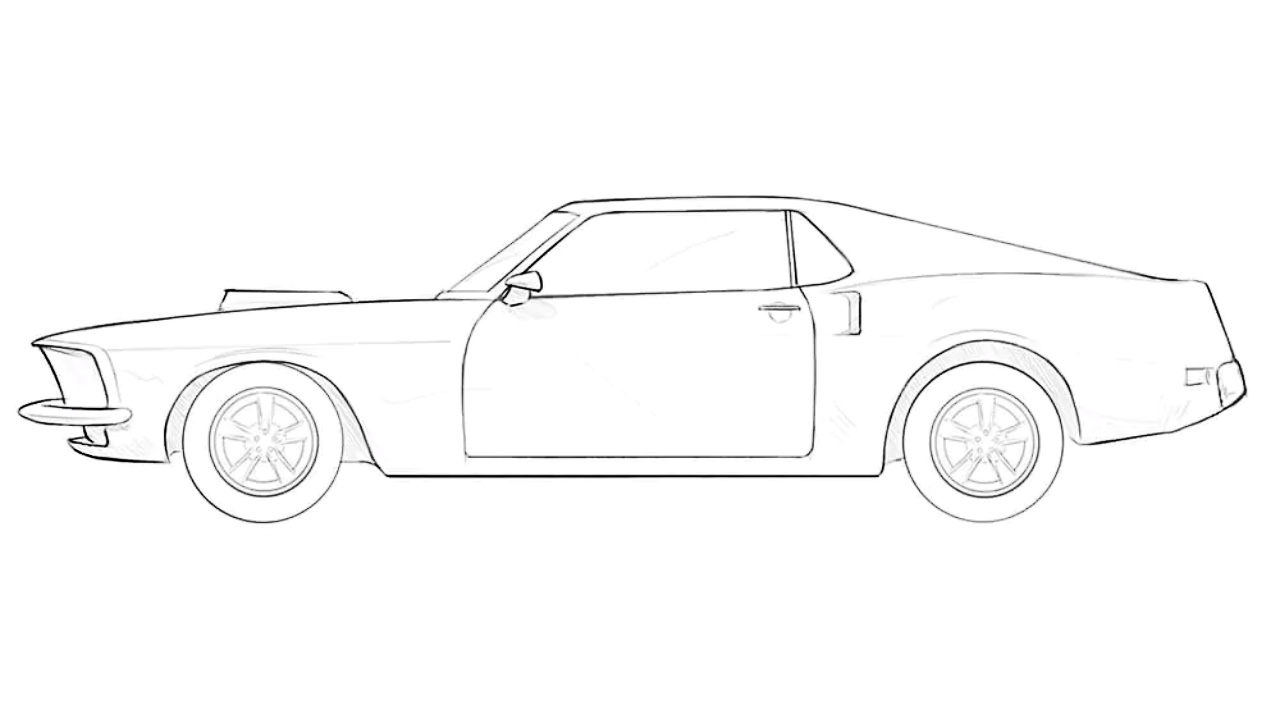
How to draw a classic car: step-by-step tutorial
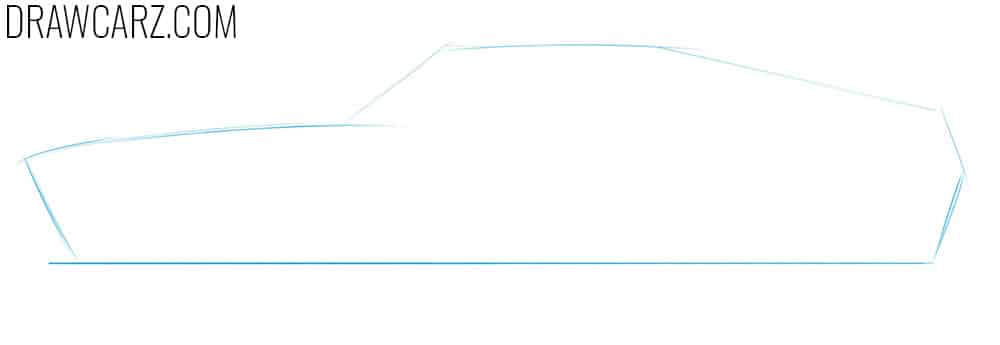
Step 1 – Mark the classic car’s long proportions
Sketch the overall outline of the vintage automobile with very light lines. The body should appear long and relatively flat, a trait typical of mid-20th century muscle cars. You can exaggerate the length of the hood or make the proportions more compact.
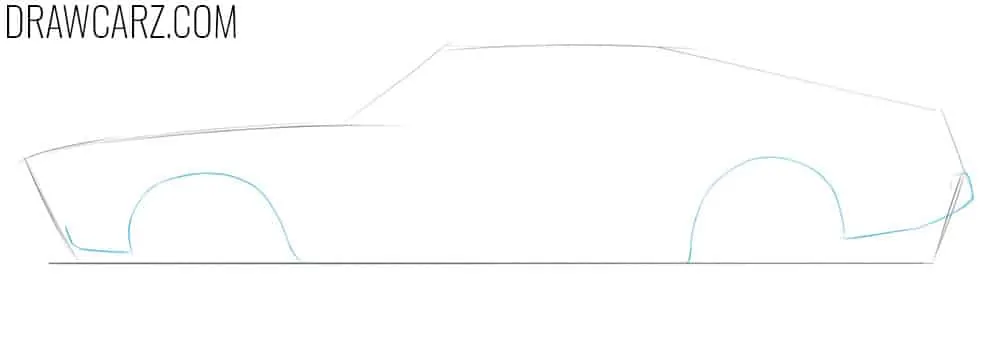
Step 2 – Detail the bottom adding wheel arches
Draw the classic car wheel arches along with the lower edges of the front and rear bumpers. You can make the wheel arches curved or make the top edges slightly flat. On early retro cars, arches were usually rounder and wider, while later classic coupes often had narrower, more angular shapes.
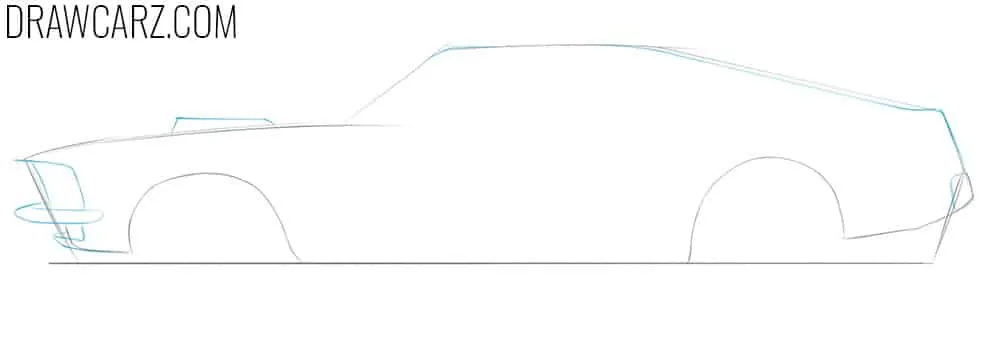
Step 3 – Draw the classic details on the car front
Refine the body outline with smoother lines. At this stage, add the front bumper and frame the headlight. Sketch a small hood air intake to convey the muscle car feel. You can also make the bumper thicker and the headlight rounder. Give the rear edge a smooth shape.
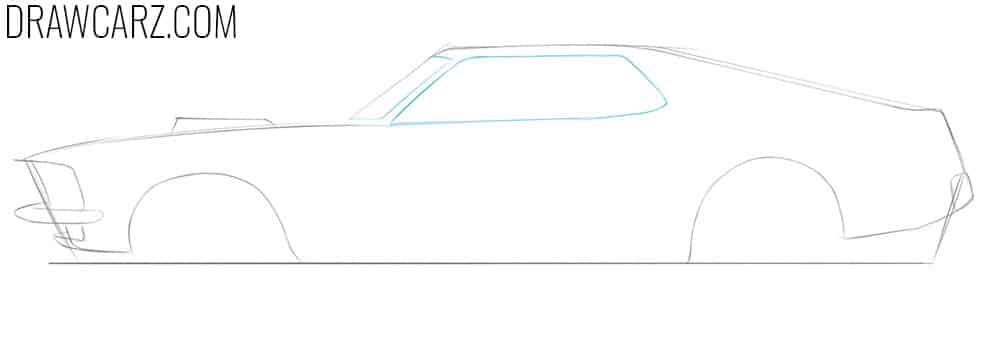
Step 4 – Mark the car’s beltline and glass
Add the visible side part of the windshield and sketch the side window frame. Keep in mind that this is a coupe body, so the roofline should flow smoothly into the rear section. For a different type of classic coupe you can make the windows taller.
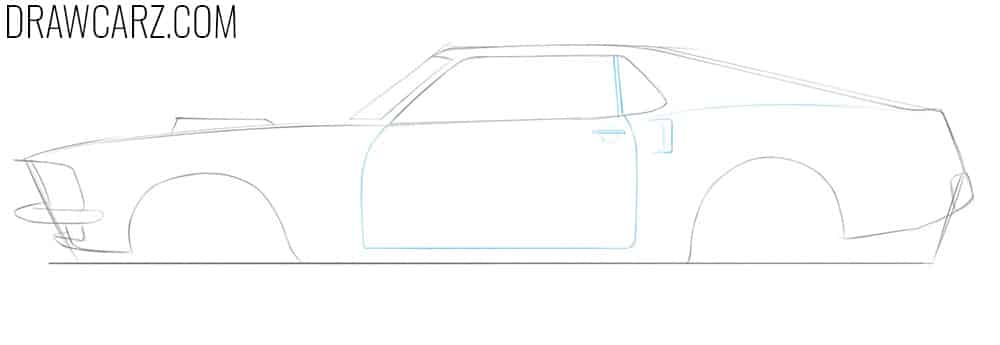
Step 5 – Draw the classic coupe door of the car
Sketch the vertical line at the rear of the window frame, then outline a long door with a handle. Add a small air intake near the door and a light beltline above the rear arch. In this stage, you can sketch a single door for a couple or two doors for a sedan.
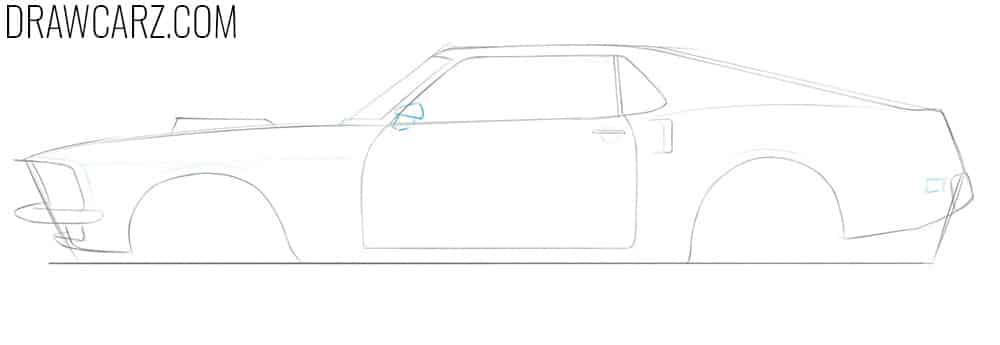
Step 6 – Mount a small round retro mirror
Draw a small round side mirror at the lower front corner of the side window. This suits most retro coupes and sedans. For wagons, mirrors were sometimes larger; for convertibles, you can reduce the mirror size. Also, you can add some more small details, for example and additional air intake.
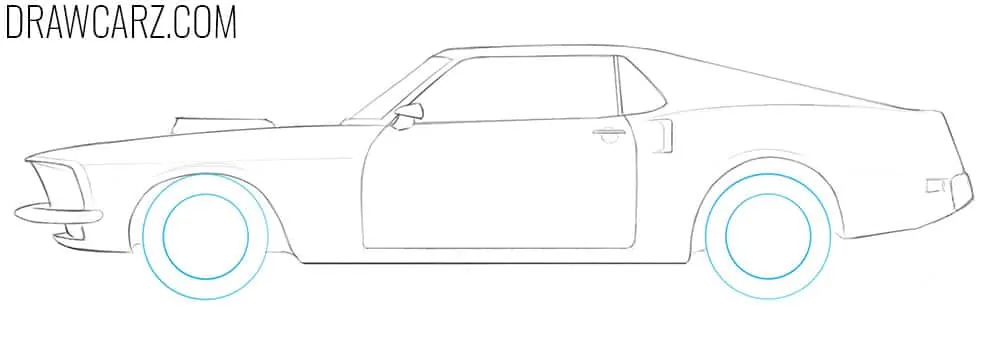
Step 7 – Clean up the retro car and draw the tires
Carefully erase construction lines. Draw two perfect circles for the front and rear wheels, and add rims inside. Place both wheels on the same and keep their diameters equal. To make the wheels look even more realistic, you can sketch tire textures.
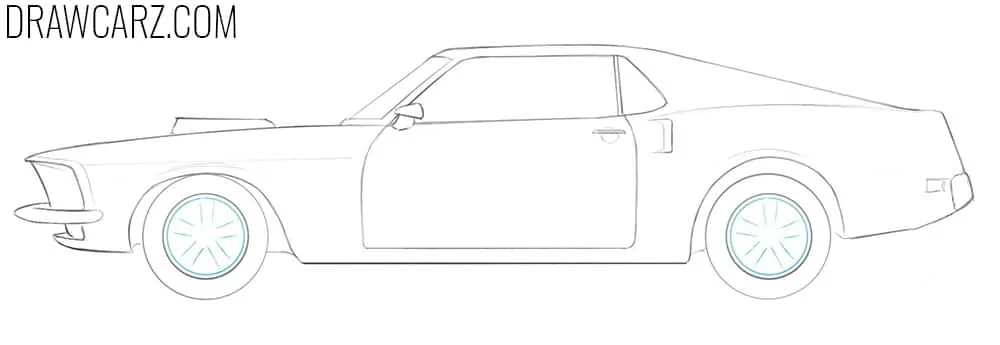
Step 8 – Start drawing the retro rim details
Begin detailing the rims by drawing spokes radiating from the hub to the rim. To space them correctly, first mark a cross at the 12–3–6–9 positions, then fill in between. Keep all circles concentric and the spokes equal in thickness.
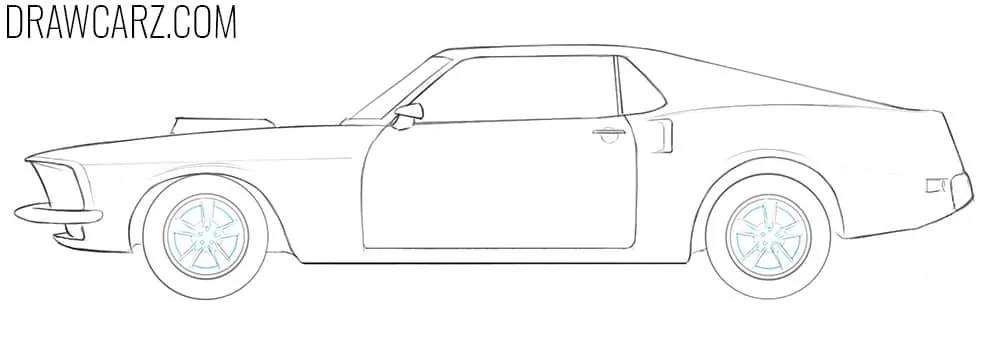
Step 9 – Finish the classic rim geometry
Complete the rims by adding the remaining spokes and a round central hub or lug nut area. Show the outer lip of the rim and darken the inner barrel for depth. You can replace the rims with more detailed patterns or use simple stamped ones.
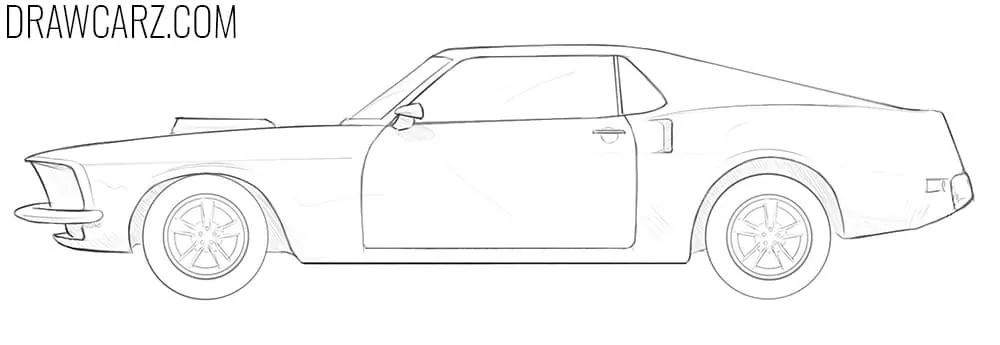
Step 10 – Show chrome reflections and shadows
Finalize your classic car drawing by shading the indicated areas. Add highlights on the chrome details, windows, and metallic body panels. Shadows can be multilayered to give the retro coupe a three-dimensional look.
Further classic car drawing practice
There are many cars with very different designs, and this is especially true among older generations.
In many cases, carmakers were still searching for their own style, experimenting with design solutions before the era when much of automotive design became driven by management decisions, oil prices, and sales strategies.
In the mid-20th century, nearly every company had a distinct look, and many of their cars appeared unusual and original.
In this lesson, we showed one way to draw a vehicle from that period, and now you know how to illustrate such a car yourself.
To expand your skills, try learning how to sketch other old and classic cars using the techniques you’ve just practiced.
You can start with our antique car drawing tutorial, where we carefully explain how to sketch a full-sized vehicle from the 1950s.
Another option is our Ford Model T lesson, which focuses on one of the most legendary cars in the history of the automobile industry.
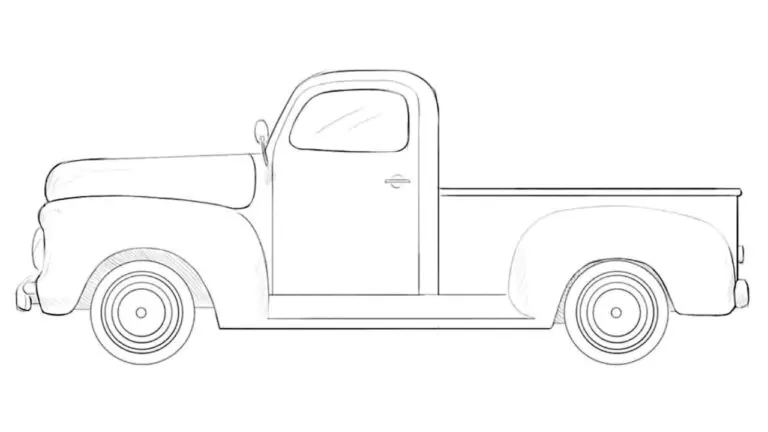
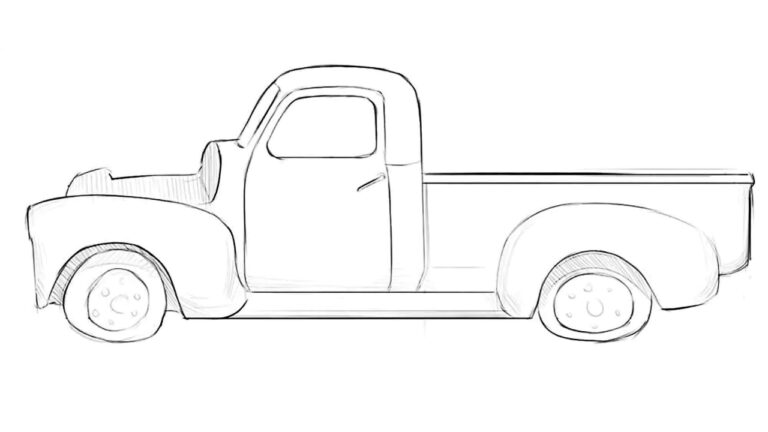
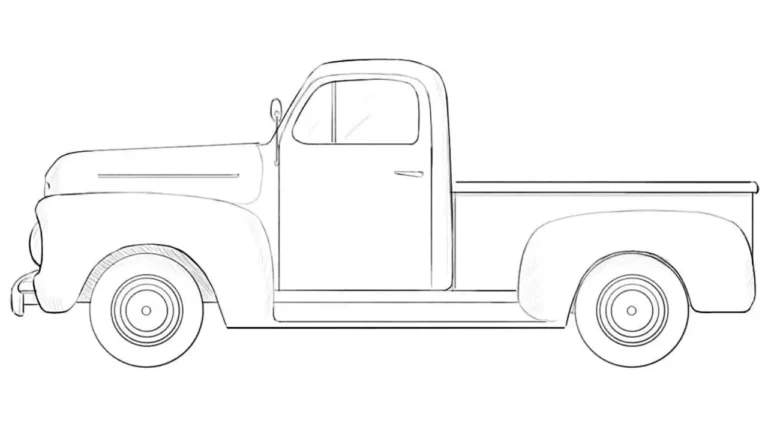
For those interested in larger designs, visit our old truck drawing tutorial, where we guide you step by step through the process of illustrating a mid-20th century pickup truck.
If you found this classic car tutorial useful, subscribe to our free email updates so you won’t miss new step-by-step lessons on vintage and modern vehicles.
Share this guide, and keep practicing with our other tutorials to build a collection of drawings across different eras of automotive design.




I like it
It is groovy
It is awesome
it really is
Thanks, glad you liked our drawing tutorials.
this grate looking
Thanks, happy you think our tutorial looks great.
this is cool bc they give you step by step
Glad the step-by-step format is helpful.
yas this car is hard.
Hi. If you want to draw a simpler car, try our ease drawing category, where we publish more simplified versions of cars.
Really cool drawing tutorial
Thanks, glad you enjoyed the tutorial.
i iam an artist
and i ripped it im jk it turned out amazing and im mixed
That’s good to hear, glad your drawing turned out well.