How to Draw a Cartoon Car
On the pages of our site, you will most often come across very detailed car drawing tutorials, but so that children also get involved in sketching different vehicles, we decided to create this guide on how to draw a cartoon car.
To make this instruction as simple as possible, we have removed all additional details and shadows.
We left only the most important parts of the car and decomposed the drawing into seven very simple stages containing literally elementary actions.
So, if your art supplies are ready, then scroll down the page below to start sketching a simplified cartoon car.
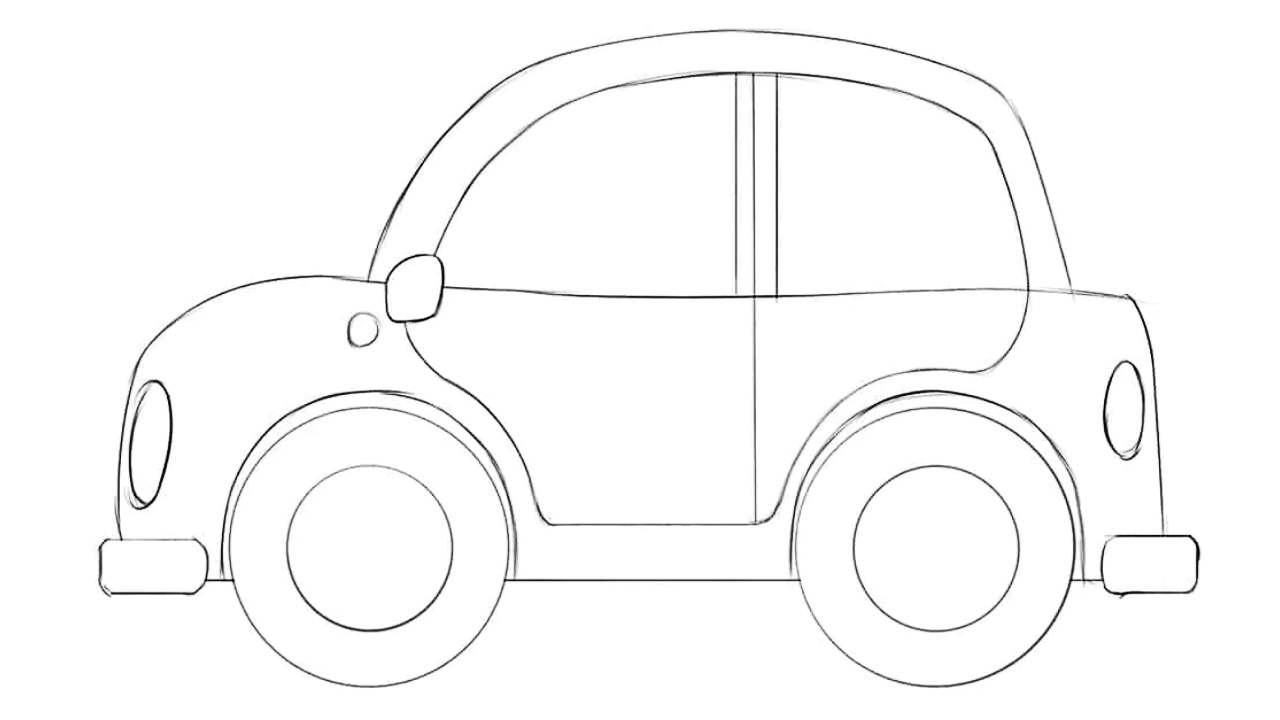
How to draw a cartoon car: step-by-step tutorial
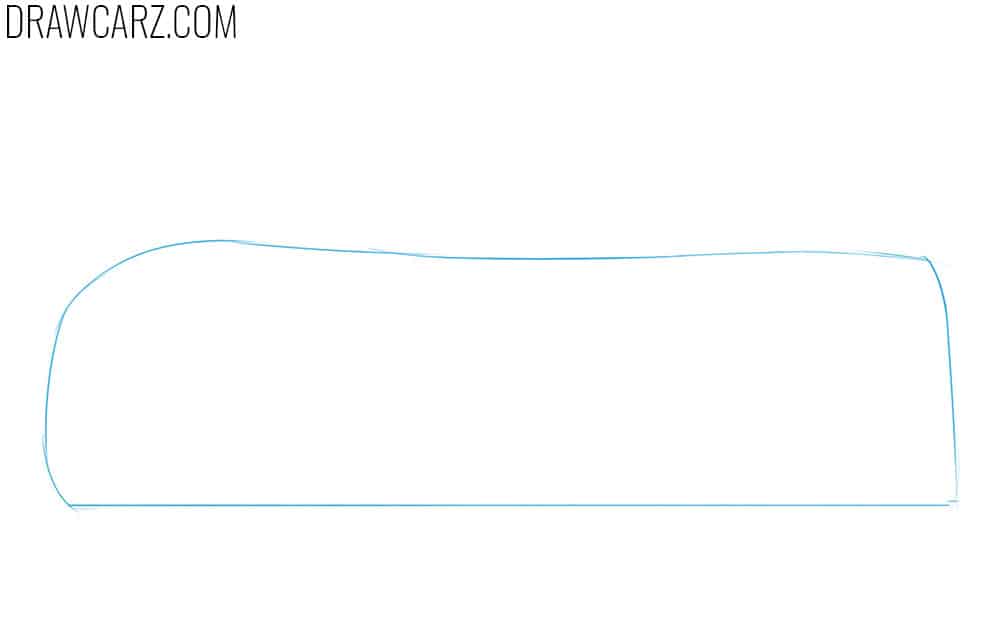
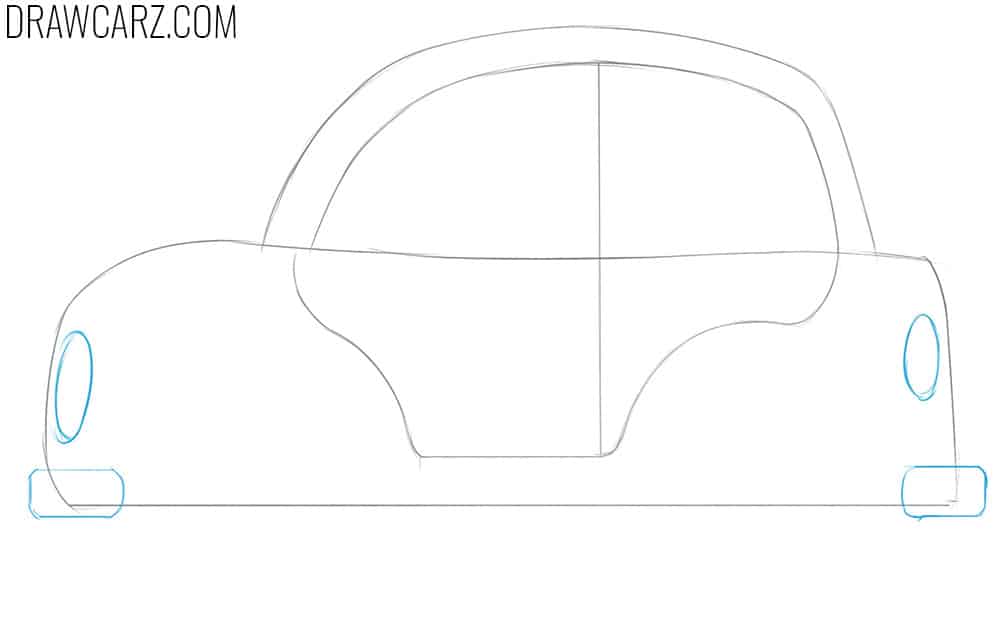
Step 1 – Mark the lower part as a flat shape
Draw the base of the cartoon car as a long horizontal figure. Keep the bottom line straight and give the top line a light curve. This simple shape sets the bottom part of a simplified vehicle. For variation, you can make the base taller if you want the car to resemble a simple cartoon SUV, or your can mark a cargo area for a truck version.
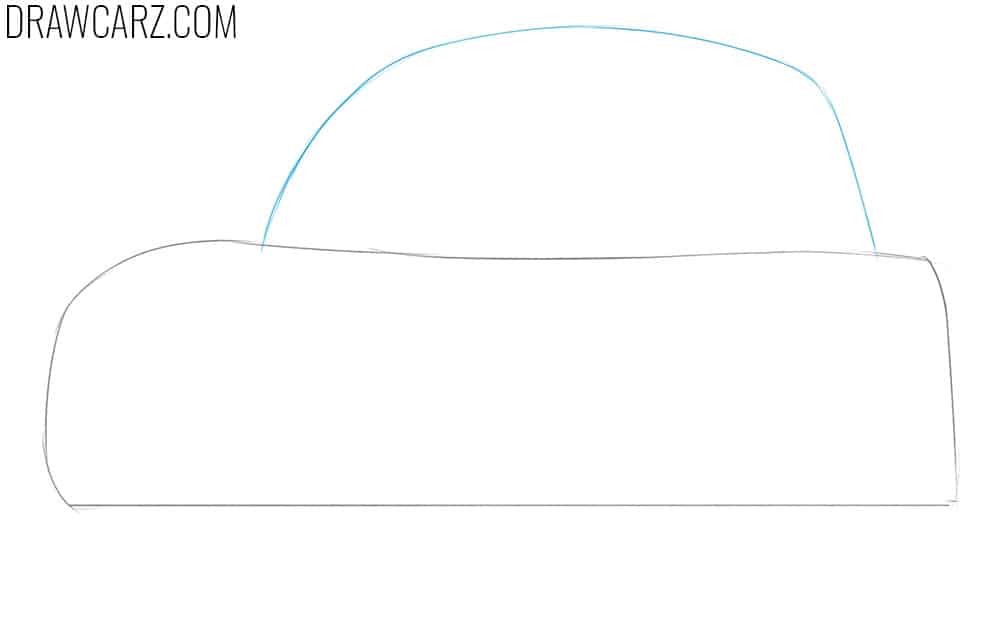
Step 2 – Draw the cartoon roof of the car
Sketch the roof with a long, arched line. At this stage, the silhouette may look like a bowler hat, which works well for a cartoon-style automobile. In many cartoons, you could see such vehicles. Make the curve smooth and even. A taller arch will make the car look more toy-like, while a flatter one gives it a sleeker look.
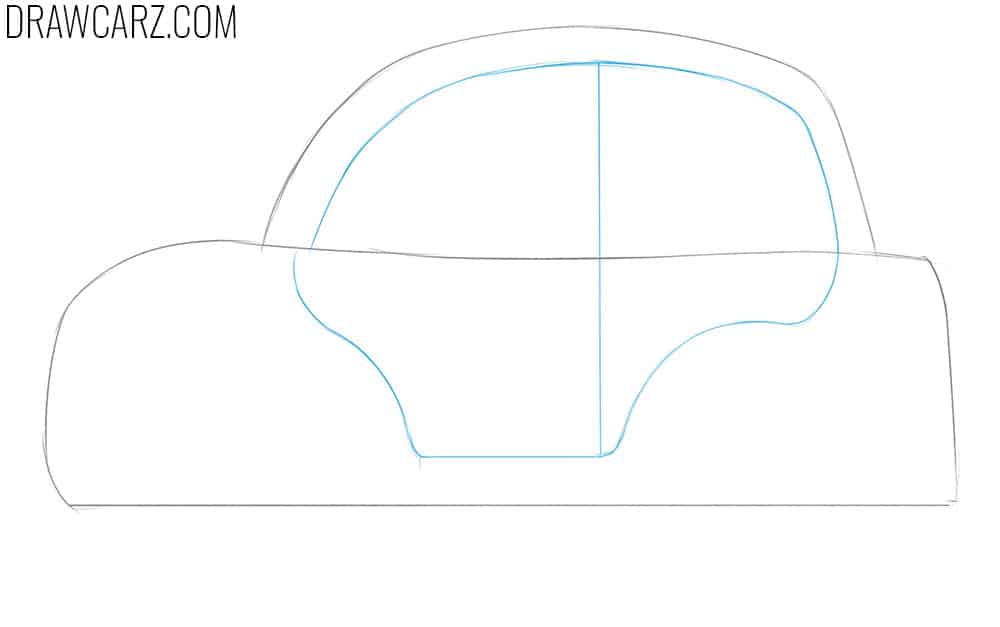
Step 3 – Outline the cartoon-style doors and windows
Use a curved line to create the window frame above. Add the doors in the lower section, dividing the front and rear with a vertical line. Keep the shapes large and simple to maintain a funny car drawing style. For a one-door cartoon coupe, you can skip the vertical division.
Step 4 – Attach the cartoon bumpers and lights
Depict the headlight and taillight as oval shapes. Then add bumpers at the front and back using rectangles with rounded corners. These simple exaggerated features make the cartoon car look more recognizable. You can enlarge the bumpers even more or give the car lights a different shape.
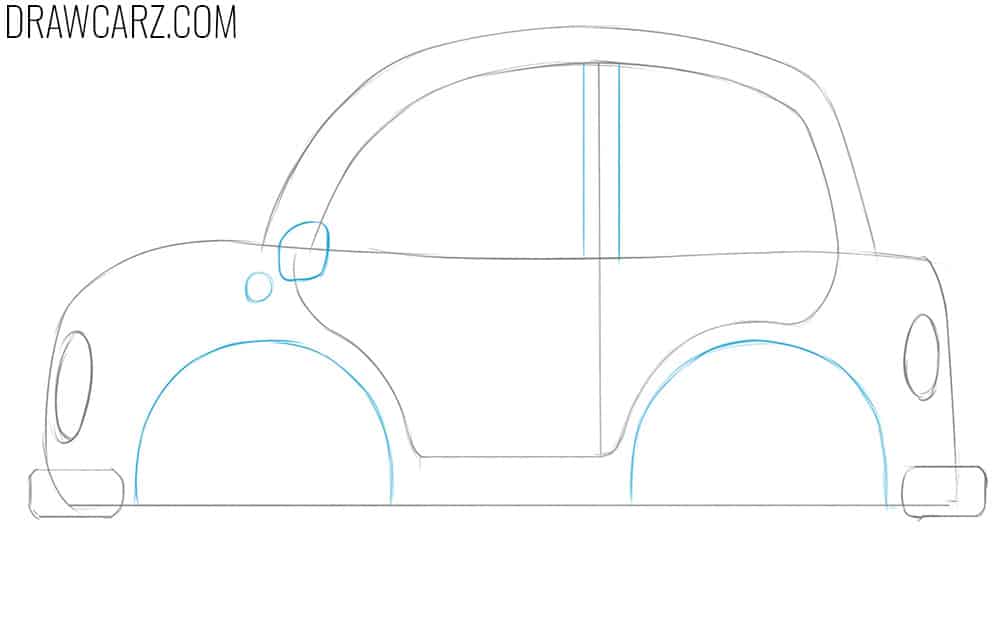
Step 5 – Indicate the simple arches and mirror
Add a vertical strip to mark the B-pillar between the windows. Sketch a small rearview mirror on the side and a circular turn signal. Draw the wheel arches of the cartoon car as two smooth semicircles. Making the arches larger will give the cartoon car a more toy-like appearance. Also, you can mark a small turn Leigh below the mirror.
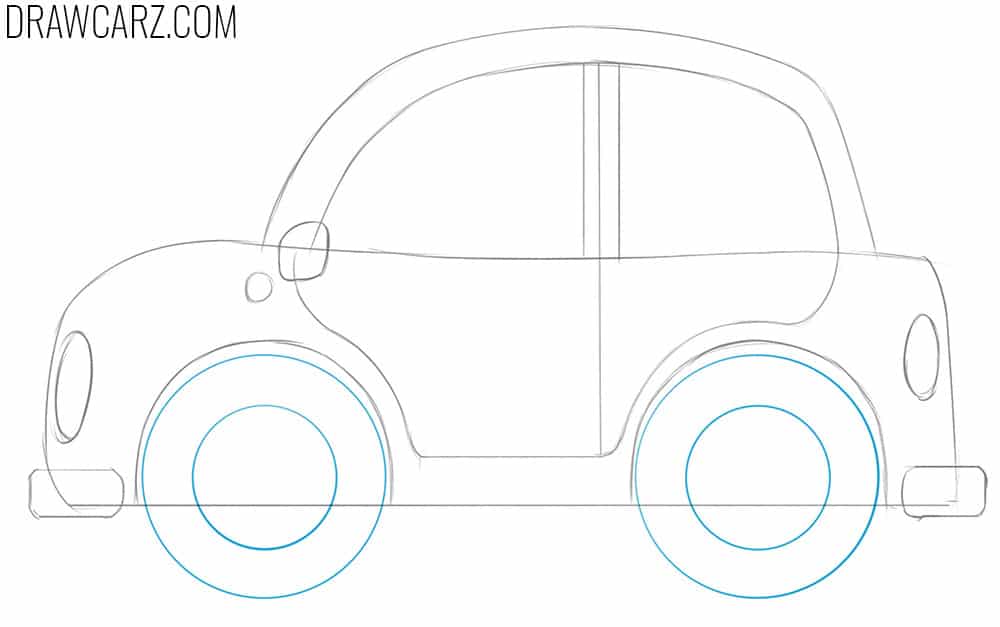
Step 6 – Draw the cartoon-like wheels of the car
Draw two round wheels beneath the arches and add rims inside them. Both wheels should look perfectly circular. Large wheels will make the vehicle look like a cartoon SUV, while smaller wheels represent a more small or sporty automobile. To make the wheels look more realistic, use a ruler.
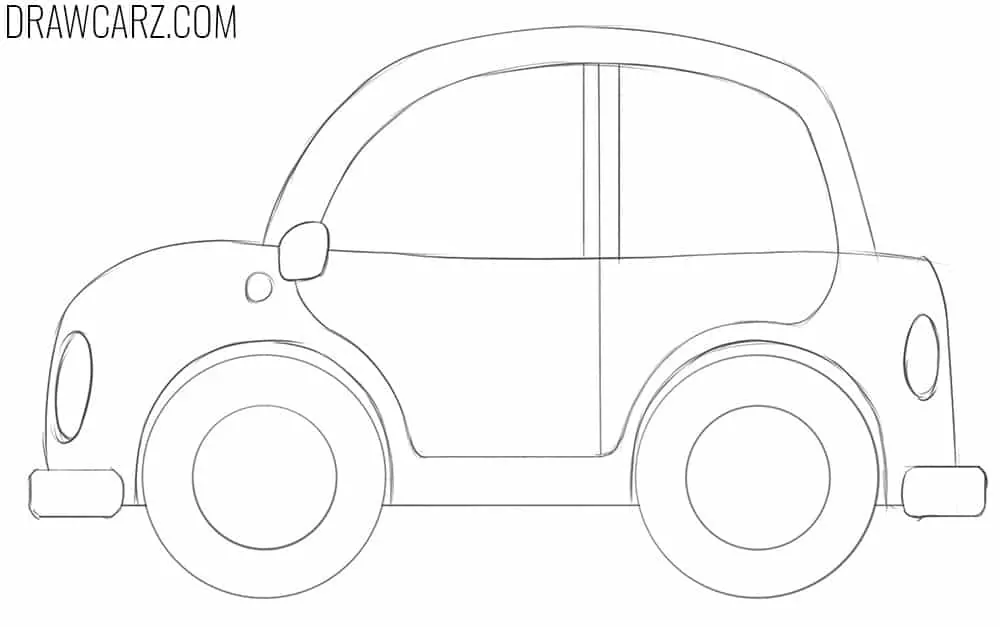
Step 7 – Darken important lines and clean the car
Erase all auxiliary lines and bolden the main contours of the cartoon car drawing. The cartoon car should now look expressive and simple. At this point, you can color it in bright tones or add shadows. To personalize your simplified vehicle, add details like a smiling driver or small interior elements visible through the glass.
Further practice in drawing cartoon vehicles
Cartoon cars are often the first type of vehicle we encounter as children in art – mainly in animated films, children’s comics, or games designed for younger audiences.
These vehicles always have distinctive features, which we captured in this drawing lesson. In this tutorial, we sketched a cartoon-style sedan, showing the main traits specific to that body type.
However, by using the same methods from this guide, you can easily draw any other car body in a cartoon style.
Simply take one of our tutorials and apply the simplified principles from this lesson to transform it into a cartoon version.
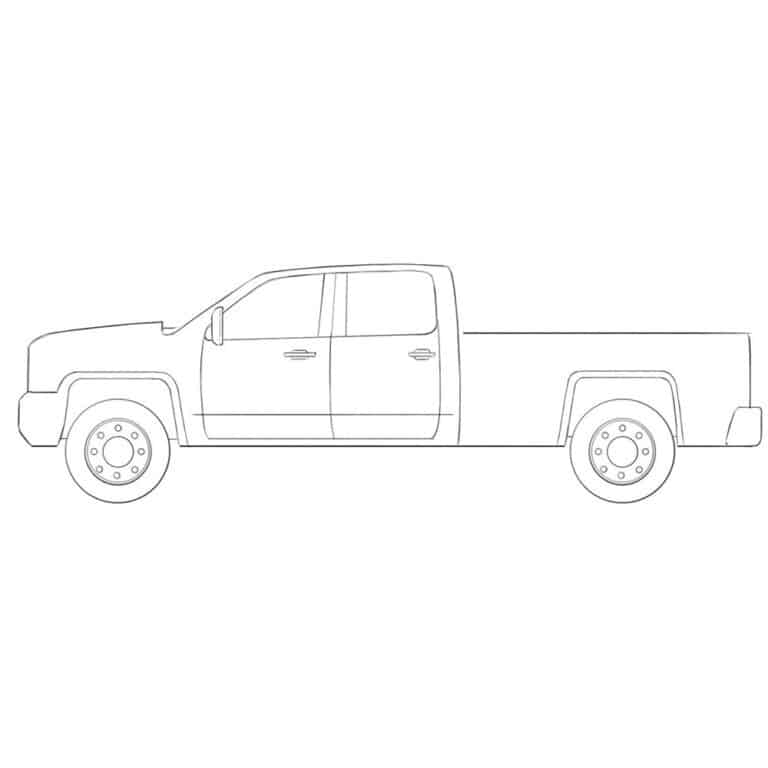
One of the most popular body types in America and worldwide is the pickup truck. In our easy truck drawing tutorial, we explain everything in realistic detail, but you can simplify it and create a cartoon version.
This is an excellent exercise for practicing different drawing styles.
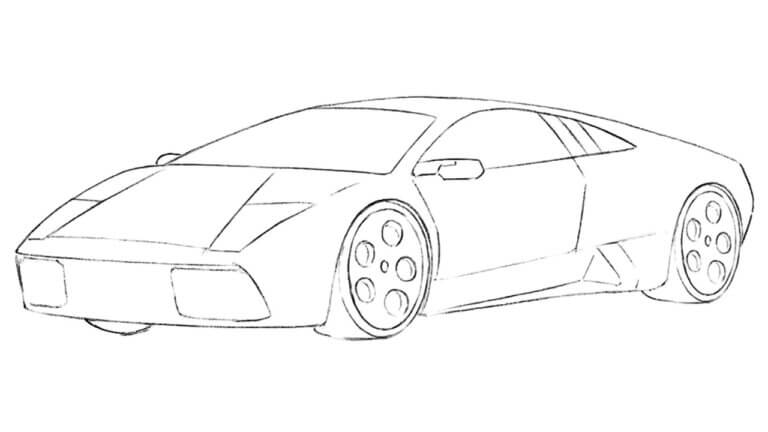
You can also visit our cartoon Lamborghini drawing tutorial, where we illustrate one of the most iconic sports cars in a simplified cartoon side view.
This guide is perfect if you want to expand your practice with fun and well-known models.
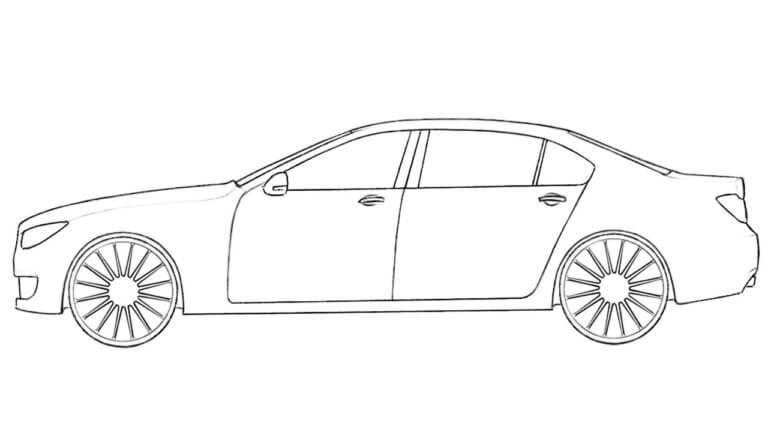
If you’re ready for a slightly more serious challenge and want to move toward a more advanced level without jumping straight into heavy shading, try our easy car drawing tutorial.
Here, we keep the minimal look and simple details but introduce a more realistic body structure.
It’s a great transitional lesson for those who are already comfortable with very simple cartoon sketches but aren’t quite ready for a fully realistic light and shadow drawing of a car.
If you enjoyed this cartoon car guide, subscribe to our free email updates to get new tutorials on both simple and realistic vehicles delivered straight to your inbox.
Share this guide with friends or classmates who also like sketching in different styles, and keep practicing with our other instructions to build a full collection of cars in every drawing approach – from cartoon to detailed realism.



hi
Hi! Thanks for visiting the site.
Amazing 😀
Glad you liked our tutorials, thanks a lot!