How to Draw an Opel Astra
At DrawCarz we most often publish tutorials on sports cars and supercars, but in this guide you will learn how to draw an Opel Astra.
This compact hatchback is not a supercar, yet it has a dynamic look and in some versions comes with sporty engines that make it quick and enjoyable to drive.
This tutorial will show you in detail what design elements will give even ordinary cars a sporty look, and will also show how such a car differs from sports models.

How to draw an Opel Astra: step-by-step tutorial
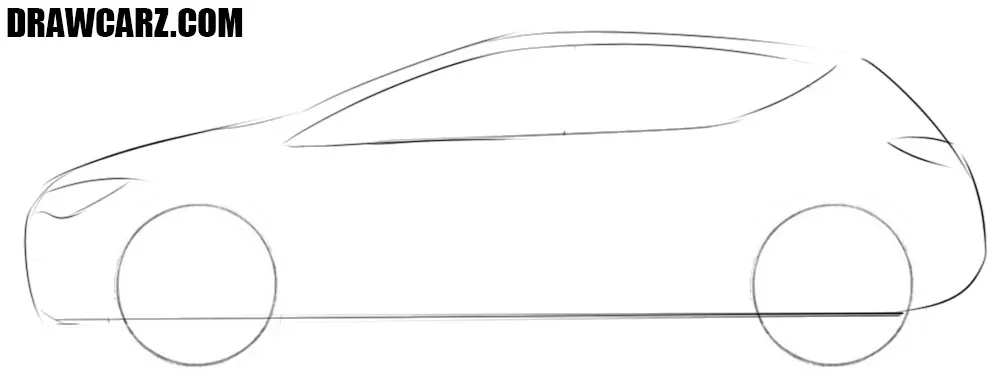
Step 1 – Sketch the compact car’s construction shapes
Usually, we start by creating the skeleton, the base of the future vehicle, and this Opel Astra drawing tutorial is no exception. Using very rough and loose lines, sketch this very skeleton. It’s a hatchback, so create a small but noticeable hood and short rear end.

Step 2 – Mark the wheels, lighting positions and windows
Now let’s add the most important and integral parts of the Astra. First of all, sketch the tires, keeping in mind, that they have to be perfectly round and symmetrical. After that, mark the front and rear lights with simple strokes and add a couple of smooth lines of window frame.
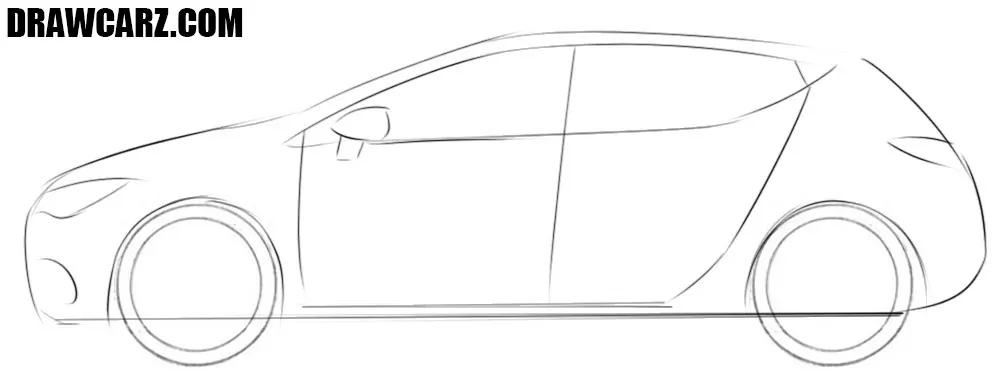
Step 3 – Define the fender arches, rims, and doors
In this phase, add more essential details. Mark the individual outlines of the windows that move into the lines of the doors. Then sketch the rim outlines inside the wheels, leaving a room for spokes. With a simple semicircle add the front air intake and the rearview mirror.
Step 4 – Draw the Opel Astra’s frontal details with clarity
From this stage onward, we’ll use finishing lines, meaning darker ones. Start with the Opel’s “nose”, drawing in all the details we’ve marked in the previous stages. First, trace the headlight, making this part more cleaner. The, darken the bumper shape, adding intricate details. You can give the vehicle a sporty look, adding a more aggressive bumper.

Step 5 – Darken the arched roofline and glazing band
Now smoothly proceed to the roof of the Astra. As in the previous stage, trace the image with dark and clean lines, making it look more like a professional illustration. Trace the window frame, making it smoother and cleaner. After that, detail the central pillar, using straight lines.
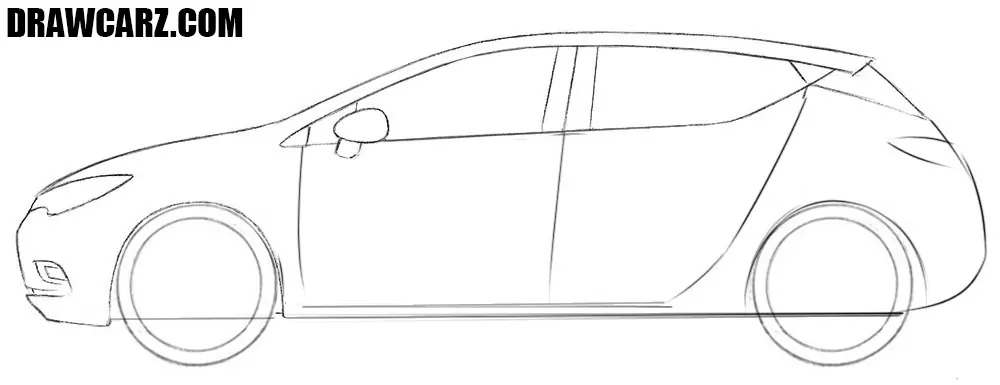
Step 6 – Draw the Opel Astra trunk and integrated rear bumper
So, next in line is the back of the compact car. Trace the line of the rear edge, forming the trunk and rear bumper. Darken the taillight giving it a final look. You can adjust the shape of the rear bumper, if you want to illustrate a sports version of the Astra. As a reminder, the lines should be clean, like morning dew, as in our illustration.

Step 7 – Darken the door contours and add handles
Using smooth and professional-looking lines, darken the side surface of the car. Draw the doors of the compact car in detail, erasing sketchy marks and giving these parts a finished appearance. Then, add the handles and sketch some decorative lines on the side. To make the car look more realistic, add the turn light near the wheel arch.

Step 8 – Draw the alloy rim patterns inside the wheel guides
In this stage, we will actually finish drawing the body of the Astra. As in all our other guides, this stage is about wheels and rims. With very smooth and dark lines, trace the tire outlines, making them perfectly round and symmetrical. Both wheels must be the same shape and size. Then, illustrate the rims, starting with the central hubs, then drawing the spokes around this center.
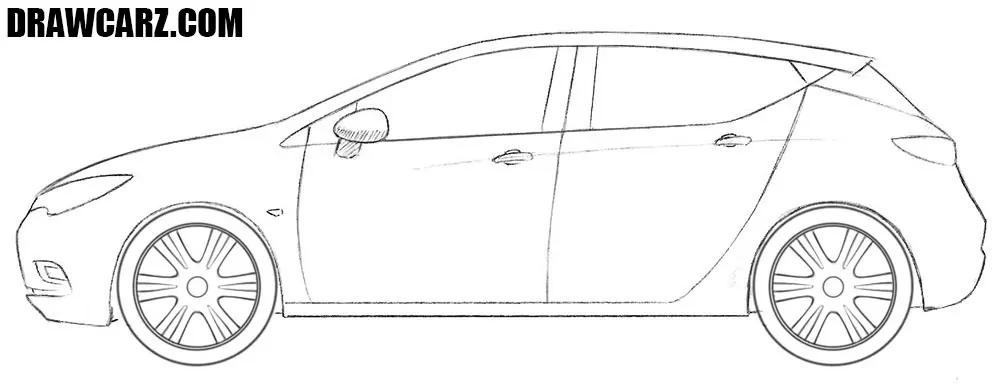
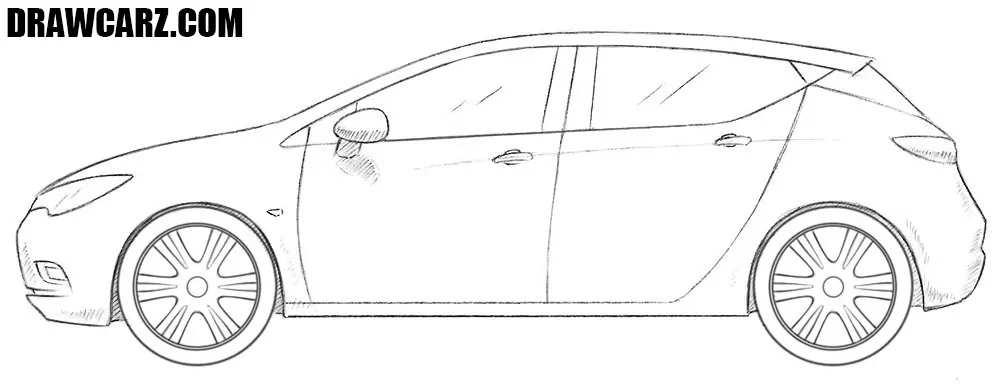
Step 9 – Complete your Opel Astra drawing with shadows
The final step in this Opel Astra drawing tutorial is, as usual, working on the shadows. First, create highlights with simple strokes on the glass surfaces. You cad draw more detailed reflections on the windows, to make the sketch more realistic. Then, using dense hatching, add shadows where they are indicated in the image below.
Further compact car drawing practice
Among people who like sketching cars and different vehicles, fast sports models and luxury coupes get most of the attention.
Everyday road cars attract less interest, yet learning to sketch them is a core skill for any artist or automotive designer. That’s why today we focused on how to sketch a realistic and detailed Opel Astra with shadows and highlights.
There’s also a clear trend: in recent years city cars and other simple models have adopted sharper, sportier, and more aggressive styling.
Designers and automakers understand that strong design matters at every price point. Modern Opel Astra models reflect this, borrowing cues from performance cars.
To reinforce these skills, try our Volkswagen Beetle drawing tutorial – an icon among small, stylish compacts.
And of course, don’t miss our Mini Cooper drawing guide, another legendary, efficient compact.
And for now, the Opel Astra tutorial is complete.
To keep getting new drawing and coloring lessons on compacts, sports cars, and trucks, subscribe to our email newsletter.


