How to Draw an Antique Car
Our team appreciates not only fast modern cars but also classic automobiles, so today we’ll show you how to draw an antique car.
We really like these old cars, first of all, because they were not created by corporate managers, but by real artists and engineers.
They had a truly interesting and majestic look, which to this day attracts the eyes of people on the roads.
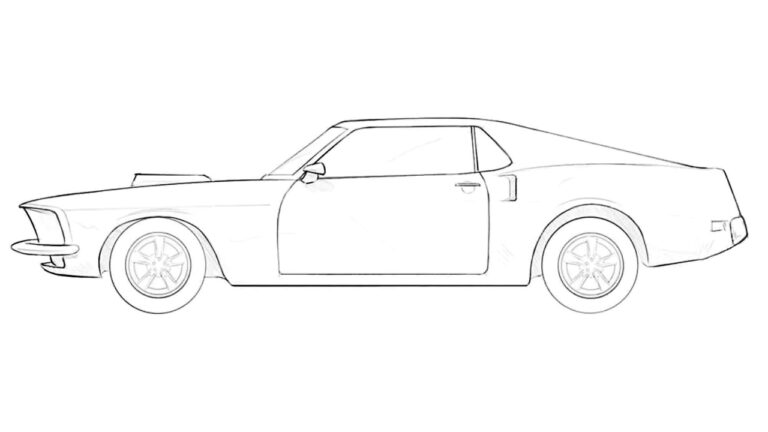
In this lesson, we want to demonstrate how to sketch a realistic and detailed antique car from the 1950s and remind you just how stylish and fascinating these classic designs can be.
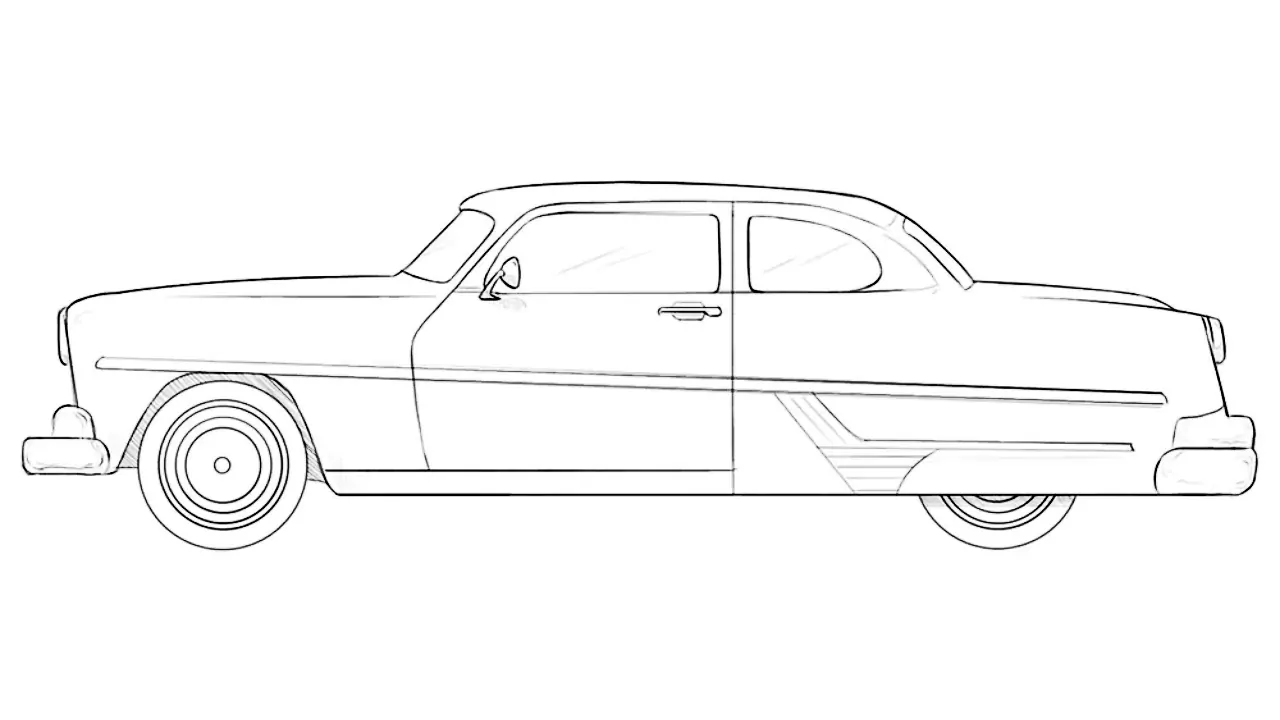
How to draw an antique car: step-by-step tutorial
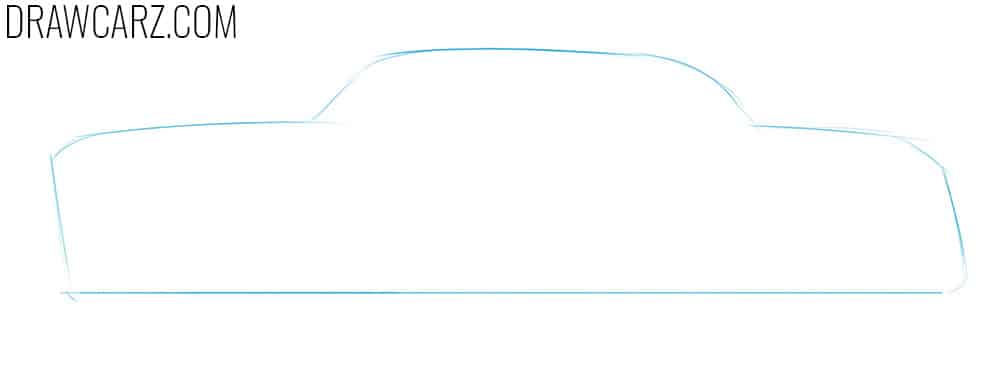
Step 1 – Lightly sketch the classic car long silhouette
Outline the general silhouette of the antique car. The body should look elongated, with a sense of heaviness typical of vintage automobiles. Keep the lines light so you can adjust proportions of the automobile easily. For early antique cars, you can exaggerate the length of the hood.
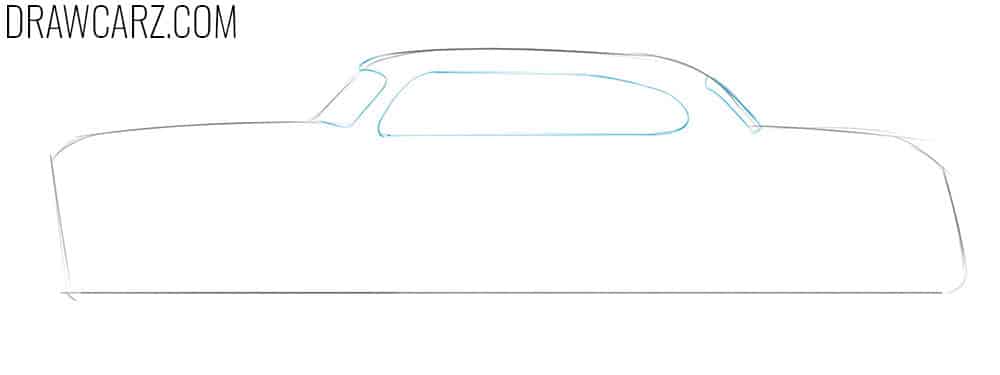
Step 2 – Draw the antique car’s window frames
Sketch the windshield and rear window with rounded edges. Add the side window frame between them, making all contours soft and curved. Unlike modern sedans, early heritage vehicles often had small windows, so you can reduce their height for a more authentic feel. If you want to depict a later-era retro car, you may make the glass sections slightly larger.
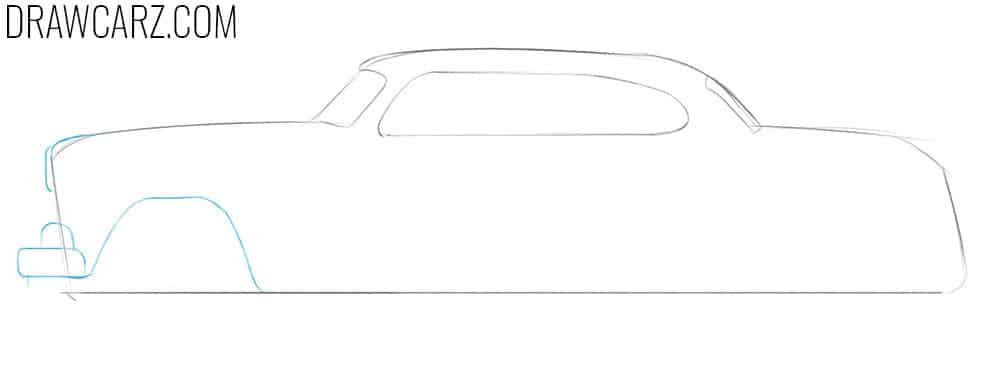
Step 3 – Shape the classic headlight, bumper, and fender
At the front, draw the bumper and the visible side edge of the round headlight. Add the wheel arch next to the bumper, giving it a simple and smooth shape. Many vintage cars were built with fully enclosed rear arches, so you can convey it in you sketch. If you prefer an older style, illustrate the headlight as a separate lantern-like fixture.
Step 4 – Add the rear bumper and small taillight
Go to the rear and draw the taillight and bumper of the antique car. To check accuracy, look at the drawing in a mirror – this helps spot mistakes in proportion. For variation, you can add dual taillights if you want to depict a slightly later heritage vehicle.
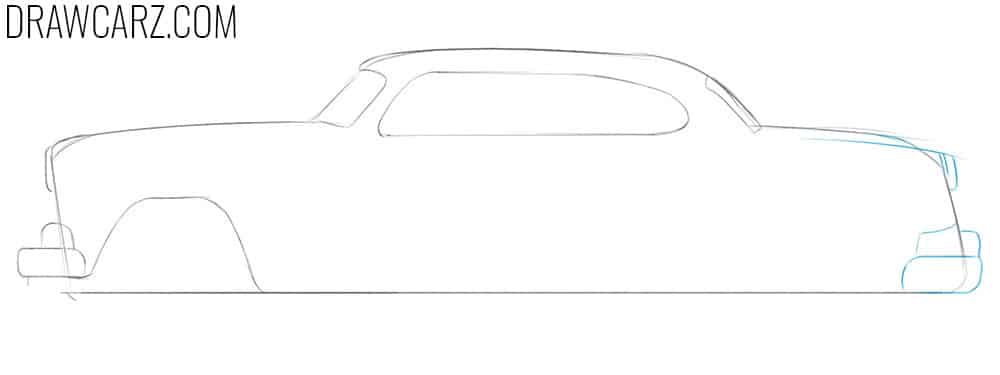
Step 5 – Draw the antique car long coupe door
Add the B-pillar to separate the glass sections, then sketch a single elongated door. Many retro coupes were designed this way, with one large door instead of two smaller ones. You can make the lines straight or slightly softened at the corners, as in our illustration. The door could be even longer or shorter.
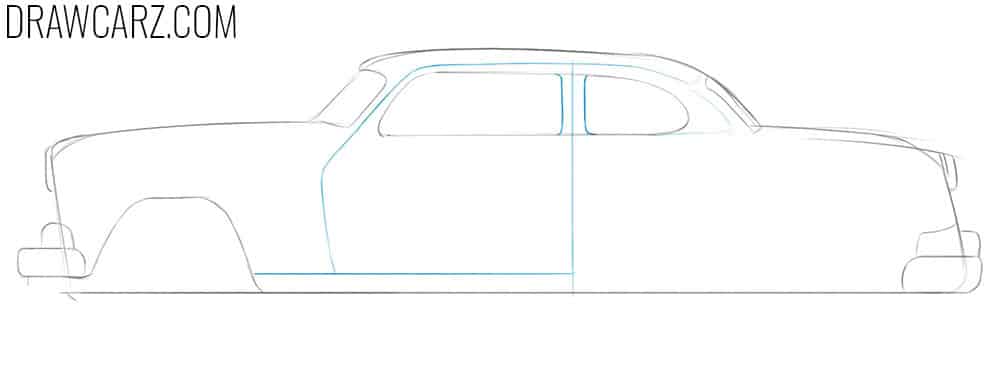
Step 6 – Add the long retro molding lines
Sketch a molding strip running along the body’s side. In the rear section, add decorative trim lines to show period styling. These moldings were common in vintage automobiles and made the length of the body more pronounced. For earlier cars, keep them thin and minimal; for later retro designs, make them more prominent with layered chrome.
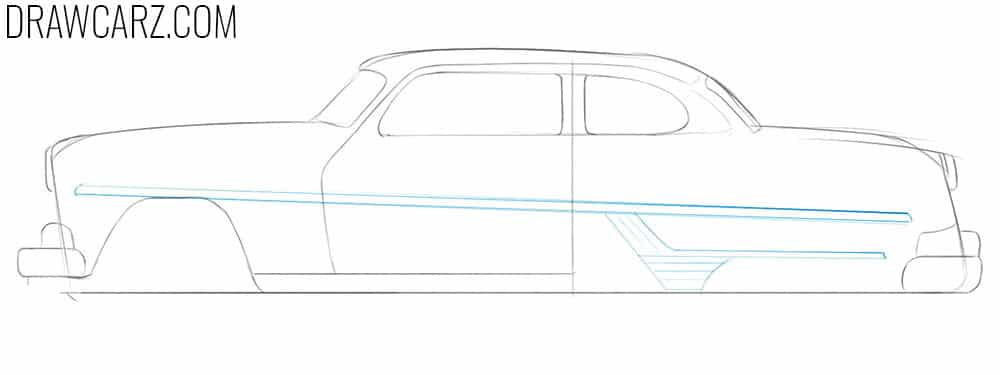
Step 7 – Draw the antique car small mirror and handle
Place a small round side mirror at the front corner of the window frame. Add the door handle toward the rear of the coupe door. Sketch a hood line running from the windshield to the headlight. In antique cars, the handles and mirrors were much thinner than modern ones and were often chromed.
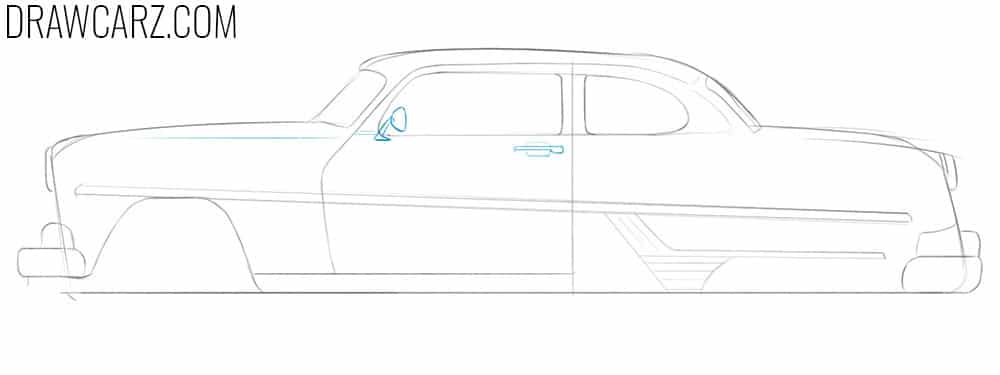
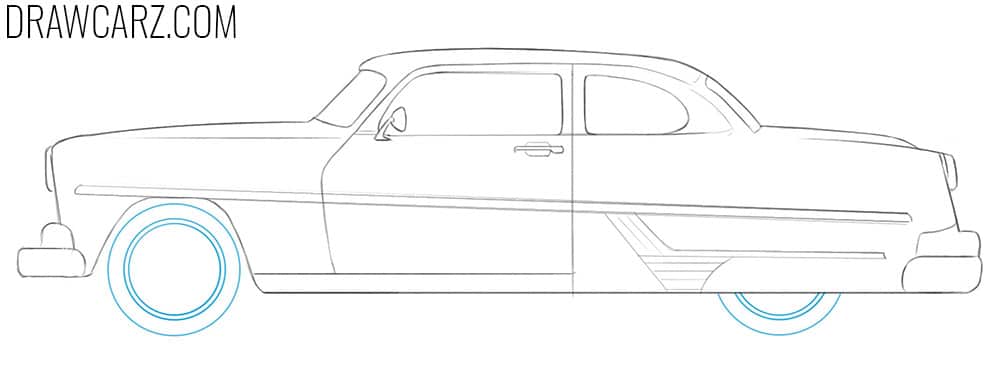
Step 8 – Erase guidelines and draw simple wheels
Remove extra construction lines and add the wheels. Keep the front wheel large and perfectly round, with a rim inside. Add the visible part of the rear wheel. For an older classic model, you may leave more of the wheel exposed; for 50s antique cars, partially cover it with the fender.
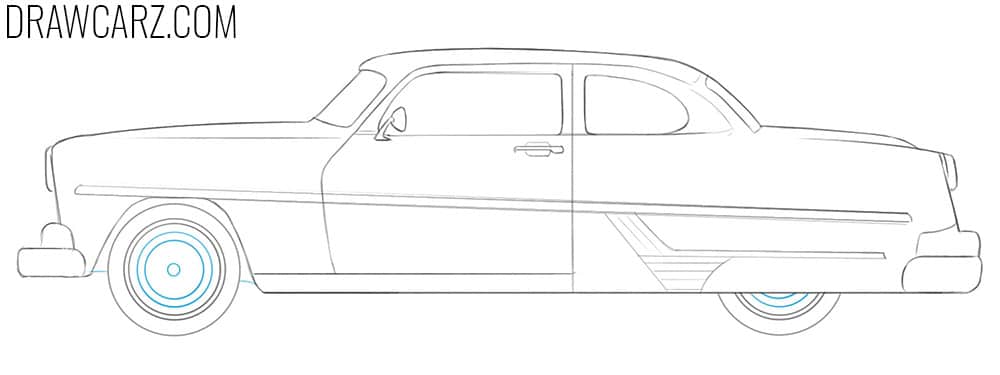
Step 9 – Draw the hubcap lines inside each rim
Inside the rims, draw lines to indicate simple hubcaps. Many antique cars used hubcaps rather than spoked rims, so keep the design modest. These hubcap details make the car look more authentic as a heritage vehicle. But of course, you can replace them with thin spokes.
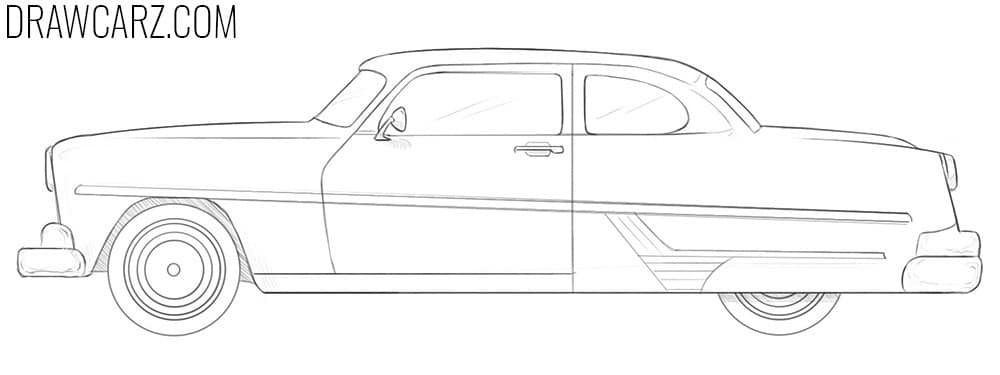
Step 10 – Apply dark-to-light tones for volume
Add shading, beginning with the darkest areas such as wheel arches and underbody. Then transition to lighter tones. Place highlights on the glass surfaces to show reflection. Also, add hatch to the chrome parts to make these areas look more authentic.
Further antique and vintage car drawing practice
Antique cars feature a wide range of shapes, proportions, and design elements. Much of this depends on the era, the brand, and the individual designer responsible for the model.
Vehicles from the 1950s and 1960s, for example, often included unique and stylish solutions that are rarely seen today, making them especially interesting to sketch.
To continue exploring antique, old, and classic automobiles, be sure to visit our classic car drawing tutorial, where we use slightly different techniques to depict an old car of another class and format with its own distinct details and forms.
You should also check out our lesson on how to draw the Ford Model T – the first mass-produced car with over a million units built, which remains famous worldwide even now.
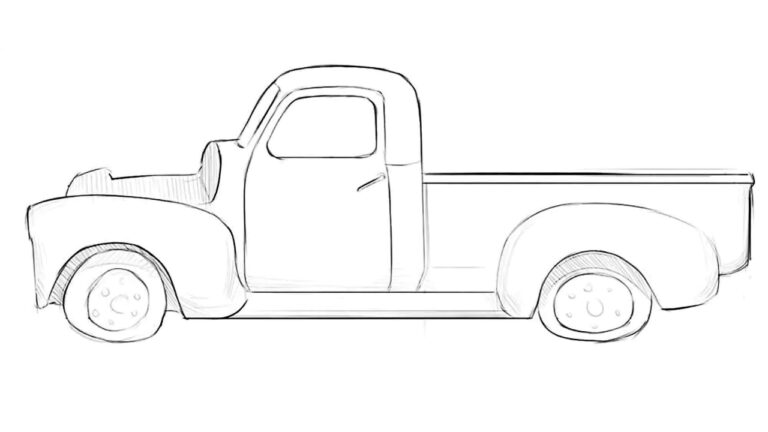
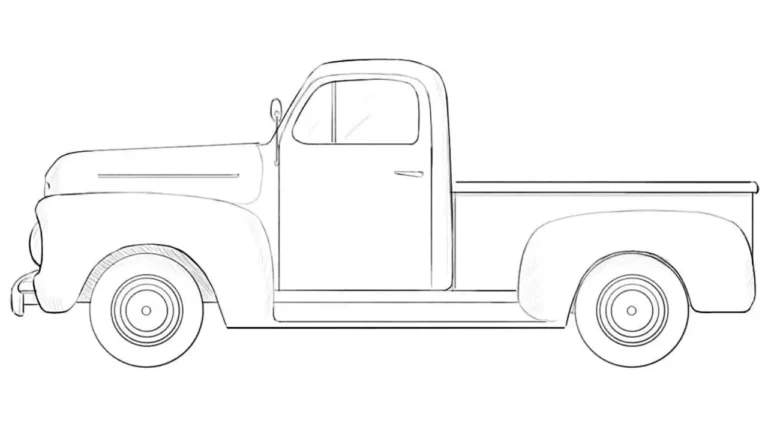
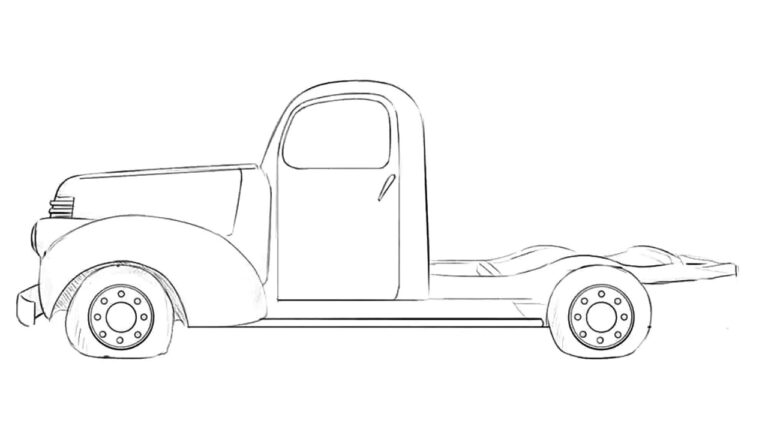
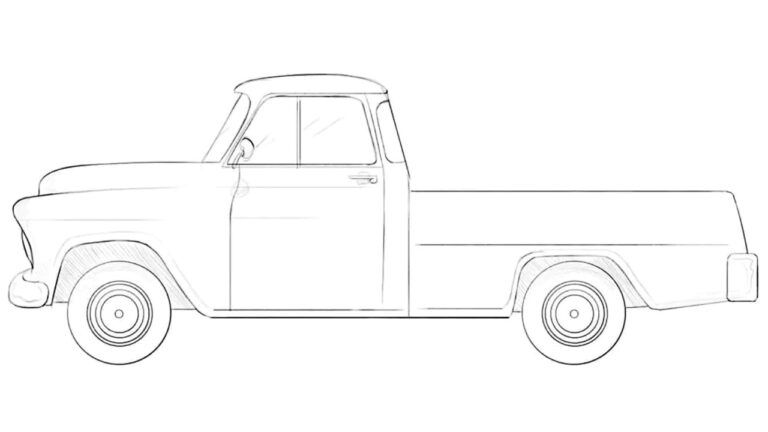
Another useful guide is our old truck tutorial, where we explain in detail how to illustrate a mid-20th century pickup.
Many cars from past decades can now be found in abandoned or deteriorated condition, which makes them just as fascinating to draw.
To capture that look, visit our tutorial on how to sketch an abandoned car, where we show you how to give any model a neglected appearance.
And for a broader overview of different antique and classic vehicles, don’t forget to explore our Classic cars category.
If you enjoyed this antique car tutorial, sign up for our free email updates to get new lessons on classic and modern vehicles delivered straight to you.
Share this guide with friends, classmates, or fellow enthusiasts who might also be inspired to sketch old cars, and keep practicing with our other tutorials to build your own collection of timeless automotive drawings.


nice and easy
Thank you. I’m glad to see our tutorials are useful.