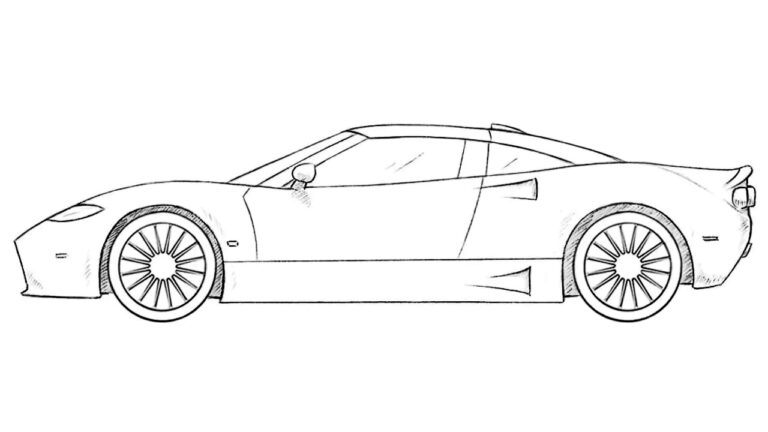
How to Draw a Roadster
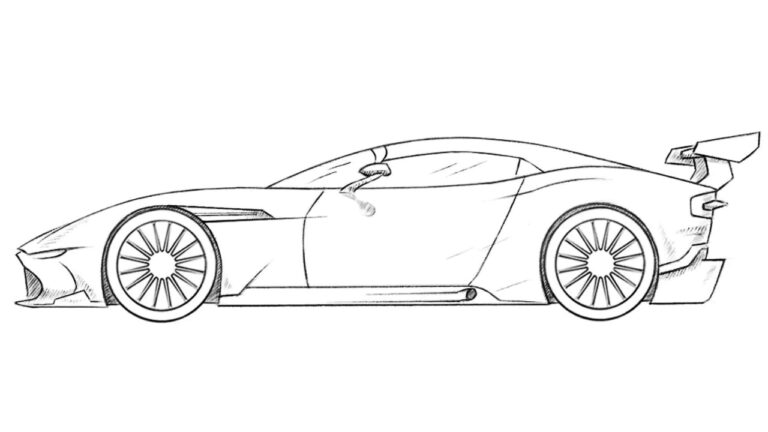
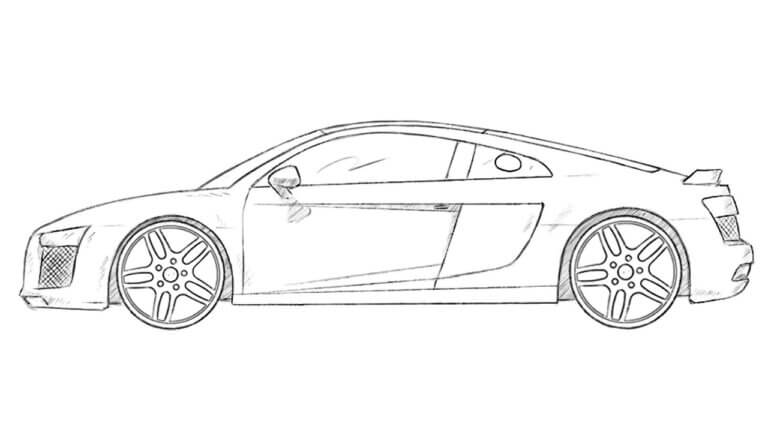
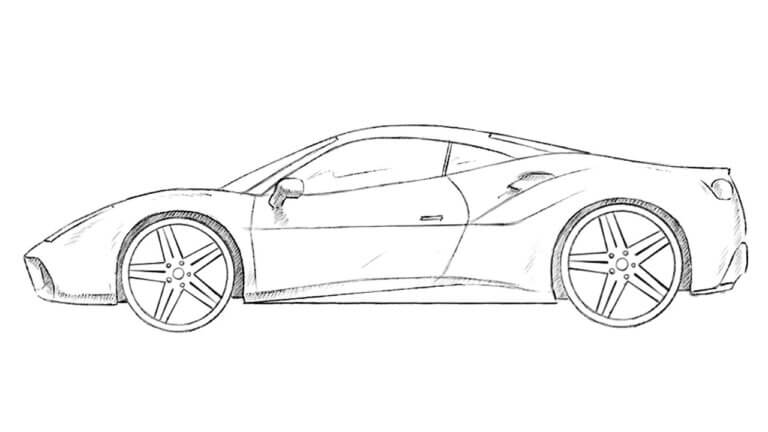
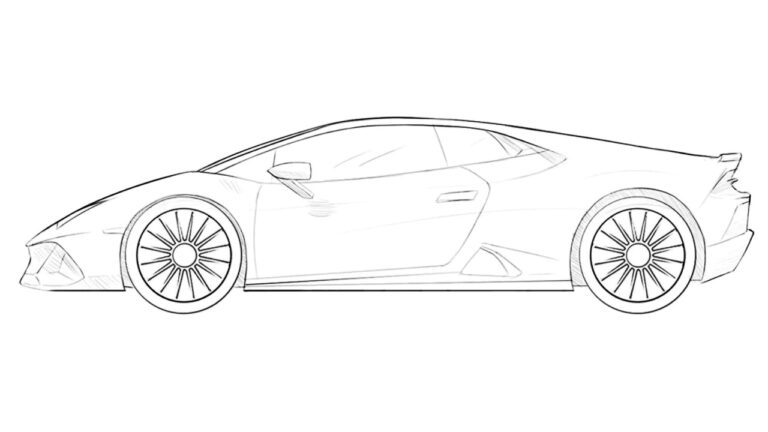
Earlier we showed you several tutorials on how to draw sports cars, and today we will explain how to draw a roadster, a two-seater variation of this type of car.
In this lesson, we will use the Alfa Romeo 4C as an example, but by following the same steps you can also sketch a roadster of any other brand.
At the end of the tutorial, we’ll provide notes on what to adjust in the drawing process so you can create the exact version of a roadster you want.
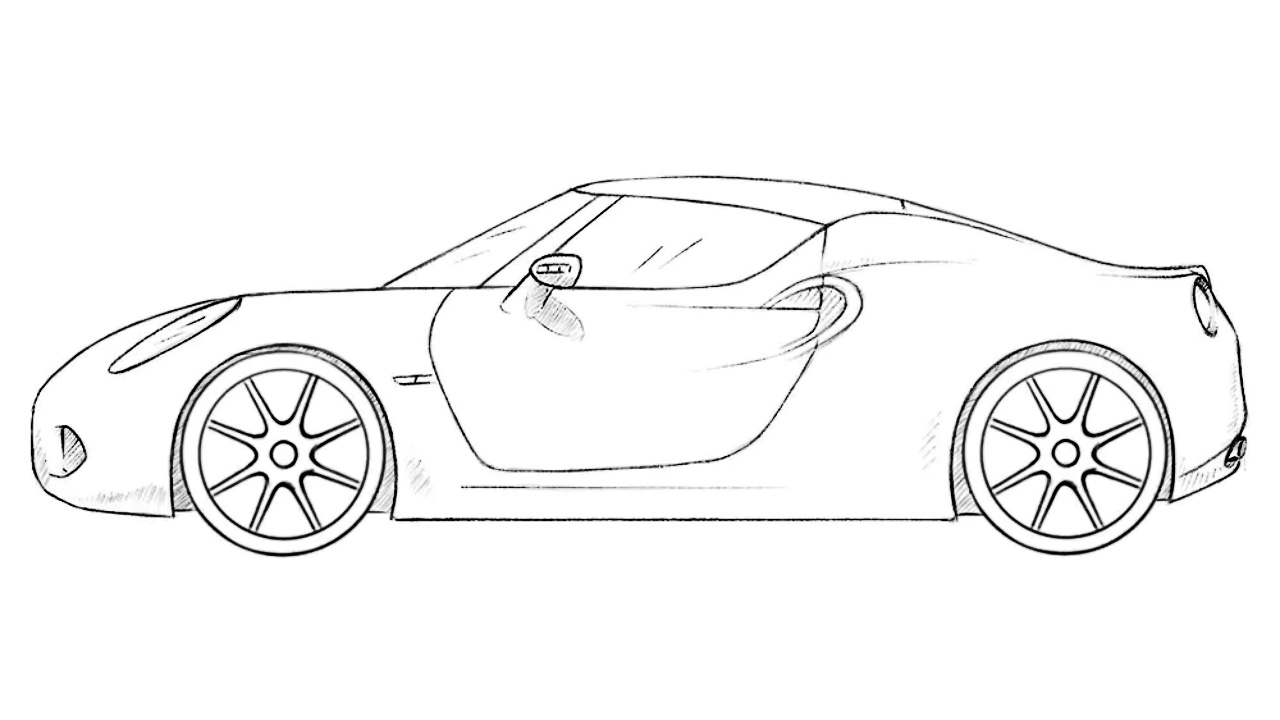
How to draw a roadster: step-by-step tutorial
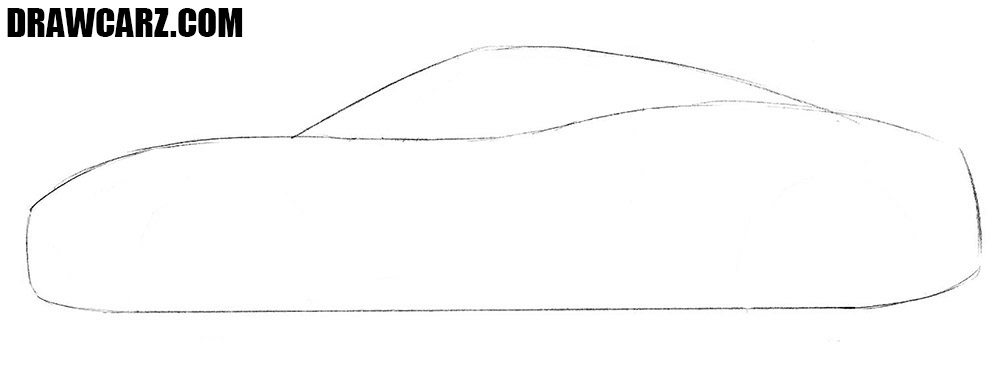
Step 1 – Sketch the flowing silhouette of the roadster
Begin sketching with the roadster’s basic aerodynamic shape by outlining a long horizontal base and a low, curved roof arc. Try to make the lines light and free, treating them as construction lines. Roadsters typically have two-seater cabins, so keep it in mind, sketching the basic shape.
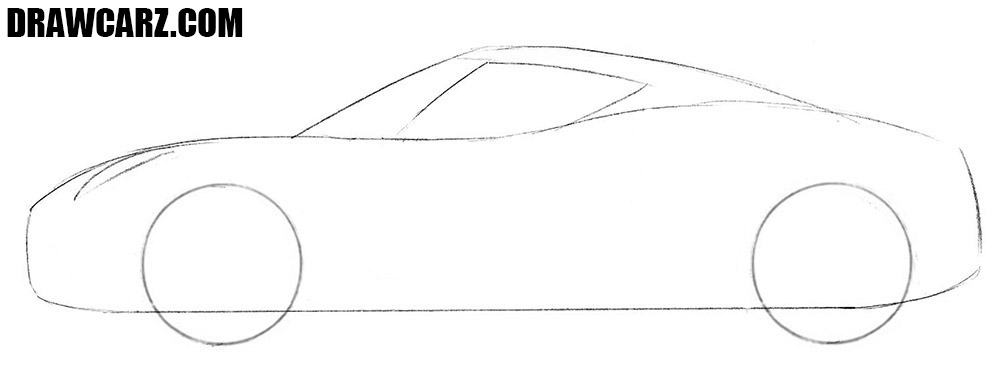
Step 2 – Place the wheels and unusual windows
Mark two equal circles for the tires on the bottom of the basic shape. At ten top of the body, on the cabin area, mark the narrow windows with diagonal strokes. In front, sketch the shape of the headlamp and define the sloping windshield. Roadsters often have unusual window shapes, so you can indicate it in this step.
Step 3 – Mark the position of the arches, door and rims
Now, frame the tires of the car with curved wheel arches. Inside the circles of the tires, add smaller guides for the rims. Draw the elongated side door, typical of a roadster or two-seater coupe, and place a small mirror on the front pillar. Don’t forget to illuminate the air intake on the lower bumper.
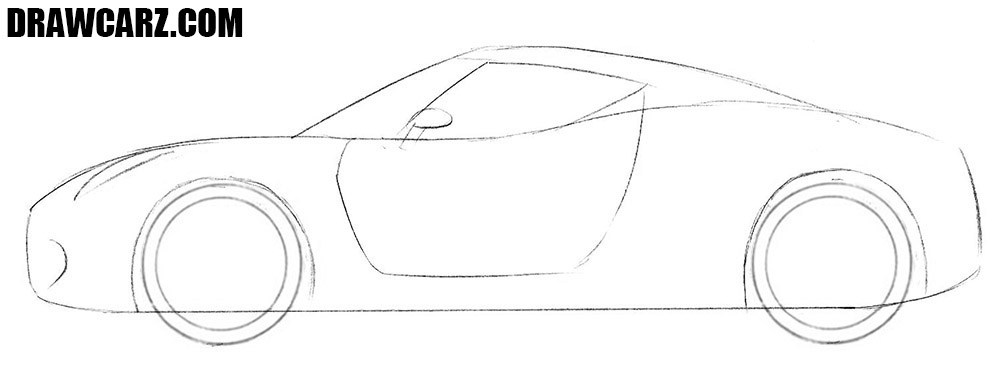
Step 4 – Draw out the roadster aerodynamic fascia
In this step, work on the nose of the two door car. Redraw the bumper, grille (if you included this part), and elongated headlight with darker contour lines. Add subtle hood lines, if you want to make the front of the car look more detailed. Roadsters often feature detailed intakes in the front fascia, so you can include more intricate forms in this parts.
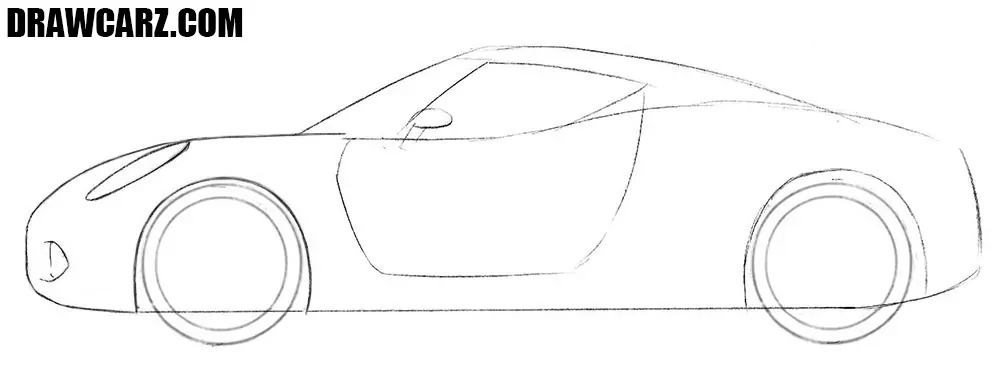
Step 5 – Draw out the roadster cabin and window
Use confident strokes to finalize the roofline and glass. The windshield is short and slanted and the side windows are narrow and smooth. Erase unnecessary construction lines from the top of your two-door car to clarify the outline of the cabin.
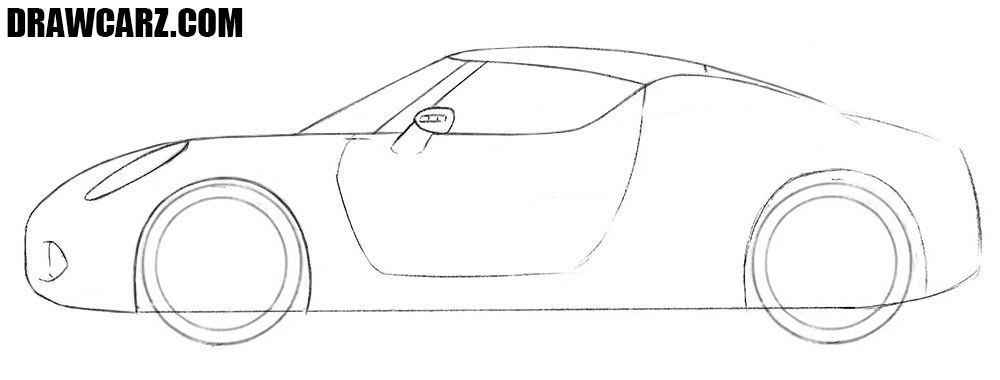
Step 6 – Detail the aerodynamic tail and taillight
Continue the car’s roof arc into the smooth trunk area. Draw in detail the rear lamp of the roadster as a circle or narrow horizontal shape. Trace the trunk outline and sketch the double exhaust system at the lower bumper.
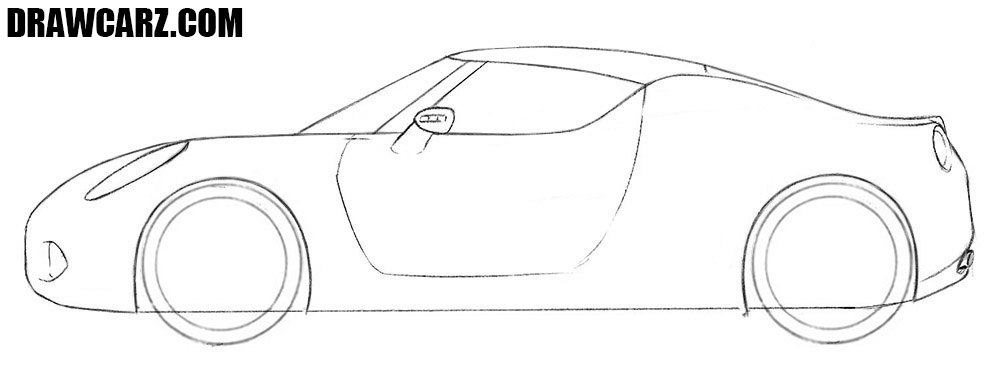
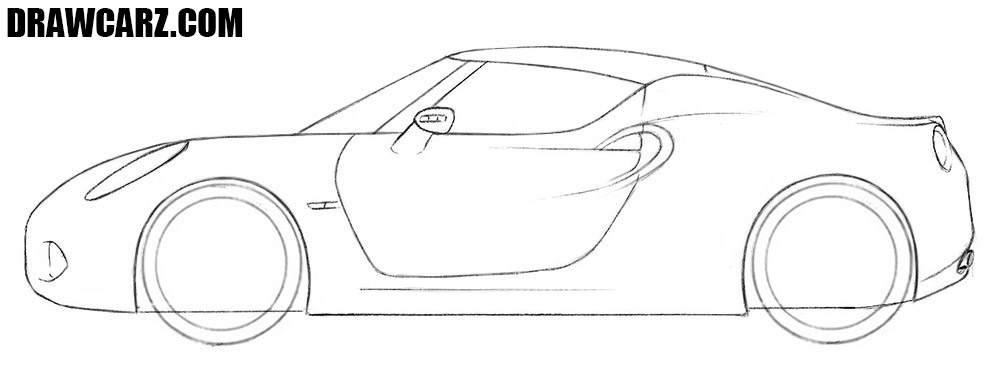
Step 7 – Trace the long coupe door and air intake
Darken the contour of the long side door and add the handle near the beltline. Or you can make your car sketch look more high-tech and illustrate the door without a handle, just like in our illustration. Sketch the decorative body crease and redraw the air intake more clearly.
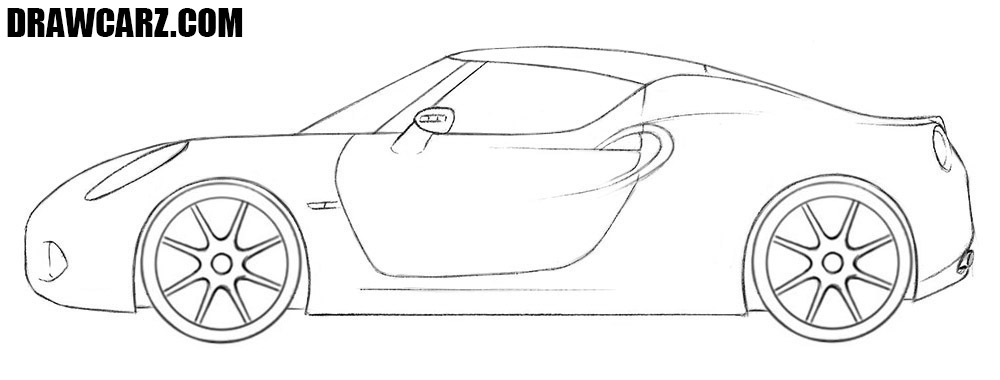
Step 8 – Draw the multi-spoke rims of the roadster
Work on the wheels by drawing the hubs and extending several spokes outward, making the coupe look more detailed. Roadsters often feature lightweight multi-spoke rims, but you can sketch more simplified forms. Keep symmetry in the pattern.
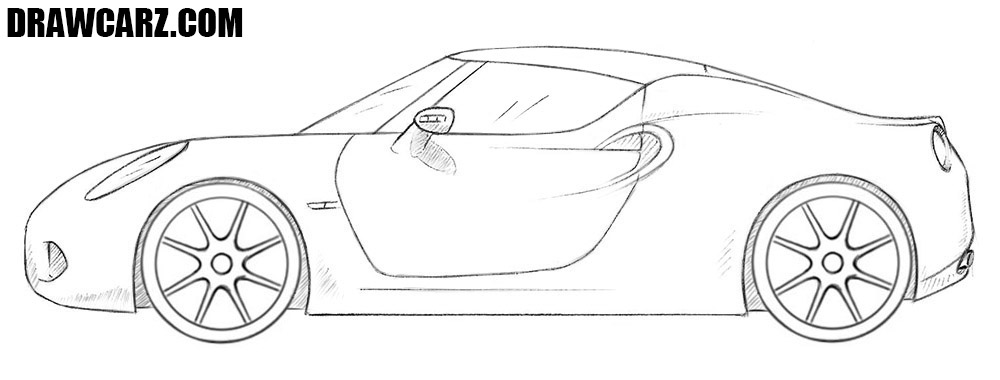
Step 9 – Complete the roadster with shadows and highlights
Erase all remaining guides and add hatching to create volume on your sports car. Add tonal gradients to make the sketch look more dimensional. Start with the darkest areas, shading them with deeper tones, using lighter tones for the lighter areas.
Further practice in drawing roadsters
A roadster is a two-door, open-top layout, and lightweight sports car. In this guide we tried to explain the process of sketching in a really simple way but give a strong foundation for any specific car with this body type.
To learn more about this type and get more knowledge in illustrating vehicles, try tutorials about specific models and other bodies.
For example, in our Mazda MX-5 drawing tutorial, you’ll see how a Japanese roadster with simple shapes and details. This tutorial shows how to use the basic principles in a specific car model.
For a more complex challenge, check out the Pagani Huayra drawing lesson, where we sketch a hypercar with intricate surfaces and unusual design cues.
The Maserati drawing guide shows another Italian interpretation of performance design, with flowing curves and elegant lines typical of grand tourers. Practice with this sport car helps you to gain more experience in illustrating such vehicles.
If you want to explore extreme solutions, take a look at our Koenigsegg drawing tutorial. These Swedish hypercars have really advanced aerodynamics and recognizable proportions.
Finally, the cabriolet drawing lesson applies many of the same principles as a roadster but from a slightly different position.
The roadster drawing tutorial is now complete, and it’s time for a short afterword. Did you manage to follow the steps, and does your sketch look close to ours?
Would you like to learn how to sketch other types of cars? And which tutorial on DrawCarz has been your favorite so far?
Thank you for following this lesson. To keep learning and not miss new tutorials and coloring pages, be sure to subscribe to our email list and follow us on social media. This way, you’ll always get fresh tutorials delivered straight to you.


