How to Draw a Simple Car
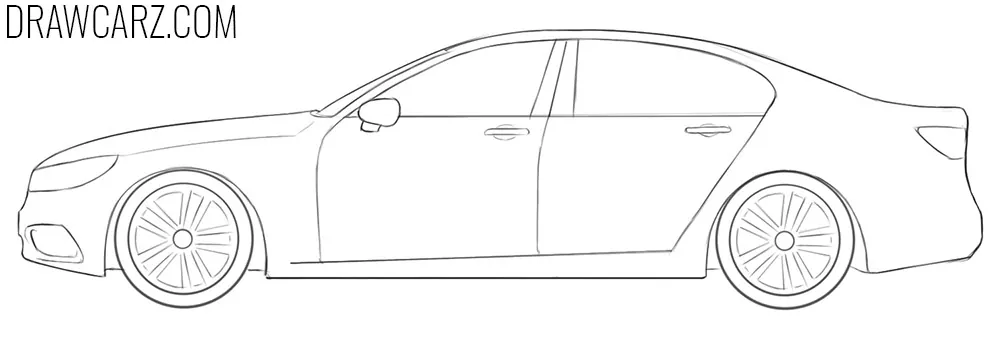
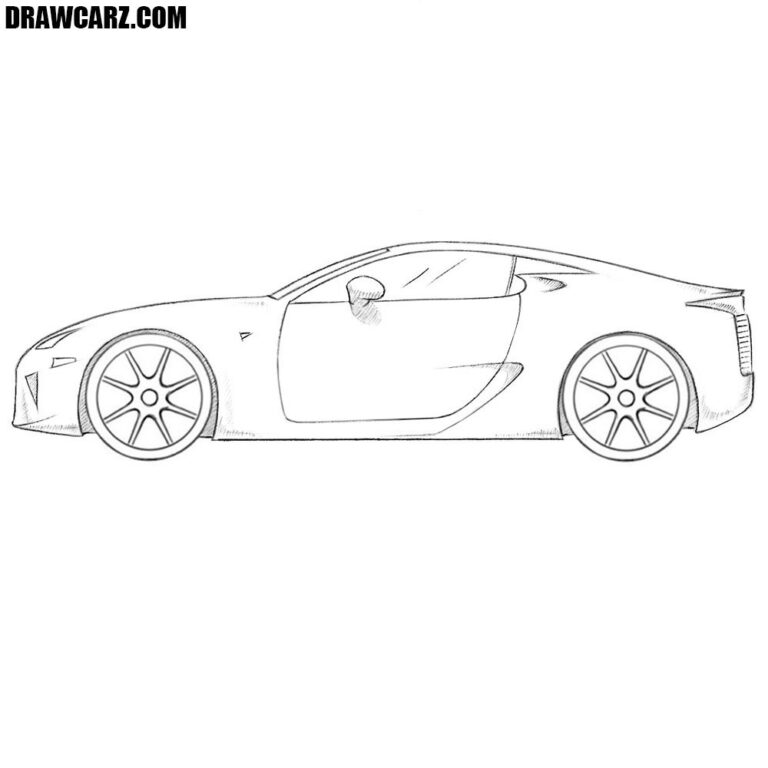
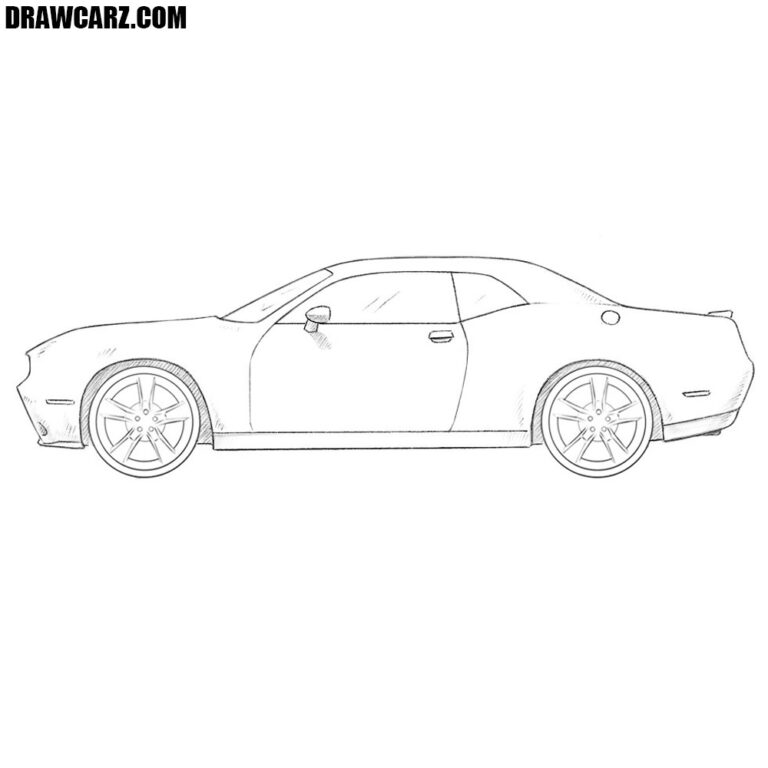
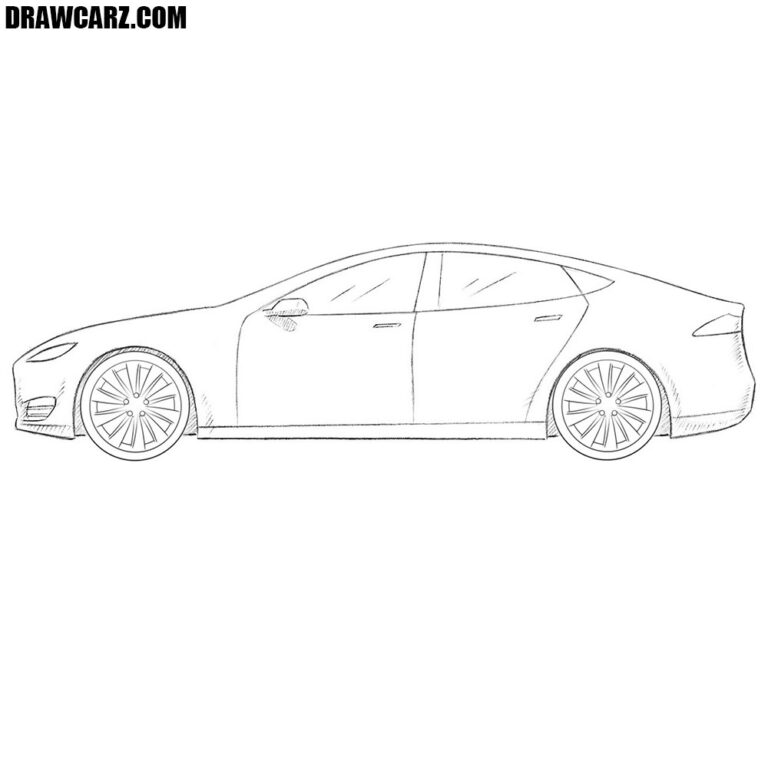
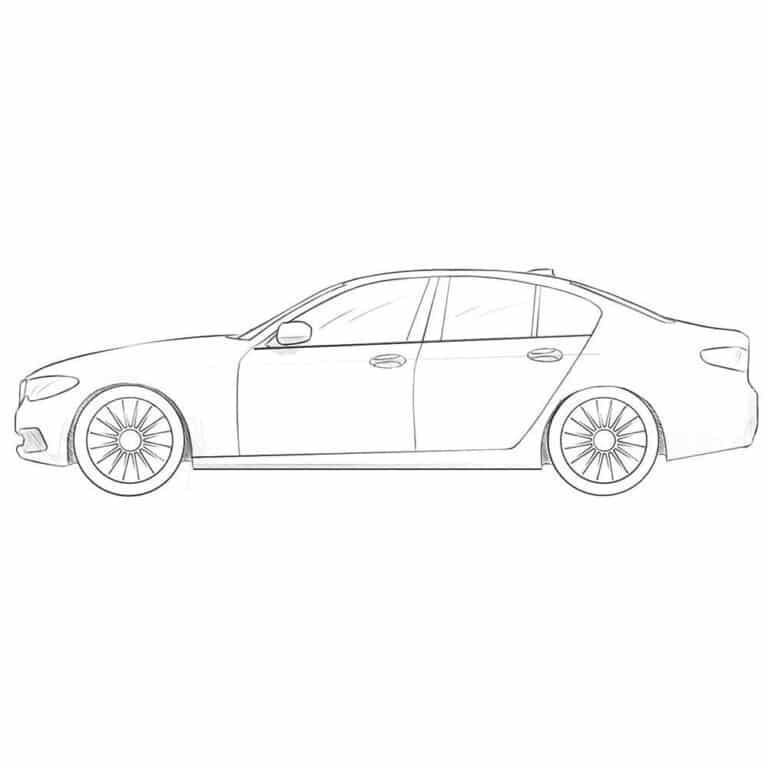
In this instruction, we will show you how to draw a simple car. This guide is for those who want to draw a cool and realistic enough car in the simplest way.
To make the drawing process as simple as possible, the team of Drawcarz.com removed the shadows and divided the tutorial into eleven very simple stages.
For an illustrative example, we decided to take a BMW but using the stages below, you can of course depict any other car.
If you complete all the stages and want to complicate the artwork, you can add shadows or colors, making the car drawing more voluminous.
How to Draw a Simple Car
Step 1
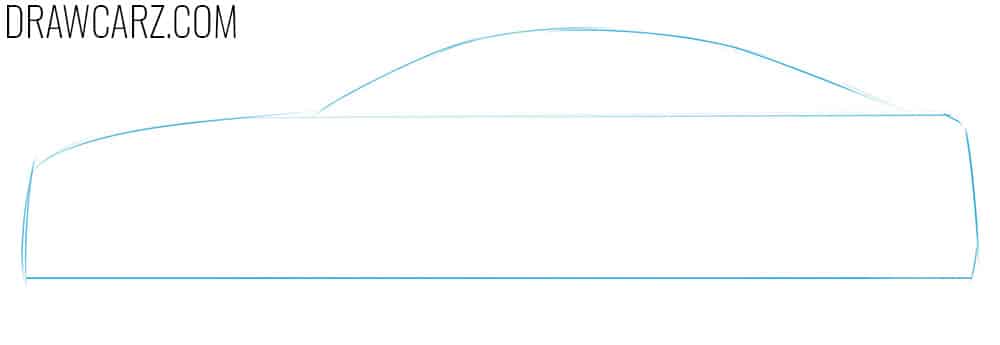
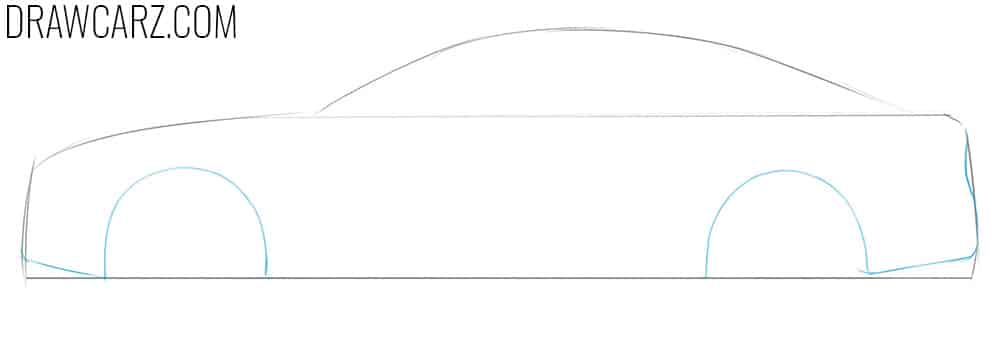
First of all, depict the contours of the car’s body with light lines. At this stage, we mark the main dimensions of the car and place it on a piece of paper.
Step 2
Now draw the front and rear arches as two smooth and even semicircles. In the same stage, draw the lower edges of the front and rear bumpers.
Step 3
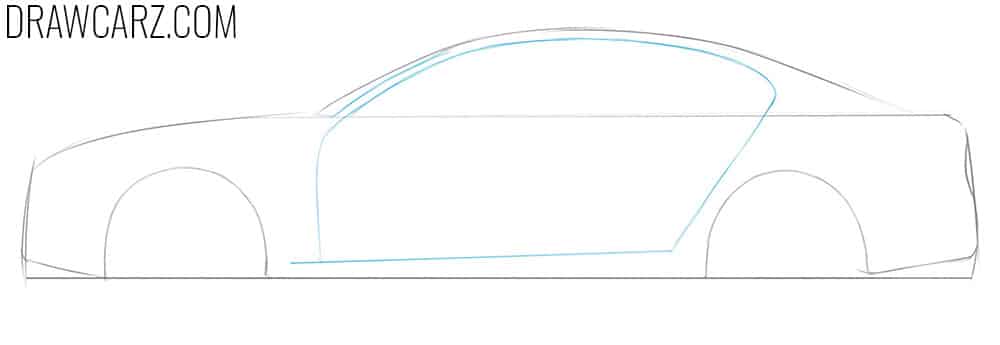
Draw the top line of the window frame that goes into the outlines of the doors. In the same stage, depict the visible side part of the front window.
Step 4
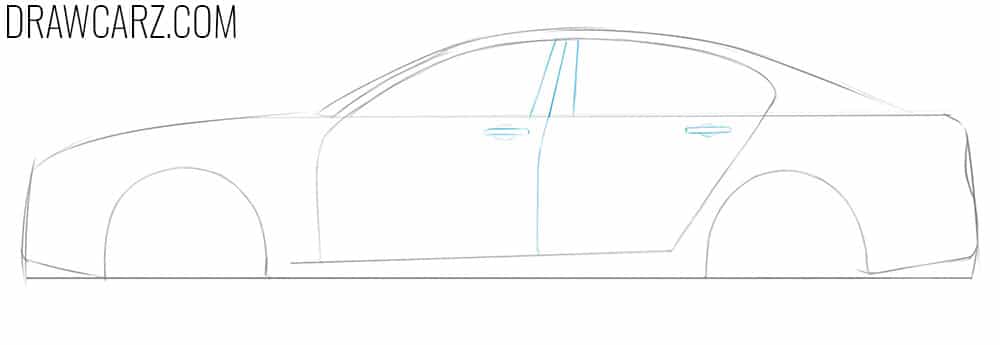
Draw the center pillar in the middle part of the window frame. Divide the front and rear doors with a vertical line. Complete the stage by drawing the front and rear door handles.
Step 5
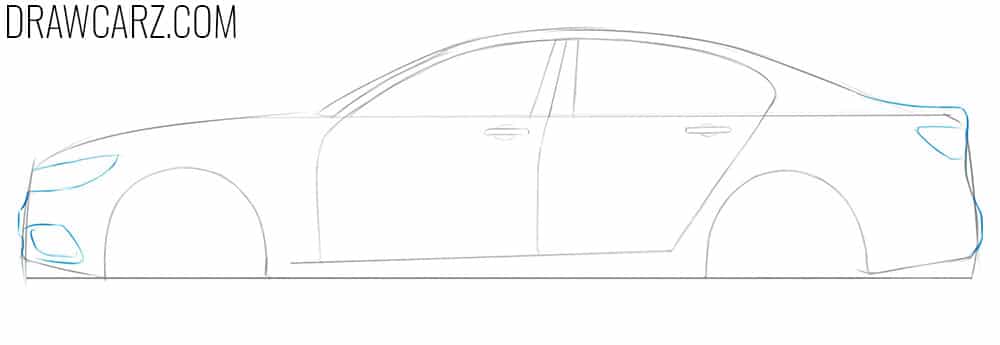
Draw the visible side part of the front light and rear lamp. Next, carefully draw the front and rear bumpers. Depict the air intake on the front bumper below the headlight.
Step 6
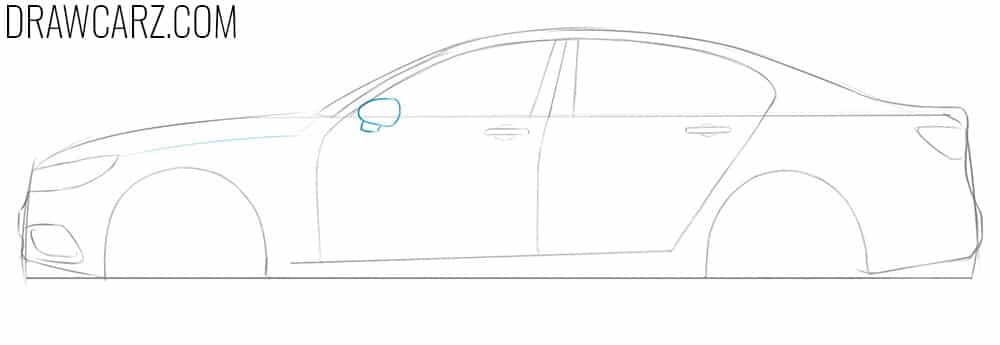
Draw a rearview mirror in the front corner of the window frame. Next, depict the line of the hood that connects the headlight and windshield.
Step 7
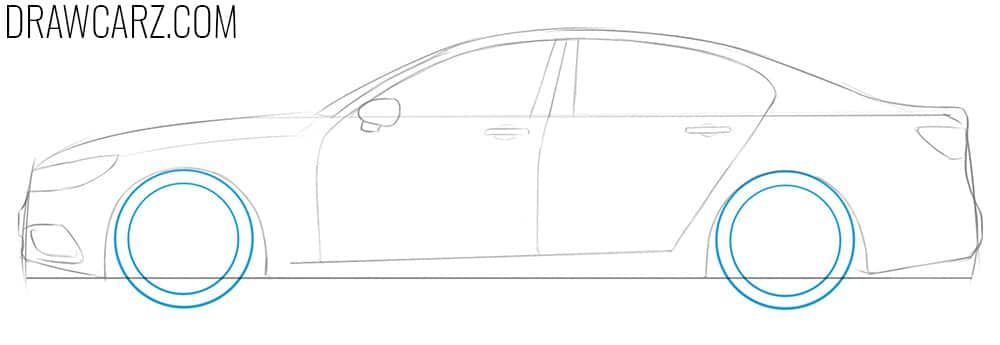
Draw wheels and rims inside them. These parts should be as round and proportional as possible. To check this, look at your car drawing through a mirror.
Step 8
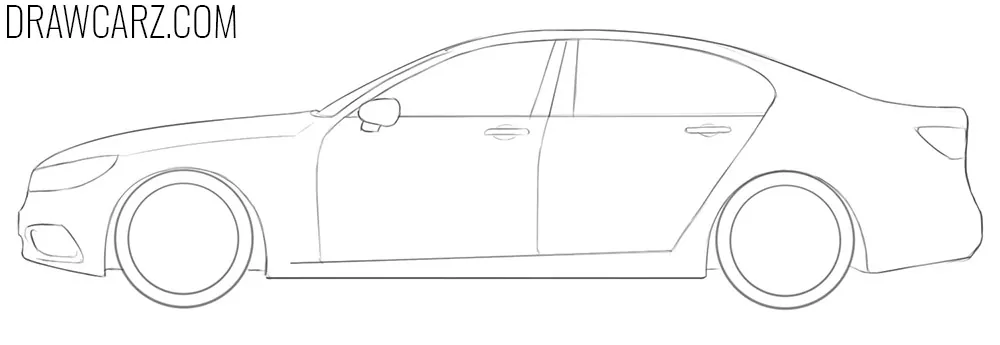
Now take the eraser and carefully get rid of all the auxiliary construction lines that we depicted in the first stages. Darken the important lines of the artwork.
Step 9
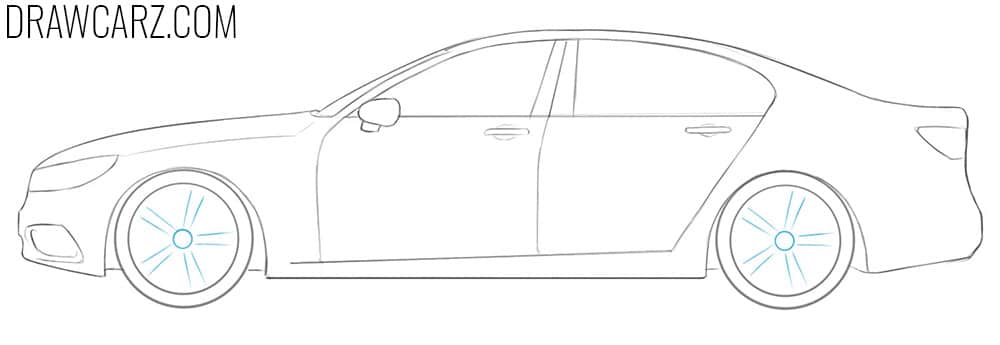
Now let’s draw the rims. Start by drawing circles in the center of each rim. Then draw the lines of the spokes, evenly diverging towards the edges of the rims.
Step 10
Finish off drawing the rims by adding the rest parts of the spokes. At this stage, the rims should be somewhat like a cut orange.
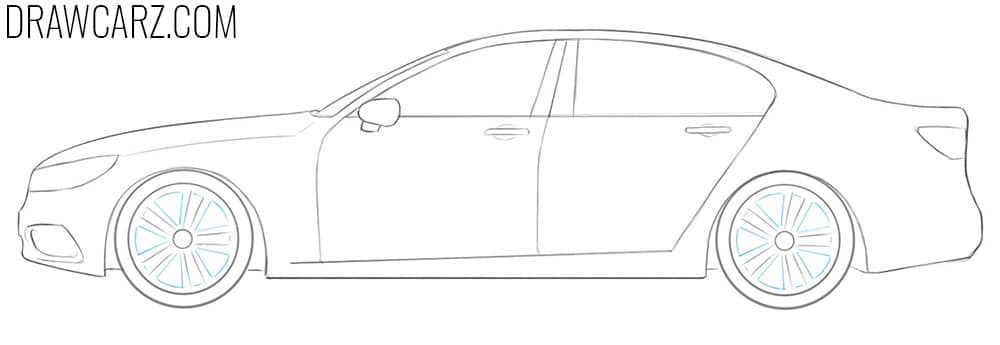
Step 11
Check your simple car drawing. Move away from it or bring it up to a mirror. If you find mistakes, then go back to the stage where this mistake was committed and try to repeat everything, correcting the necessary part.

If you completed all the stages and did not encounter difficulties, and your car drawing is similar to ours, then try to guide on how to draw a 3D car.


