How to Draw a Truck Easy
We enjoy creating detailed tutorials that make cars look three-dimensional and realistic, but sometimes we prepare simpler guides – like this tutorial on how to draw a truck in an easy way.
The main difference between an advanced tutorial and a simplified one lies in the use of shadows and the level of detail.
Properly drawn shadows can completely change the sense of space in a drawing, but they also make the process much more challenging.
This is a simplified version of our main truck drawing tutorial. Here, we skipped the shadows and focused on a straightforward method.
If you want to take it further, you can always add shadows or colors once you’ve finished all the steps.
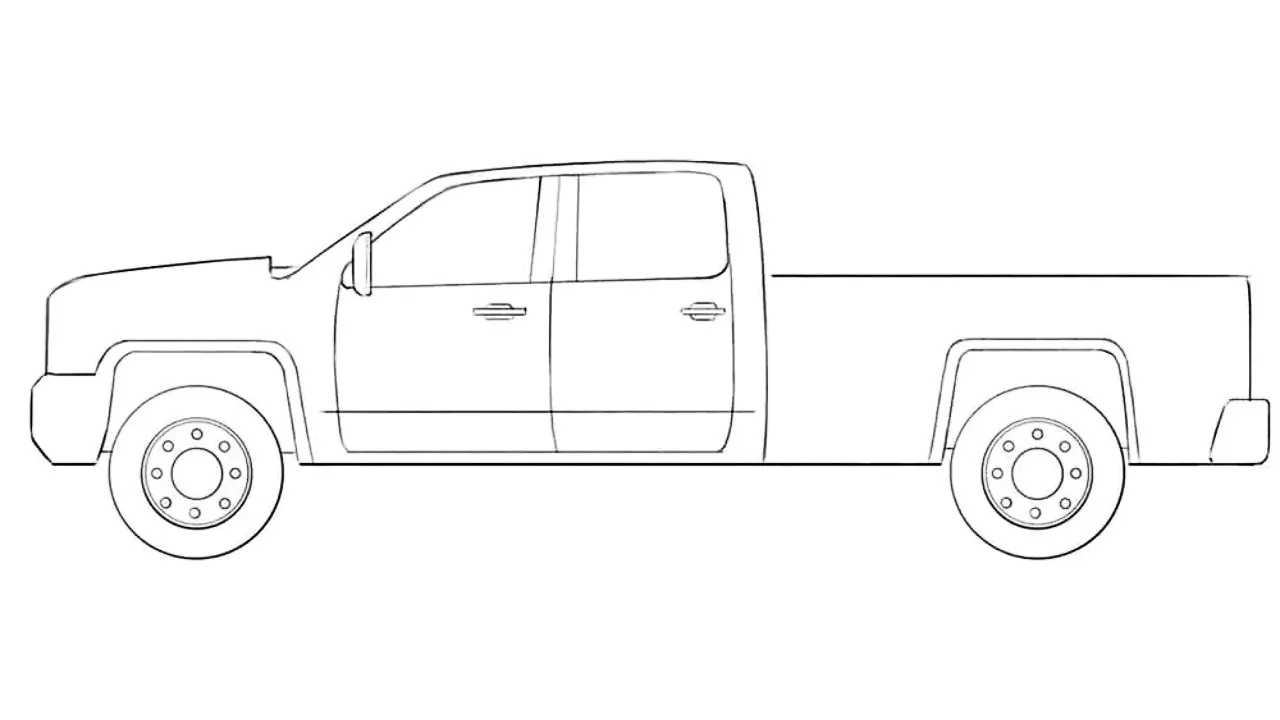
How to draw a truck: easy tutorial
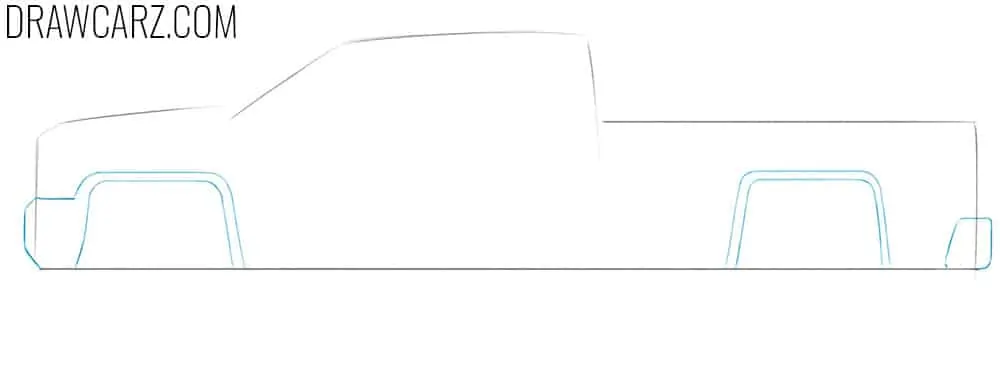
Step 1 – Lightly sketch the overall truck silhouette
Let’s begin this easy drawing by creating the basic outline of the truck using light lines. Mark the cab in the front and the cargo area behind it. Keep the shapes simple on the sheet. At this stage, avoid details and mark only the general shape.

Step 2 – Draw the pickup truck’s fenders and bumpers
Add trapezoidal arches for the front and rear wheels. Above the arches, sketch the fender borders. Sketch the pickup’s front and rear bumpers, keeping them simple. You can also mark a light line at the lower edge of the side to indicate the step.
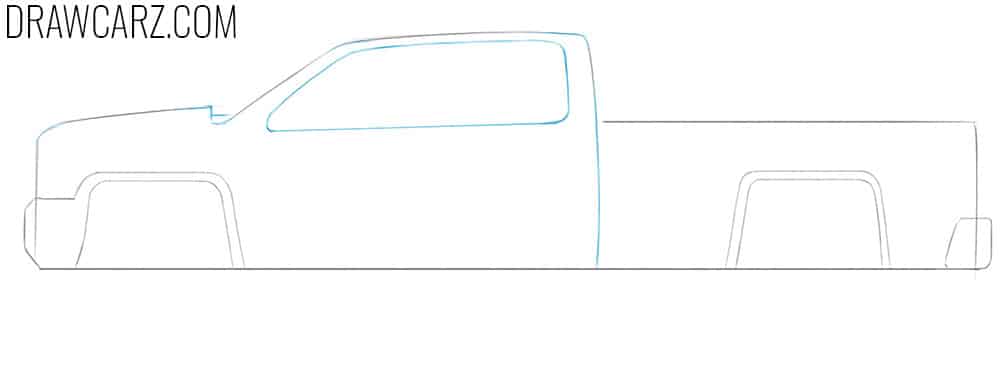
Step 3 – Draw the windows strip of the truck
Sketch a vertical line to separate the cab from the cargo bed. In the front, draw the window frame of the cab. Also, you can adjust the bumper outlines with clearer strokes. Keep the glass area relatively small compared to the body.
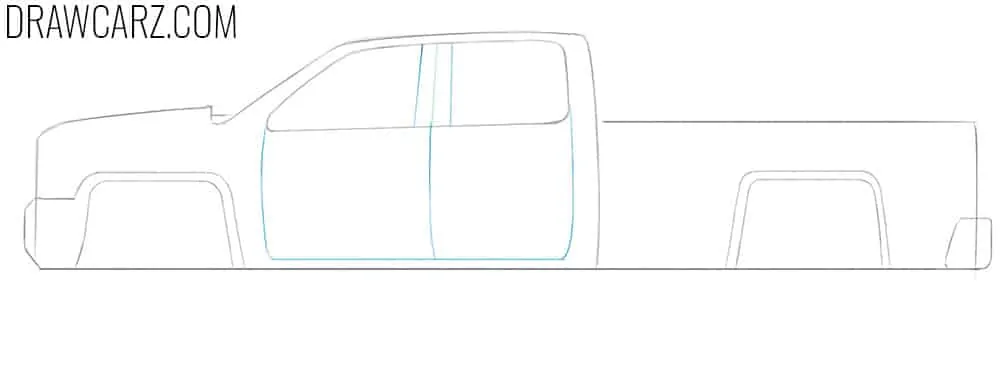
Step 4 – Illustrate the central and doors
Depict the central pillar inside the window frame to divide the glass into sections. Then sketch the front and rear doors beneath the windows. The only straight element should be the bottom horizontal line of the doors.
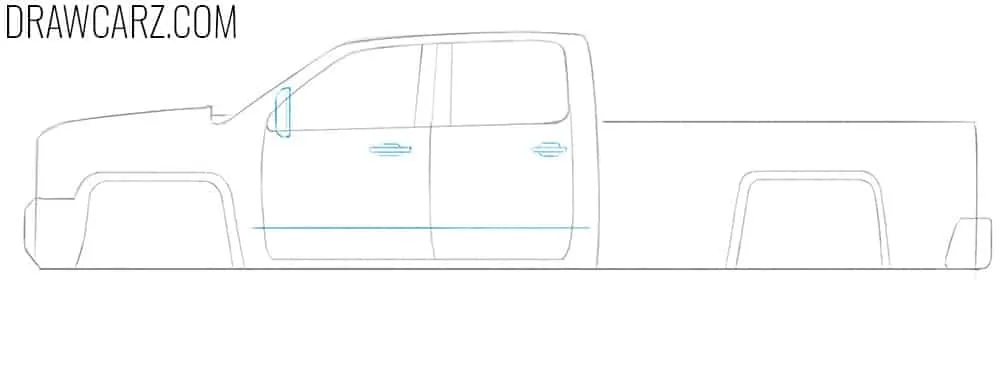
Step 5 – Place the rearview mirror and handles
Draw a vertically elongated mirror at the front corner of the window frame of your pickup. Next, add angular door handles for both doors. Sketch a thin decorative line just above the bottom edge of the doors. Keep the details simple but clear, as this is an easy-level tutorial.
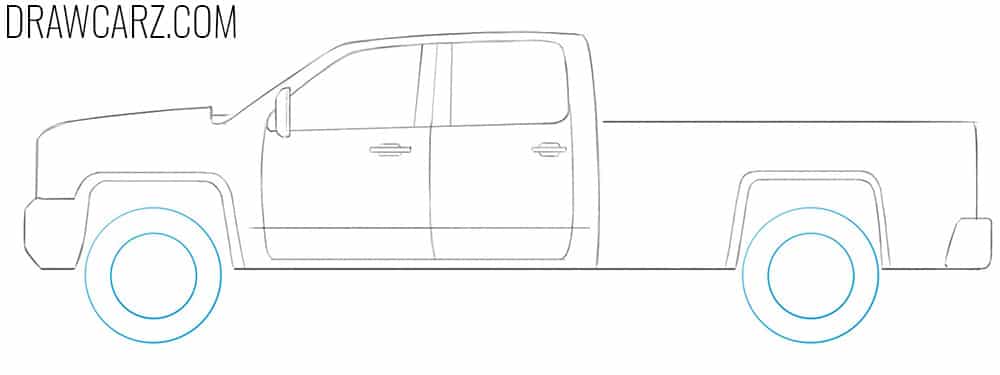
Step 6 – Sketch the circular truck tires and rims
Erase the auxiliary construction lines from the body of the simple pickup. Draw the front and rear wheels of the truck as perfect circles. Inside them, add simple circular outlines for the rims. Both wheels must be equal in size and aligned on the same line. Use light correction if necessary to improve symmetry.
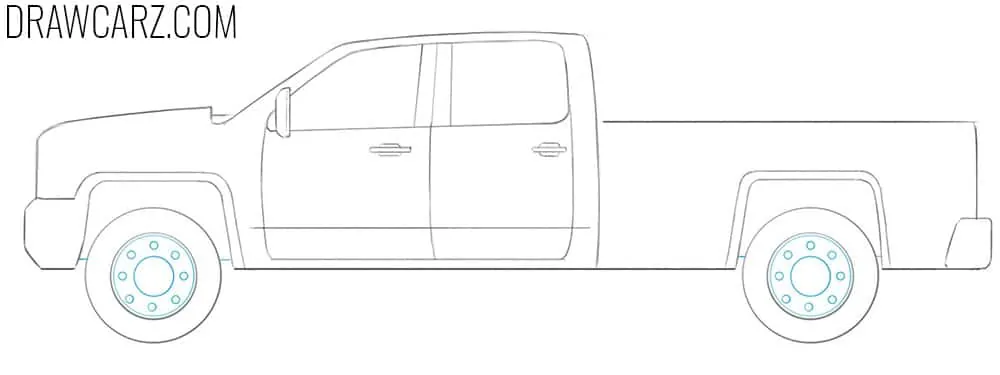
Step 7 – Draw the simple rims of your truck
In the center of each rim, draw a small circle for the hub. Around it, sketch a series of smaller circles. Keep the spacing and size equal to make the rims look neat and authentic. This simplified rim pattern is easy to reproduce for beginners.
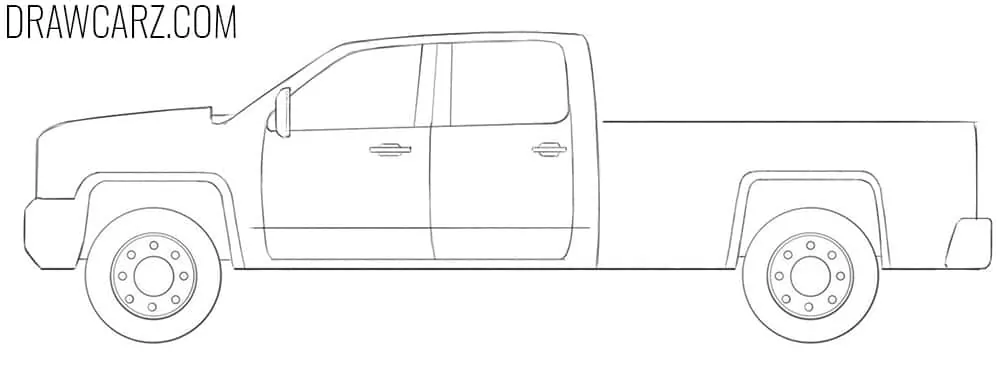
Step 8 – Review and polish your pickup truck
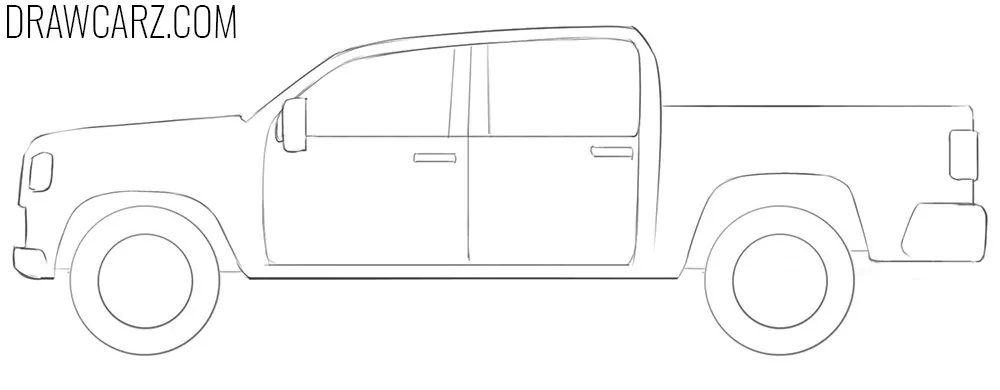
Compare your truck drawing with the reference example to check proportions. If you find mistakes, return to the step where they occurred and fix them. Clean up the lines and make the contours sharper. At this stage, the drawing is complete, but you can complicate it by adding shadows or colors. If desired, try practicing shading techniques to give the truck more volume.
Drawing your own simple pickup version
You can also experiment with changing some of the pickup’s features to give it a more unique look.
For example, try adjusting the proportions of the cab to make it taller or more compact, or alter the shape of the headlights and grille for a different style.
Adding distinctive elements like side steps, custom wheels, or modified bumpers can also transform the appearance.
Even small changes, such as varying the window shape or the angle of the cargo bed, will help create a design that looks less standard and more individual.
Sketching specific trucks after the easy version
This lesson is essentially an offshoot of our main truck drawing tutorial. By removing shadows and leaving out both major and minor details, we focused on the core structure of this body type – an approach that can be applied to any brand or model with a similar build.
Keep in mind that mastering the basic shape of a car’s body is only the starting point for more detailed work.
For example, you can visit our Ford truck tutorial to practice a more advanced study of this particular brand’s trucks.
To see how another major manufacturer approaches pickups, check out our tutorial on how to draw a Chevrolet pickup, where we highlight the key features of this brand and explain how they differ from others.
All of these lessons are presented in a detailed manner, but the simplified and foundational skills you’ve learned here will allow you to draw any of these trucks in a basic form while still keeping their identity recognizable.
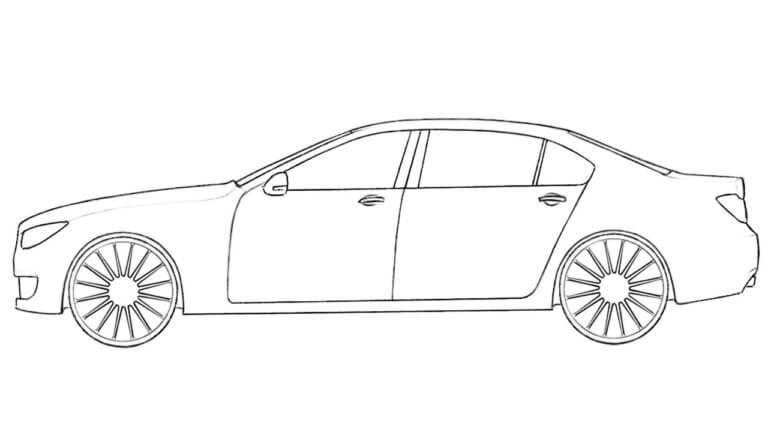
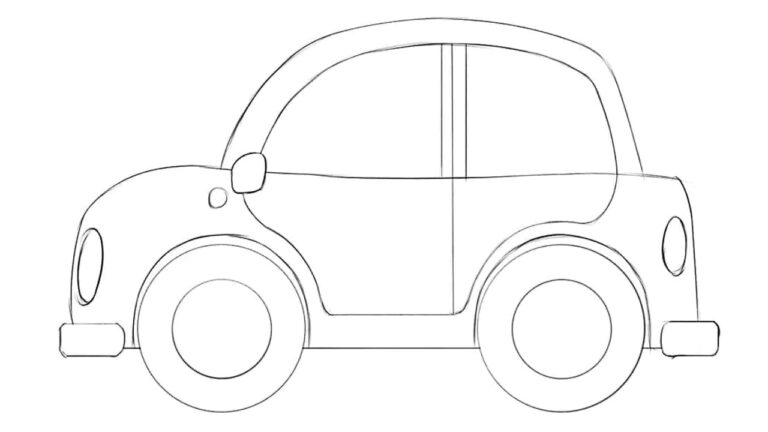
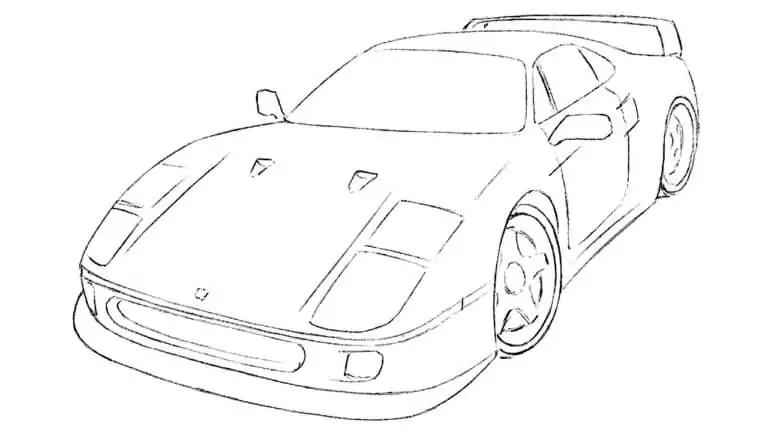
And to learn the very basics in a simple style, check out our simple car drawing lesson, which also covers many important aspects useful for sketching simple and advanced pickup trucks.
If you liked this easy truck tutorial, subscribe to our updates so you don’t miss new simplified lessons.
Share this guide with friends or classmates who want to start with basic car sketches, and then move on to more detailed tutorials as your skills grow.



It’s very good for beginner
Thank you, glad this tutorial works well for beginners.
I’m ten and I could not draw this I’m Soo bad at drawing”Sniffle Sniffle
Don’t worry, drawing takes practice – just keep trying and you’ll get better.”