How to Draw a Tow Truck
In this tutorial, we will show you how to draw a tow truck – a car designed primarily for transporting other cars.
In essence, any such truck is a regular large truck with additional equipment installed in the body. Such vehicles appeared a long time ago, around the same time when people realized that cars cannot always move under their own power.
Despite the fact that cars of this class now look a little different, we decided to use the most recognizable design, created back in the 20th century.
So, if you are ready, and your drawing supplies are waiting for a start, then scroll down the page below and start the guide on how to sketch a realistic and dimensional tow truck.
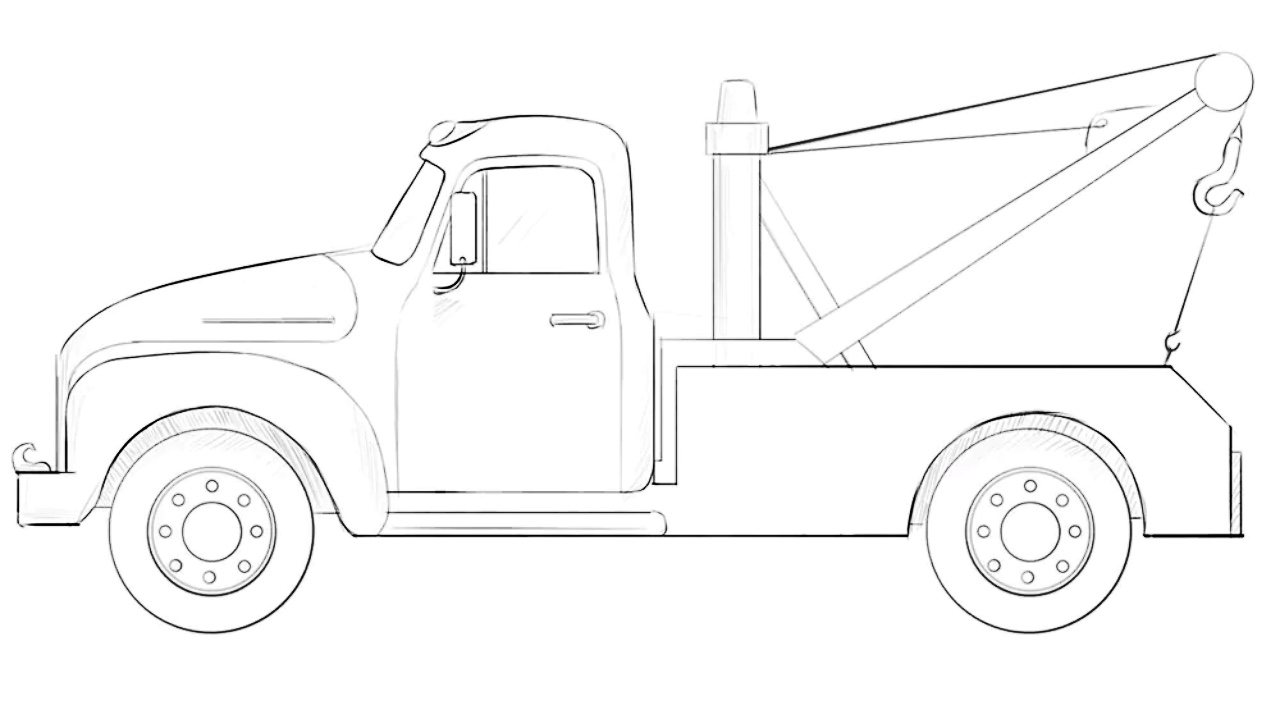
How to draw a tow truck: step-by-step tutorial
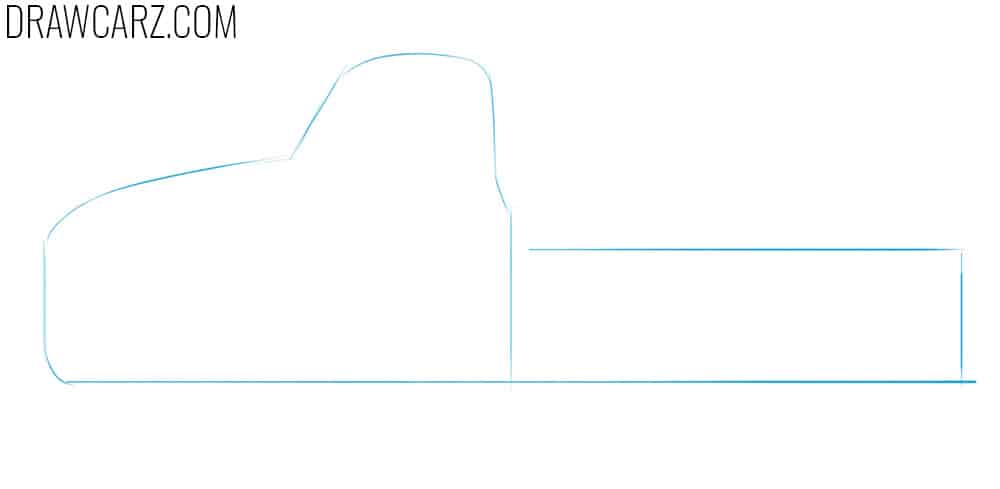
Step 1 – Mark the truck’s overall silhouette
Sketch the basic silhouette of the tow truck, also known as a recovery vehicle or breakdown truck. Divide the body into two sections: the front cab for the driver and the rear cargo area where the towing mechanism will be mounted. Keep the outline massive and service-oriented, not sleek like a regular car. For a modern wrecker, make the cab more angular, while an older style tow truck can be drawn with a rounded roof and softer lines, just like in our illustration.
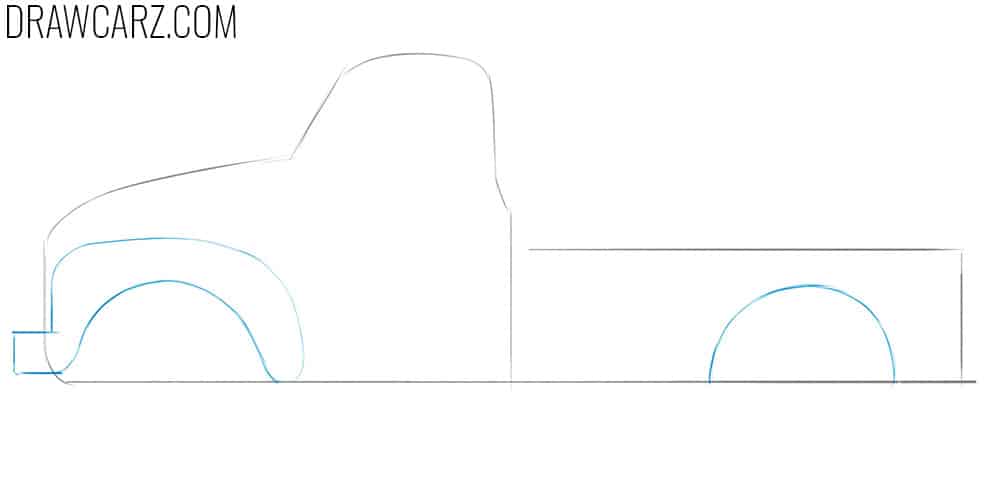
Step 2 – Draw the tow truck arches
Add two semicircles for the front and rear wheel arches. Above the front arch, sketch a bulky fender that flows into the bumper. Tow trucks often have reinforced arches to handle heavy-duty tires, so make them wider than on civilian trucks.
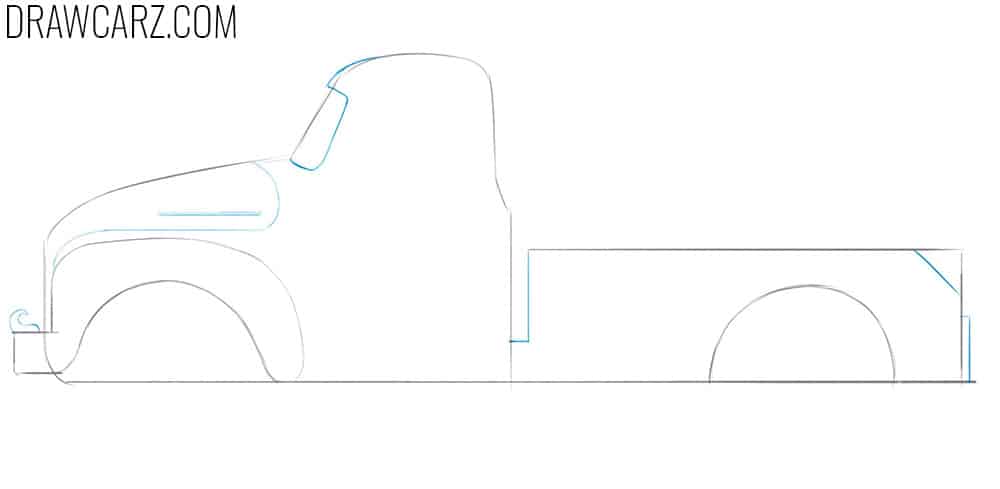
Step 3 – Detail the windshield and hood
Draw the windshield and slope it according to the style: upright for older tow trucks, slightly angled for newer ones. Next, trace the hood and illustrate the hood line that divides this part from the rest of the cab. On the front bumper, place a hook or small towing element. Illustrate thin vent openings on the hood.
Step 4 – Shape the door and glass frame
Sketch the side window aligned with the windshield top edge of the cab. Add the cab door underneath, using long and smooth lines. Doors on tow trucks are usually large to allow easy entry in work boots. If you prefer to depict an older-style wrecker, make the glass smaller and more curved, as in our example. On a contemporary version, keep the window frame straight.
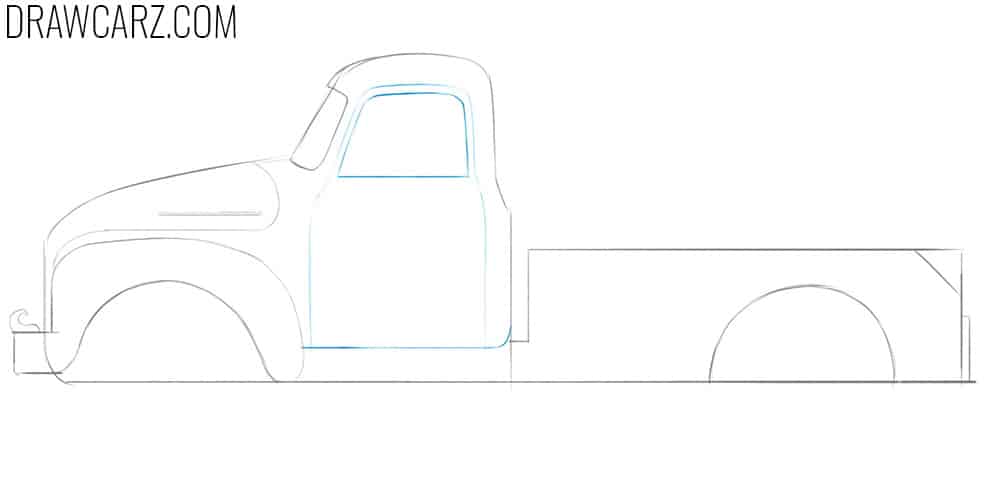
Step 5 – Place the beacon light and rearview window
On the roof, draw the beacon light, which is an essential detail of any tow truck. This flashing light signals that the truck is performing roadside assistance. Next, add a rearview mirror and vertical divider for the side glass. Draw a small handle and a step. For modern breakdown trucks, you can add multiple beacon lights, while older ones typically have a single round lamp.
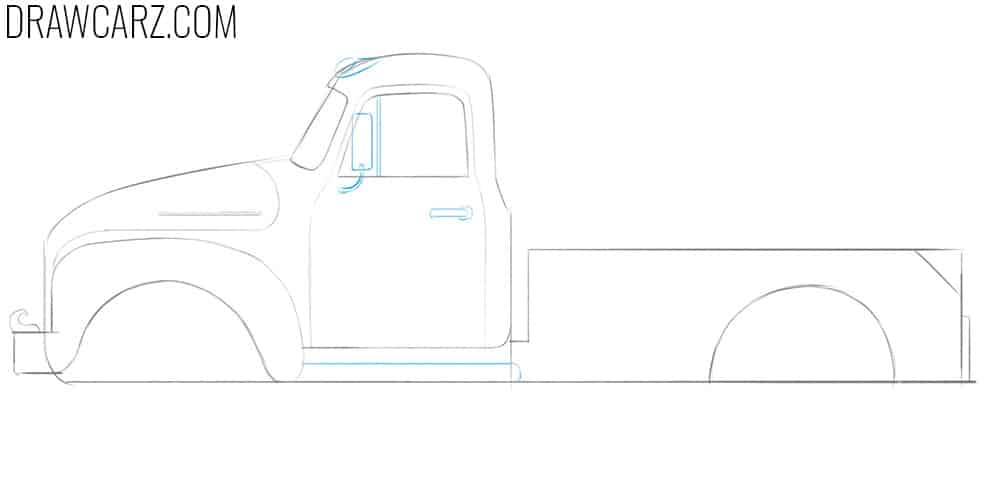
Step 6 – Clean the drawing and place the wheels
Erase unnecessary construction lines and carefully sketch the wheels. Tow trucks use thick, reinforced tires to support extra weight. Inside each wheel, add the rims. Make sure the tires and rims are equal in size. Here, you can also add tire patterns.
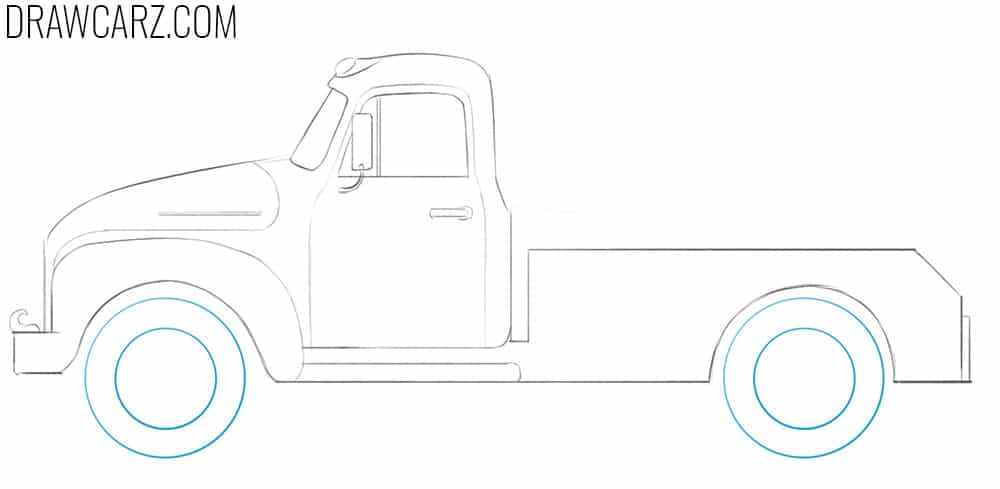
Step 7 – Draw the tow truck pole detail
Behind the cab, sketch a vertical pole rising from the cargo platform. This support element is the base for the towing system. Place a small beacon or warning light at the top. Don’t forget to illustrate the base of this part using simple angular shapes.
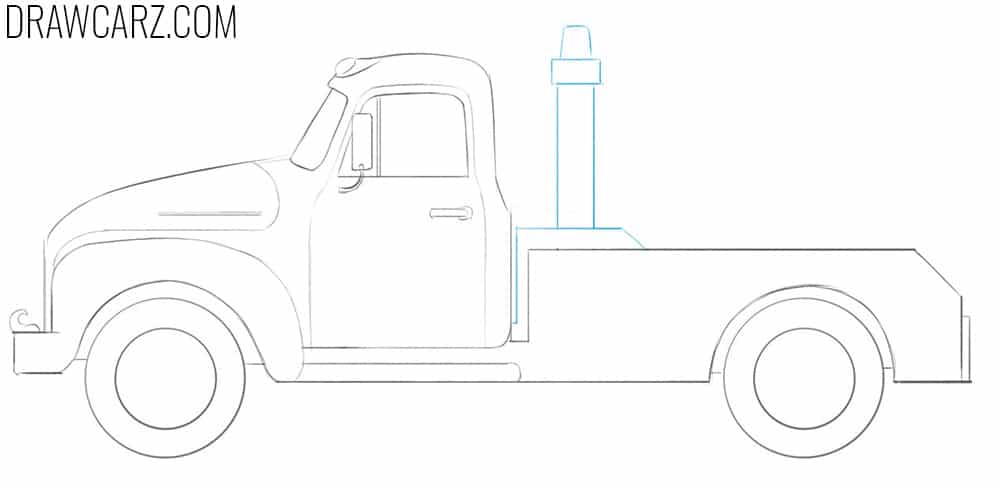
Step 8 – Illustrate the long diagonal winch
From the pole, extend a diagonal winch arm made of two parallel lines and a pulley circle. This is the working part that lifts or pulls stranded vehicles. Keep the geometry straight and confident. You can modify the winch to reflect the type of towing system you want to show.
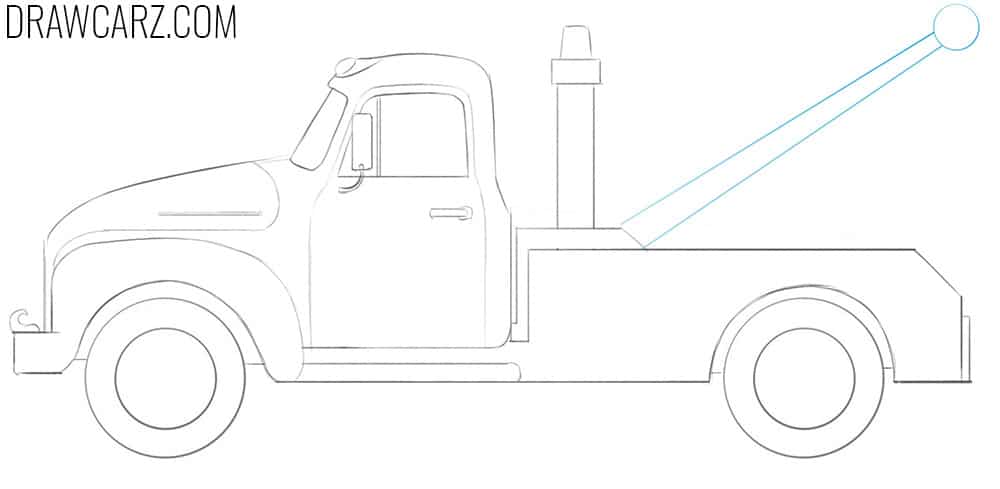
Step 9 – Draw the towing hook with connecting cables
Complete the rear section by sketching the towing hook and cable system. Hooks can be drawn larger or smaller depending on the type of tow truck – compact for light-duty vehicles or oversized for heavy wreckers. For a more modern breakdown truck, you can replace the hook with a wheel-lift frame or flatbed indication.
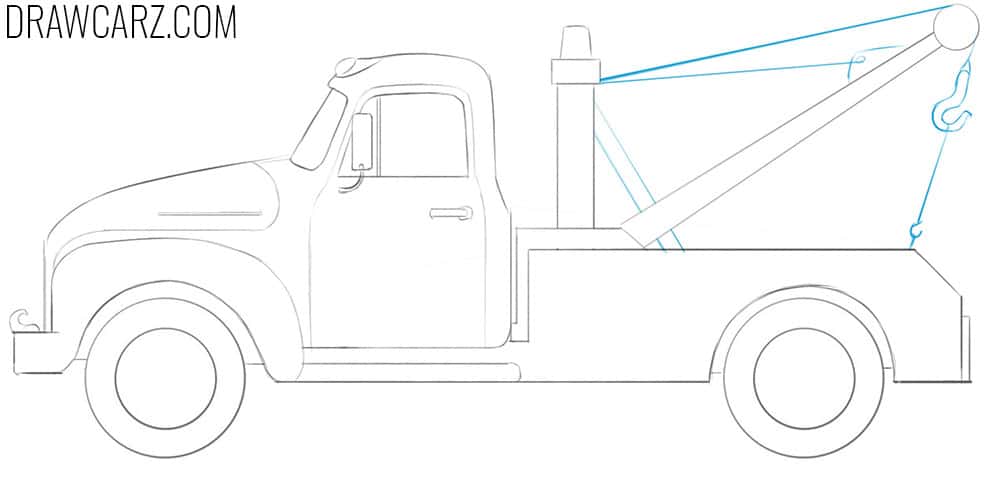
Step 10 – Draw the tow truck rims with their pattern
Inside each rim, draw a hub circle and surround it with smaller circles to represent bolts. Try to make them symmetrical. For a classic model, keep the rims simple and plain, while for a newer service truck you may draw more detailed lug patterns.
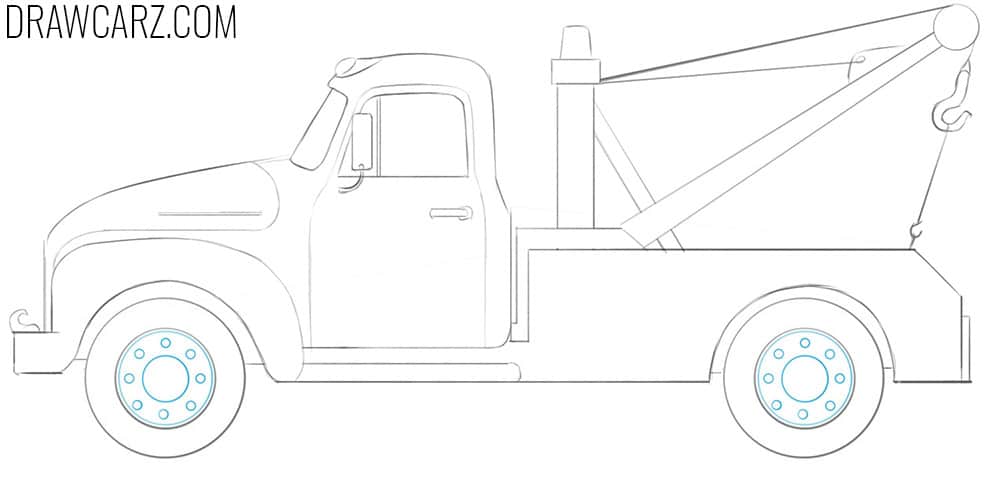
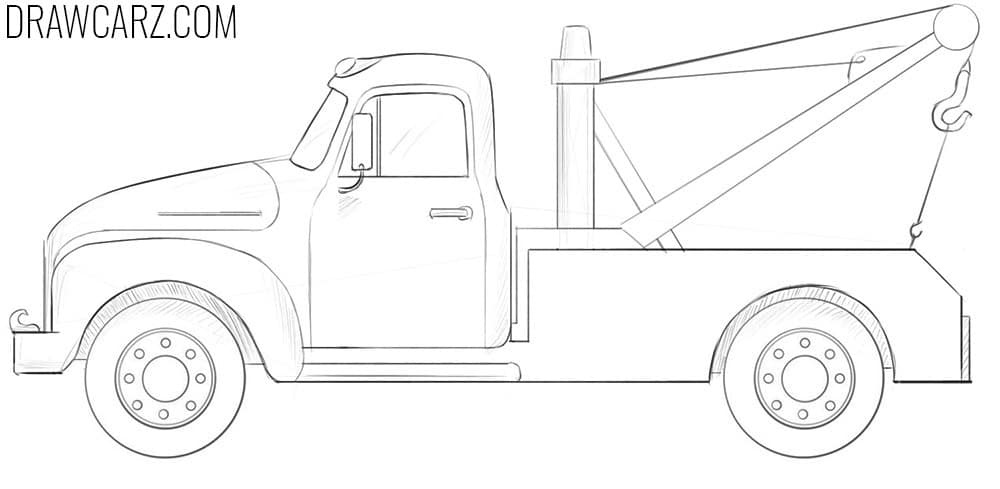
Step 11 – Add some mid-tones, highlights, and shadows
Finish by shading the darkest areas: under the arches, along the underside, on the side edges of the pole, and near the bumpers. Add mid-tones on the body and cab. Highlight the glass, beacon lights, and metal parts to show polished surfaces. The shading should make the tow truck look more dimensional. You can also adjust the finish: you can make it rugged and dirty.
Advanced practice in drawing service vehicles
A tow truck can serve very different functions, from lifting broken-down cars to assisting in rescue operations.
Because of this, their appearance and equipment can vary greatly. In this lesson, we showed one of the most common and recognizable types, but it is by no means the only version.
For example, you can try sketching a flatbed tow truck or create your own unique design inspired by vehicles you’ve seen in your city.
It is also important to remember that breakdown trucks are manufactured or customized by different companies, which influences their overall look.
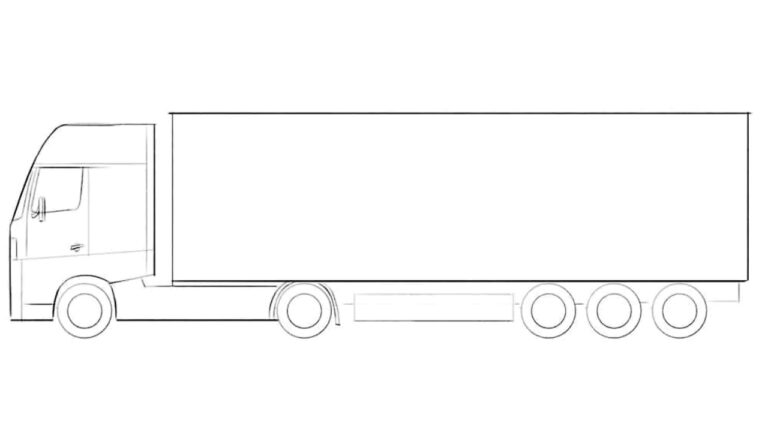
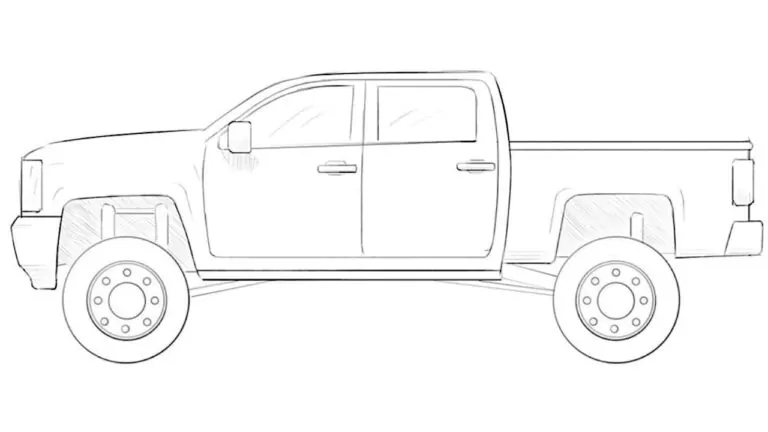
They can be built on the base of Ford, Chevrolet, or other heavy-duty truck brands. You can visit our basic truck drawing tutorial and combine those skills with what you’ve learned here to design your own original wrecker.
To broaden your understanding of service vehicles, check out our tutorial on how to draw a police car – one of the most visible and essential vehicles in any city.
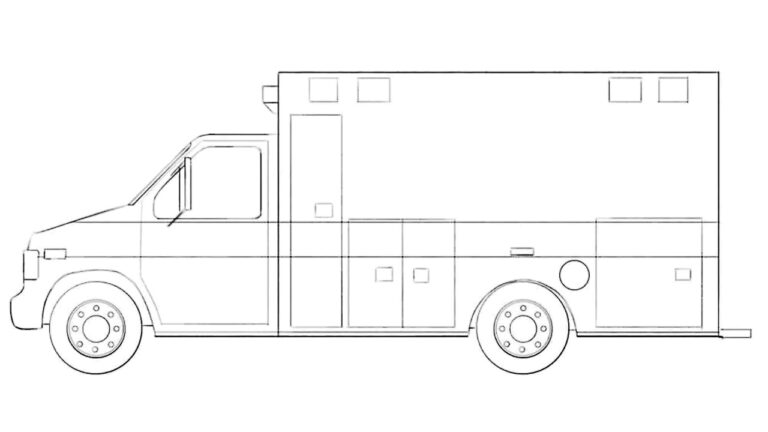
You can continue your practice with our ambulance drawing lesson, another critical service vehicle.
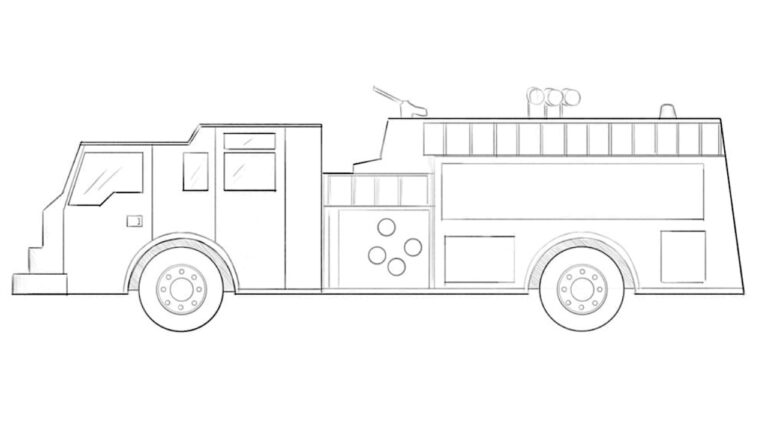
Finally, to reinforce your skills, visit our fire truck tutorial, where we share the most important fundamentals of sketching this type of emergency vehicle.
If you enjoyed this tutorial, subscribe to our free email updates to get new drawing guides delivered directly to your inbox
Share this lesson with friends, students, or colleagues who might also want to practice sketching service vehicles, and keep building your collection of completed sketches together.



Nice
Thanks, glad you liked this car drawing tutorial.
cool
Thanks! Always good to hear the sketch came out cool.