How to Draw a Concrete Truck
In this drawing tutorial, you will learn you how to draw a concrete truck – a vehicle designed to mix and transport cement.
There are many different companies that create all kinds of concrete trucks. But nevertheless, the basic element remains unchanged – all these trucks have rotating mixing drums.
This means that you can use the steps of this guide to sketch any other model. So take some art tools you usually use to sketch a concrete truck step by step.

How to draw a concrete truck: step-by-step tutorial
Step 1 – Mark the cabin and rear platform volumes
Sketch the overall shape of the cement mixer truck. Use straight, confident lines to block in the driver’s cab at the front and the extended rear platform for the mixer drum. Keep your strokes light so you can make adjustments easily. The cab should stand tall and boxy, while the rear frame appears longer and heavier.

Step 2 – Shape the fender arch with headlamp and window
At the lower part of the cab, add a rounded fender arch where the front tire will sit. Above it, sketch a vertical headlamp and then a side window. Utility and industrial vehicles like this heavy-duty truck usually feature tall lamps and large window shapes.

Step 3 – Draw the door of the concrete truck
Refine the cab by sketching the windshield at a slight angle and outlining a rectangular door. Place a small horizontal handle beneath the window. Don’t forget to mark structural lines on the side surface of the cab to make this part of the concrete truck look more realistic.

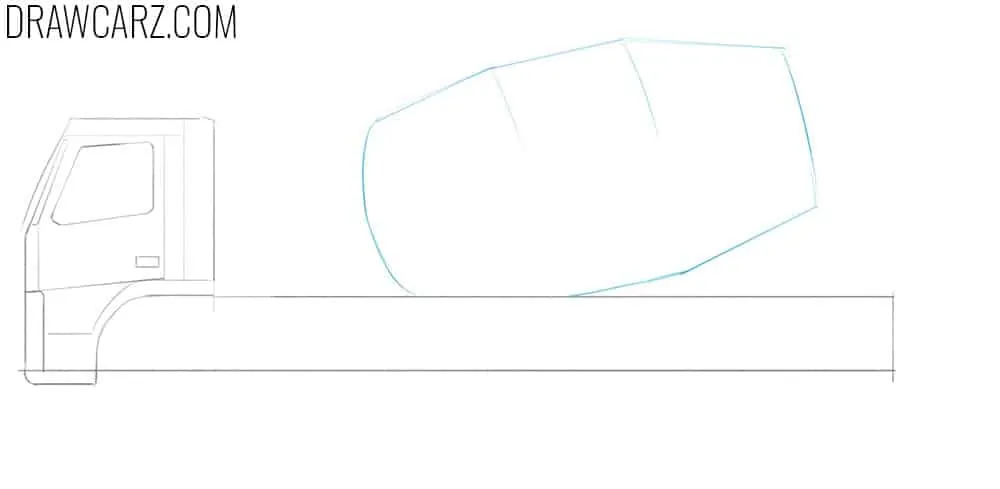
Step 4 – Draw the cylindrical drum of the concrete truck
Move to the rear section and sketch the defining feature of the vehicle – the rotating concrete mixer drum. Draw it as a large, tilted cylinder wider in the middle and tapering at the ends. Angle it slightly backward to reflect its real function of mixing and pouring material. You can adjust the size of the drum and its angle.
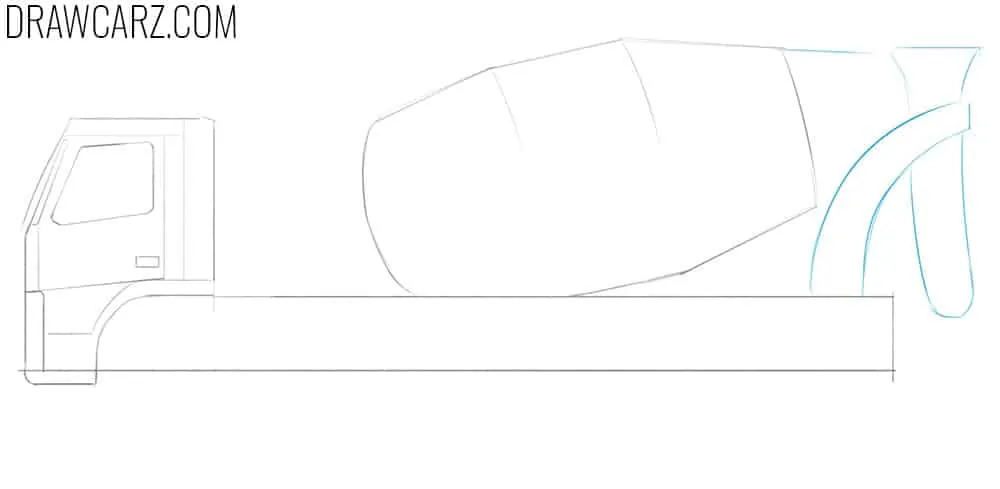
Step 5 – Sketch the truck’s discharge chute
At the back of the drum, draw the discharge chute that directs the flow of concrete. Shape it like a funnel extending downward and slightly outward. Connect it to the end of the drum at a right angle. Many mixer trucks have extra chute sections that fold out for longer reach, so you can add these if you want more realism.
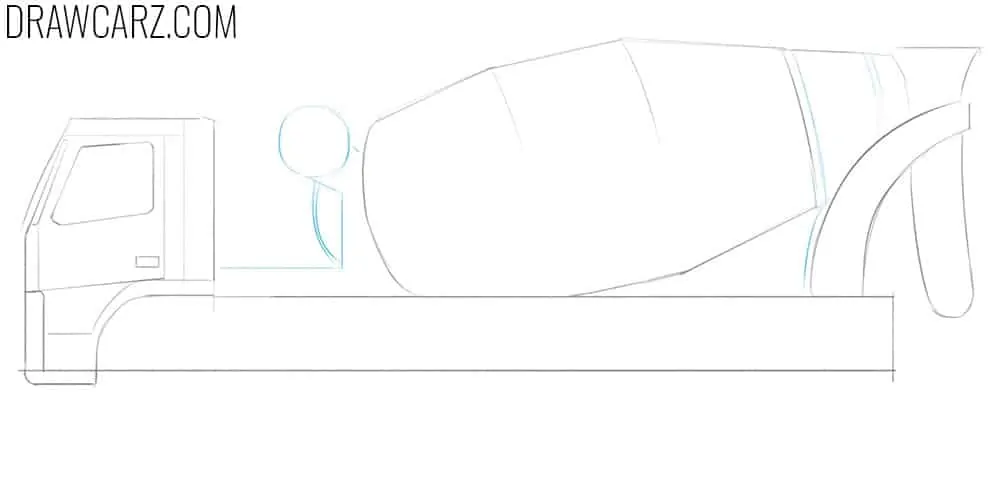
Step 6 – Add the drum rings, seams, and support mounts
Enhance the mixer drum with realistic details. Add a few circular rings across its surface to show how the panels are constructed. Include faint seams to reflect the cylindrical form. Beneath the drum, sketch the heavy mounts that hold it in place. These elements give your industrial vehicle a believable appearance.
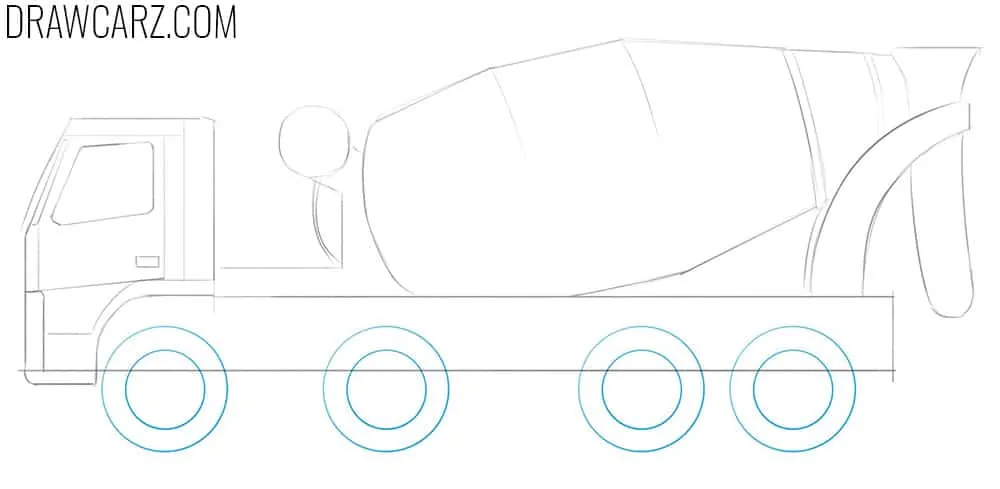
Step 7 – Draw four wheels of the concrete truck
On the bottom, carefully draw four large wheels. The two rear wheels can sit closer together as a dual-axle pair, while the front wheels are spaced further apart. Inside each tire, add a smaller perfect circle for the rim. Make sure all wheels touch the same baseline so the truck looks realistic.
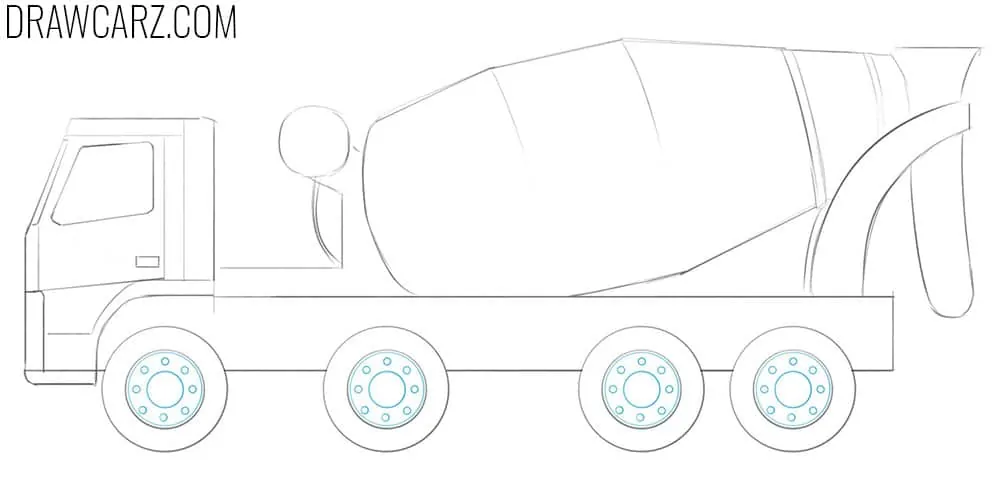
Step 8 – Place the hub cores and small lug circles
In the center of each rim, sketch a hub circle. Around it, evenly space several small lug nut circles. Keeping them uniform in size and placement is important for the technical accuracy of your concrete truck drawing. Also, you can add more details or give the tires a realistic pattern.
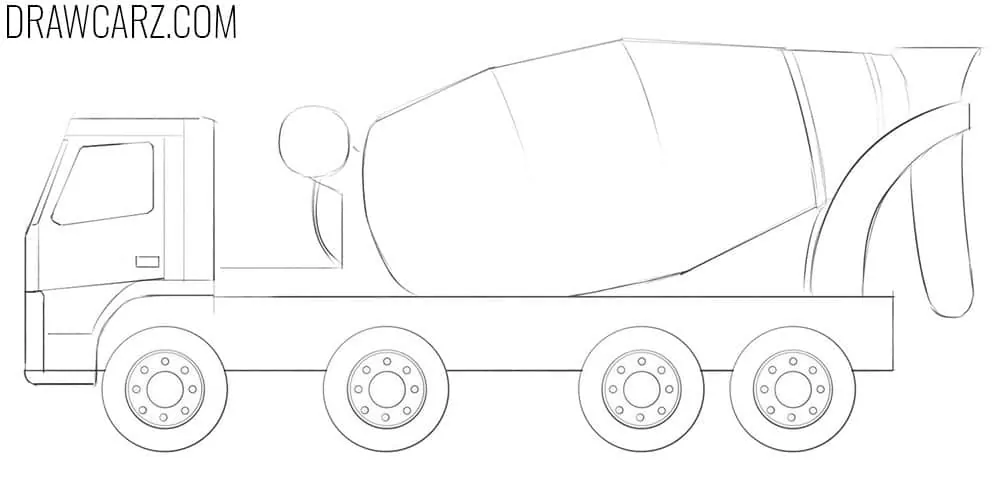
Step 9 – Tidy your drawing and deepen tones
Erase extra construction lines and strengthen the main contours. Darken the wheels, cab, and drum, to give the concrete truck a detailed and professional look. Also, you can add shading to the drum to show its roundness, and place highlights on the windows. Or you can paint the vehicle to give it a unique look.
Next steps in drawing service trucks
If you’ve completed this concrete truck tutorial, the next step is to continue practicing with other types of heavy service vehicles.
These vehicles have their own unique design features that will help you develop a broader understanding of truck drawing.
Start with our dump truck drawing tutorial, where we show how to sketch a vehicle designed for carrying and unloading loose materials.
Its large cargo bed and hydraulic system give the body a completely different silhouette compared to a concrete mixer.
You can also try our garbage truck drawing lesson, which focuses on one of the most familiar service vehicles in any city.
The bulky rear container and special mechanisms offer a great opportunity to practice drawing recognizable details that differ from other trucks.
Finally, be sure to visit our fire truck drawing guide, where we explain how to illustrate one of the most important emergency vehicles.
Fire trucks often feature multiple details, which allow you to practice adding more complex details to a truck body.
For variety, explore our flatbed truck tutorial, which highlights a truck with a completely open cargo area.
And for a more advanced subject, visit our semi truck drawing lesson, where we show how to sketch one of the largest and most powerful road vehicles.
If you’ve finished this concrete truck lesson, keep the momentum going by joining our free email list to receive new drawing tutorials right in your inbox.
Share this guide with friends or classmates who also enjoy sketching vehicles, and challenge yourself with dump trucks, fire engines, semis, and other heavy machines to steadily expand your skill set.


