How to Draw a Ford F250
Now we will learn how to draw a Ford F250 and continue the series of drawing tutorials about Ford cars on our site.
This is one of the most legendary and iconic pickup trucks, and we are sure that you’ve seen it many times on the roads.
This car has a very powerful look with recognizable shape, and we will try to convey it in this tutorial on how to draw a Ford F250 step by step.
Before starting, you can visit our pickup truck drawing tutorial and learn the essential basics of this type of car body. All these tips can be used in this Ford F250 drawing tutorial.
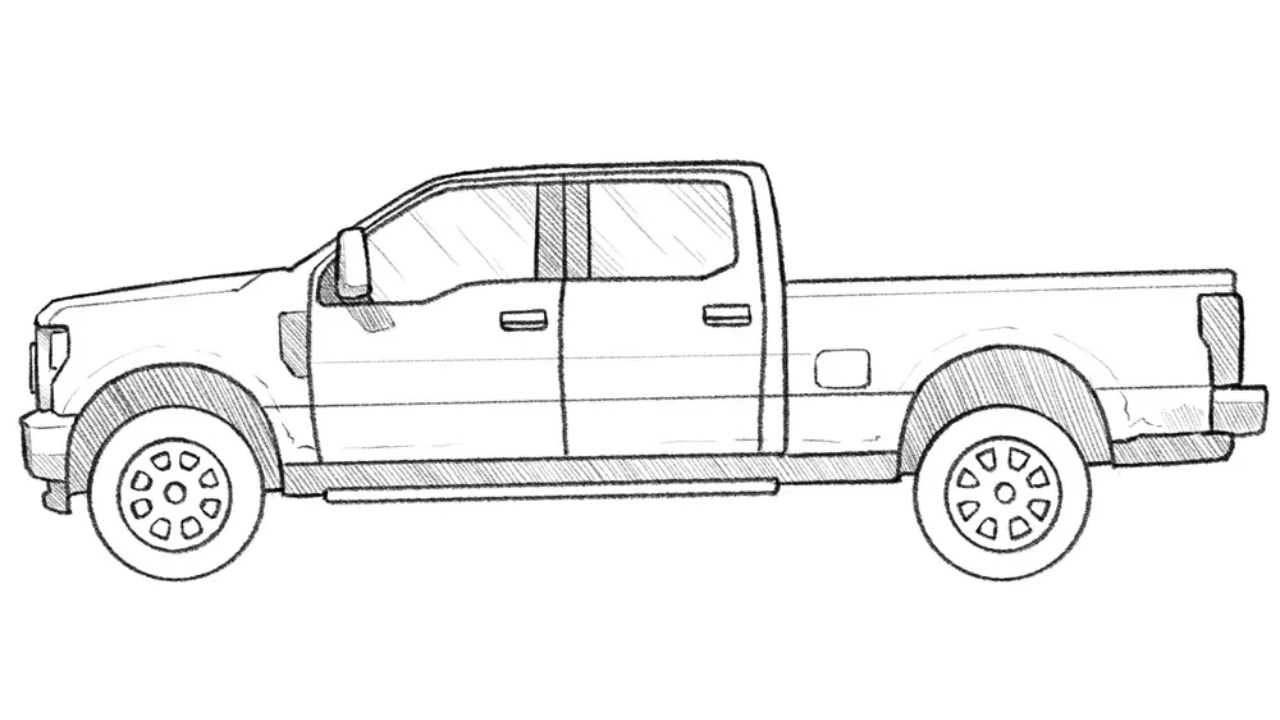
How to draw a Ford F250: step-by-step tutorial
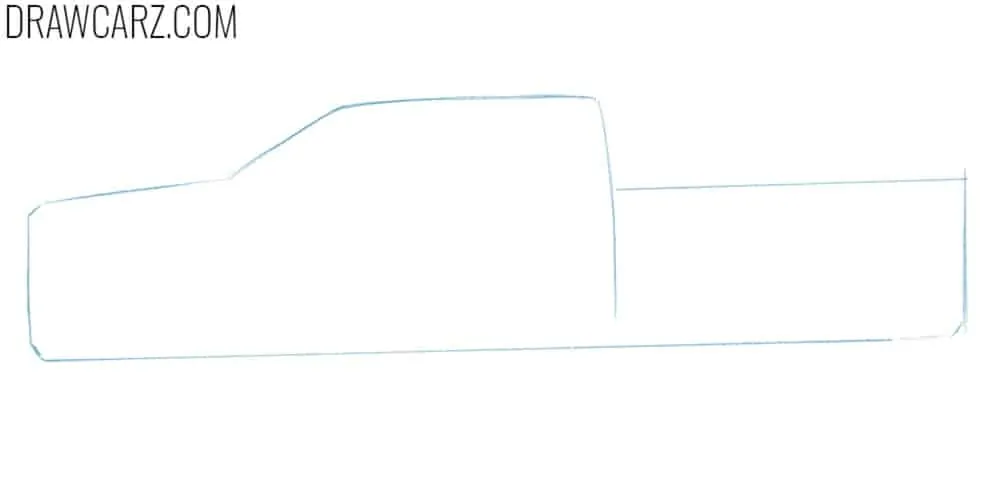
Step 1: Sketch the shape of the truck
First things first, sketch the body of the car, including the cabin and truck bed area. These parts are clearly defined and you should separate them in the first stage. As in any other drawing tutorial, the first steps should be started with very light lines.
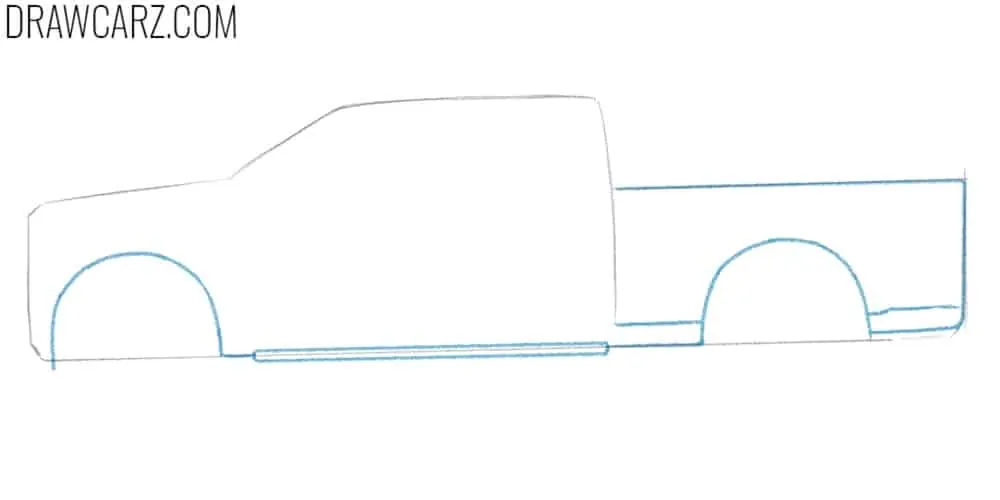
Step 2: Draw the Ford F250 arches
Now, sketch the wheel arches of the car with smooth lines. Then, detail the bottom edge and draw the step. After that, draw the truck bed in detail, using straight and crisp lines.
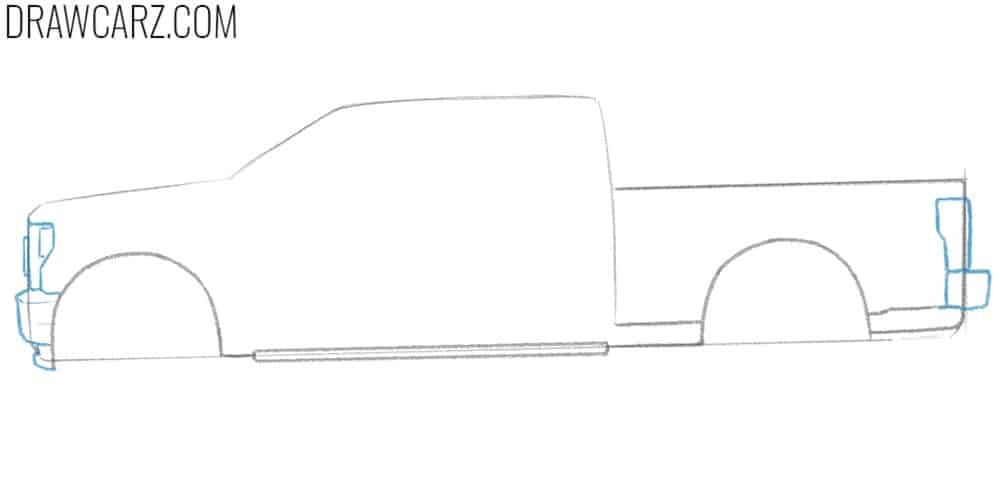
Step 3: Draw the truck lights and bumpers
Using dark and strong lines, draw the headlight and side edge of the grill. Then, draw the front bumper below the headlight. After that, draw the taillight as a vertically elongated shape and depict the rear bumper below it.
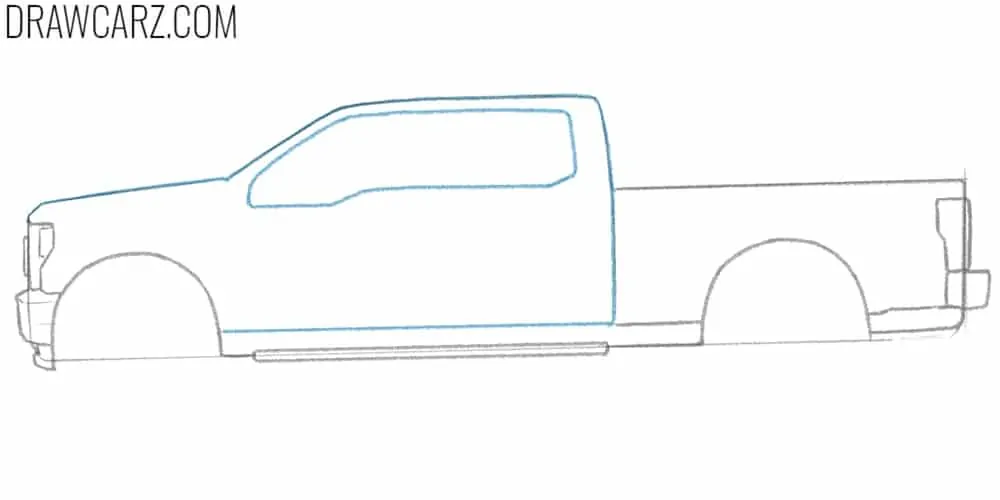
Step 4: Sketch the windows
Let’s return to the cabin and draw it using bold lines. Trace the hood, roof, and back edge of the cabin. The, draw the window line. This part of the car is one of the most recognizable features.
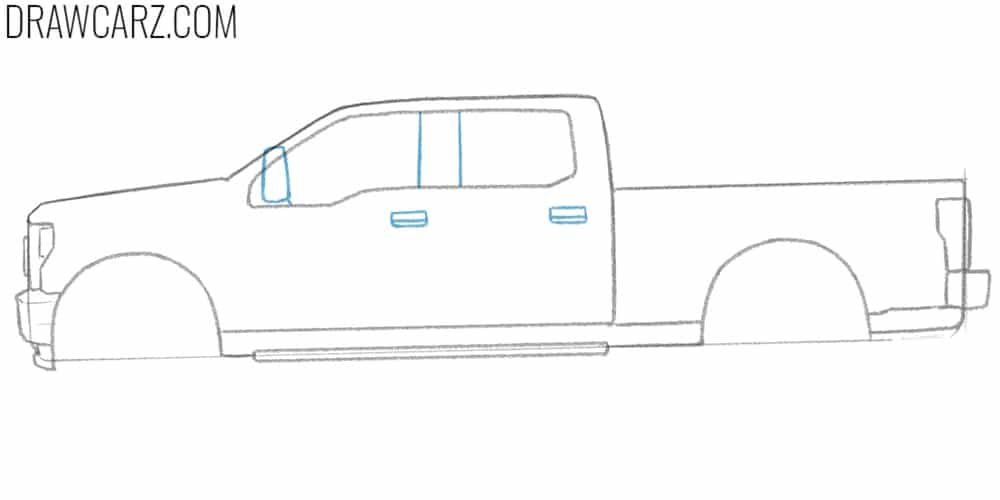
Step 5: Draw the mirror and handles of the Ford F250
On the front edge of the windows frame, draw draw the mirror as a vertically elongated rectangle. Next, draw the central pillar using a couple of vertical lines. Then, draw the handles as two horizontal rectangles right below the windows.
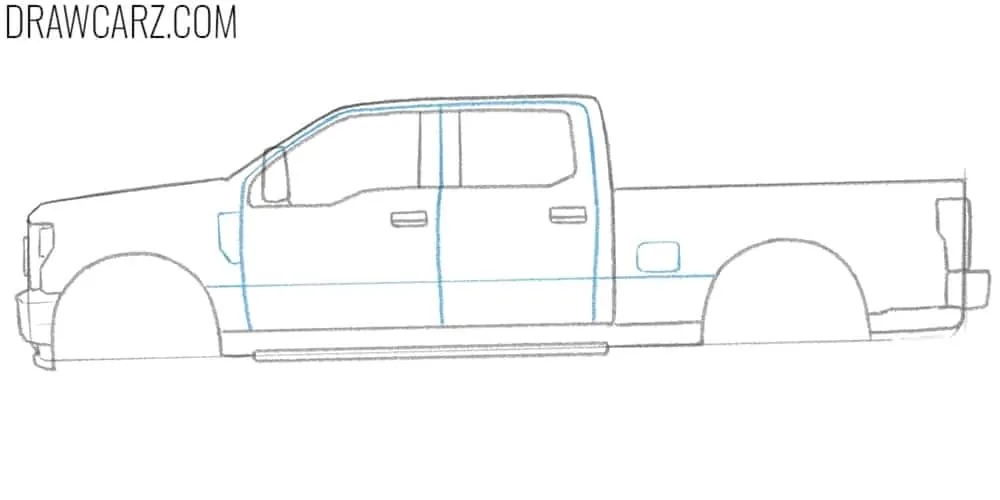
Step 6: Depict the doors of the truck
To make your Ford F250 look more detailed, draw the doors, using lines that move around the windows and go to the bottom edge. Then, draw the fuel door as a smooth and rounded rectangle located on the rear part of the car.
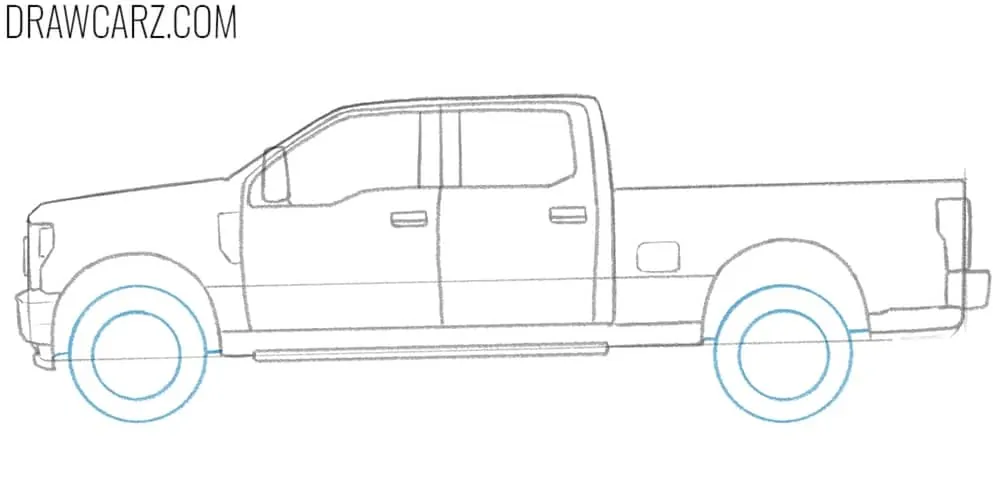
Step 7: Draw the Ford F250 wheels
Move to the wheels and draw them as a couple of round shapes. To make these shapes look perfect, you can use a compass or some circular objects to trace them. Then, draw the edges of rims using another couple of circles.
Step 8: Detail the rims of the car
As we always say, cars have different rims and they can differ significantly. In this example we used a very classic shape, but you can draw the Ford F250 rims in a completely different way.
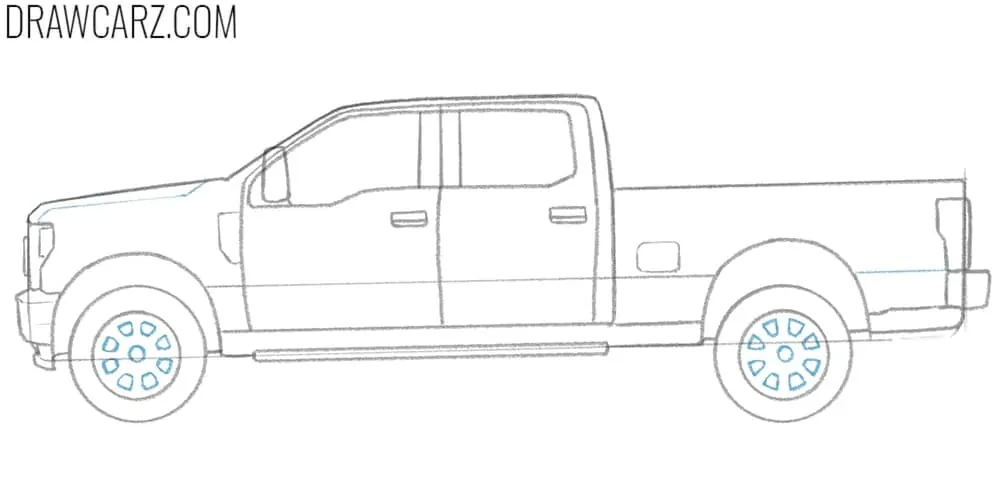
Step 9: Remove any construction lines
Let’s make our drawing more polished. To do this, erase the construction lines and trace the sketch with very dark and smooth lines. If you see some mistakes or incorrect parts, this is the best time to fix it and adjust desired places of your sketch.
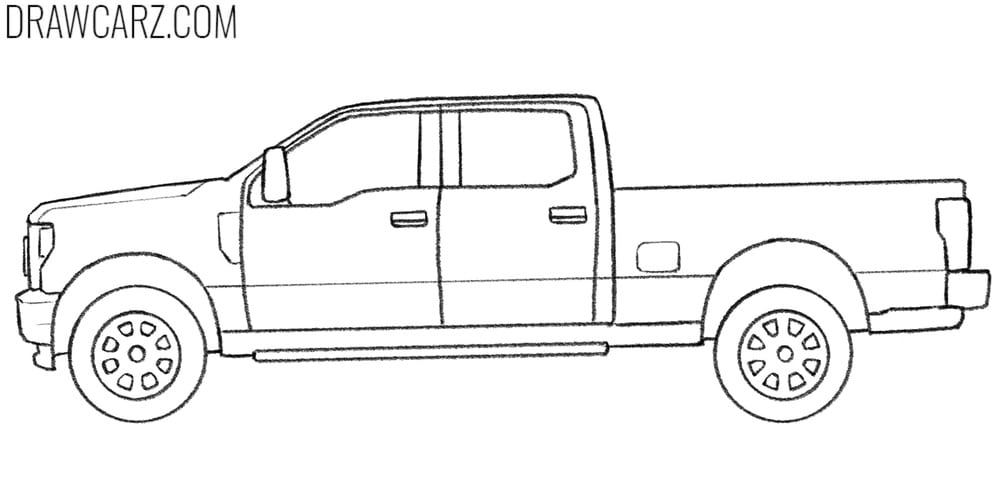
Step 10: Add hatching and details
The Ford F250 drawing is almost complete, and you can leave it as in the previous step. But to make it look even more finished and professional, add some hatching to the indicated parts. This will make your sketch more realistic and thee-dimensional.
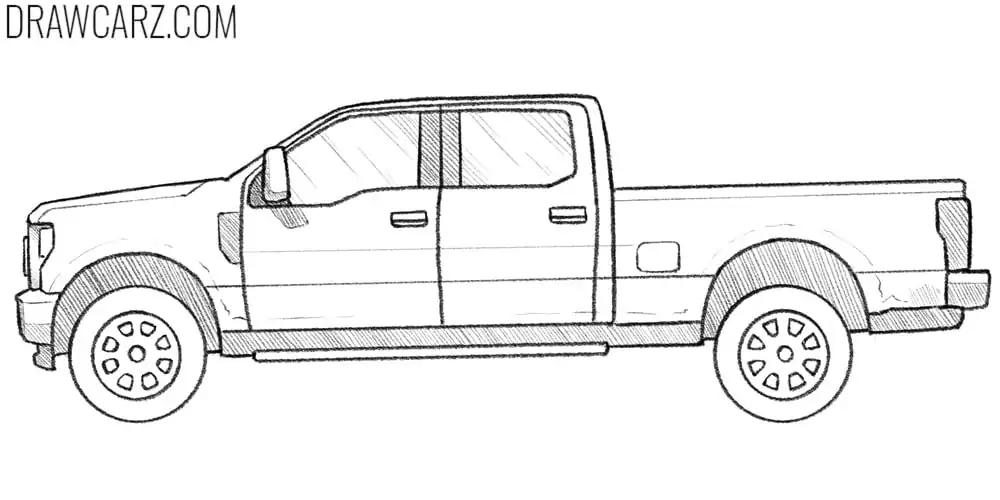
Ford F250 video tutorial
This is the end of our Ford F250 drawing, but not the end of the learning process. To explore more similar drawing tutorials, visit other categories and pages, to learn how to draw an old truck or find some interesting tips for novice artists.
The Ford F-250 is one of the most recognizable models in the pickup lineup produced by this iconic American brand.
In this drawing lesson, we expanded the material covered in the general Ford pickup tutorial and focused on the specific features and proportions of this particular model.
As mentioned in the main pickup lesson, the same drawing methods used here apply to other trucks from this manufacturer as well.
For shading, we used a classic academic approach with clean, even hatching. If you want deeper or more complex shadows, add additional layers of hatching at different angles while keeping the form and surface planes in mind. This will help you create a more dimensional and accurate depiction of the truck.
If you prefer your Ford F-250 drawing to look different from our example, you can add color. Modern pickups, like most contemporary vehicles, most commonly appear in black, white, or gray. Blue is used less often, and other colors are even less typical. For your artwork, you can choose any palette you prefer.
We also cover color theory for pickups and other trucks in our truck coloring pages collection, where you’ll find a large set of unique, hand-drawn illustrations of various models and brands, along with practical notes on how to work with color.


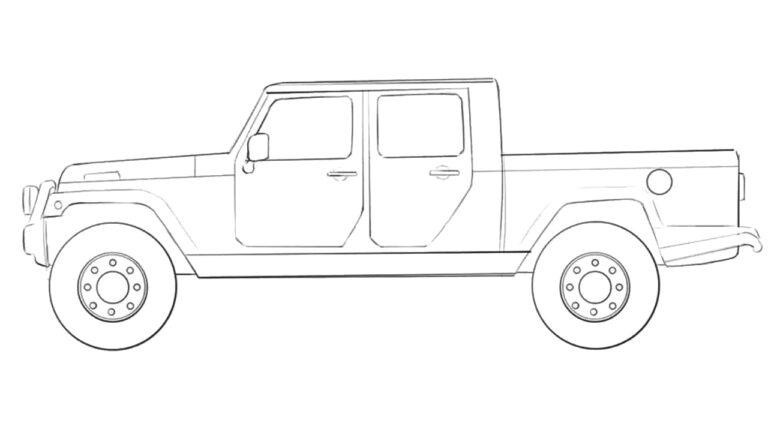

I liked it it end up really good
Glad to hear that, Dianne! Happy your truck drawing turned out really well.