How to Draw a Truck
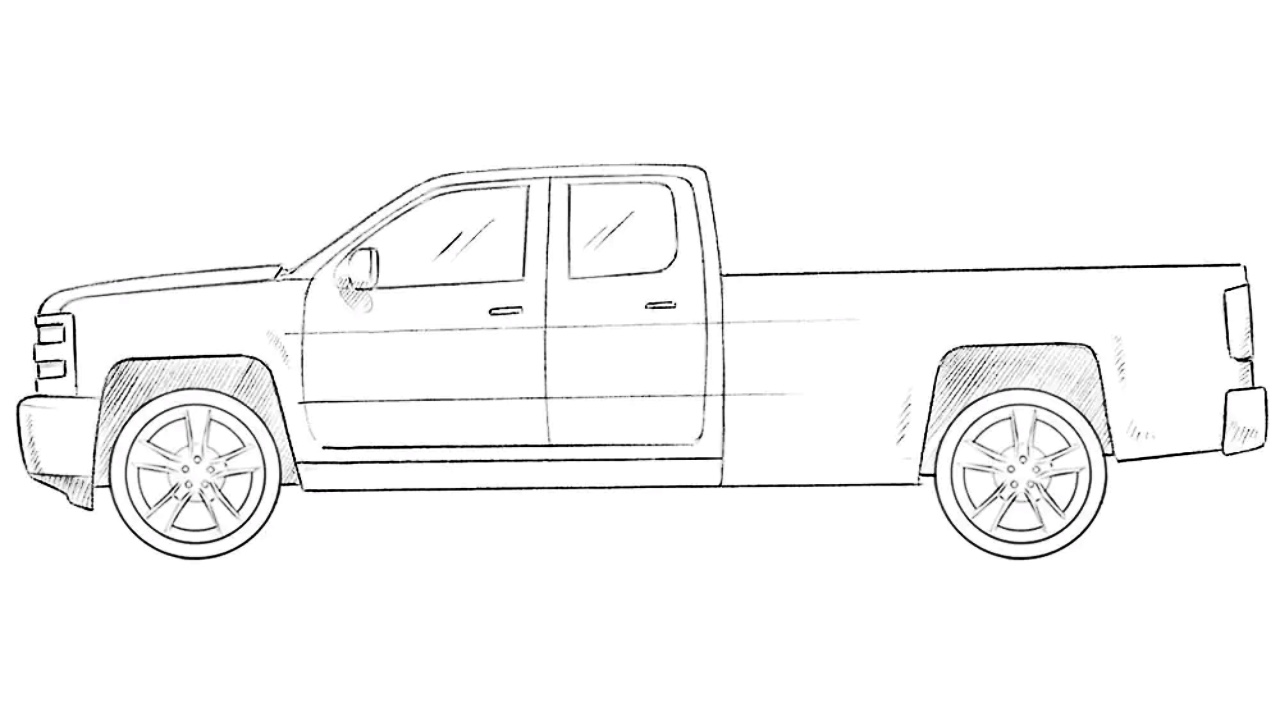
In this tutorial on how to draw a truck, we will share with you the most important and fundamental principles of sketching this type of body.
The team of DrawCarz has collected the whole process in one place. You will find the main principles, proportions, and small details that define the look of a truck and make it different from other cars or SUVs.
By following the steps in this tutorial you will have a strong base to sketch any truck, just by changing small details and adjusting shapes.
How to draw a truck: step-by-step tutorial
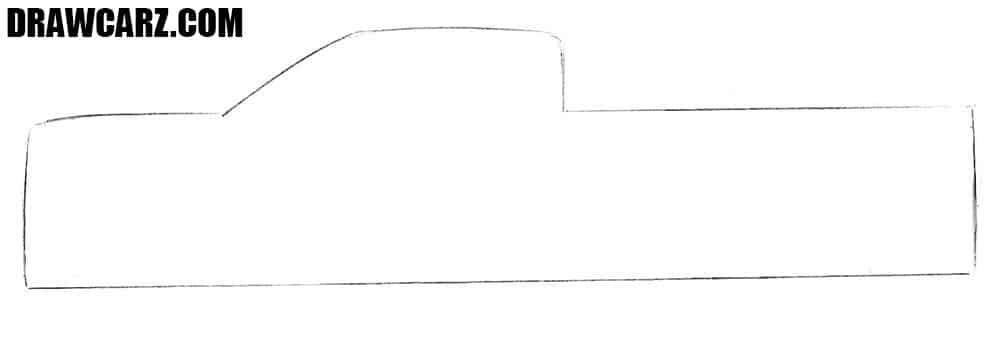
Step 1 – Sketch the massive truck silhouette with rough lines
First, sketch the body silhouette using very broad and rough lines. Trucks are often quite large and rugged, and the silhouette created in this step should also be massive. Keep the cab upright and the cargo area rectangular. If you want to draw a bigger variation, then make the hood and cargo compartment more massive. The goal isn’t to detail, but to create a basic foundation for the subsequent steps.
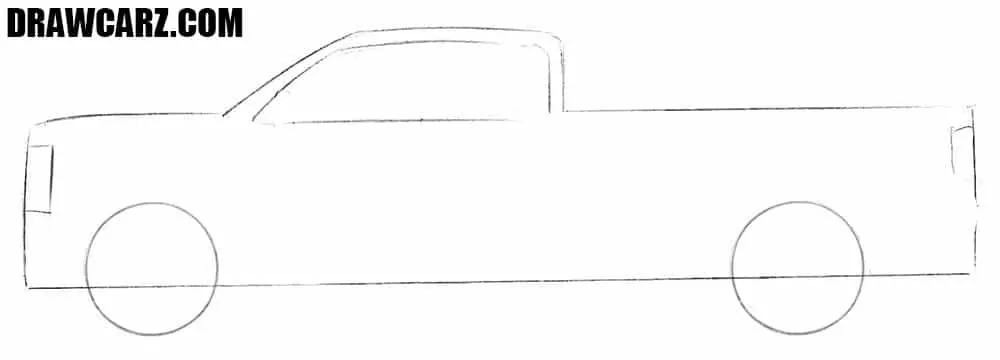
Step 2 – Place the tires, light clusters, and glazing line
Starting with this step, we’ll add the most basic and integral parts of the truck drawing. Begin with sketching the perfectly round tires. Then, make the headlight as a rectangular block on the edge. Add a strip of glass in a straight, narrow line across the cab. When sketching another version, you can give the headlights and window frame a different look than our example.
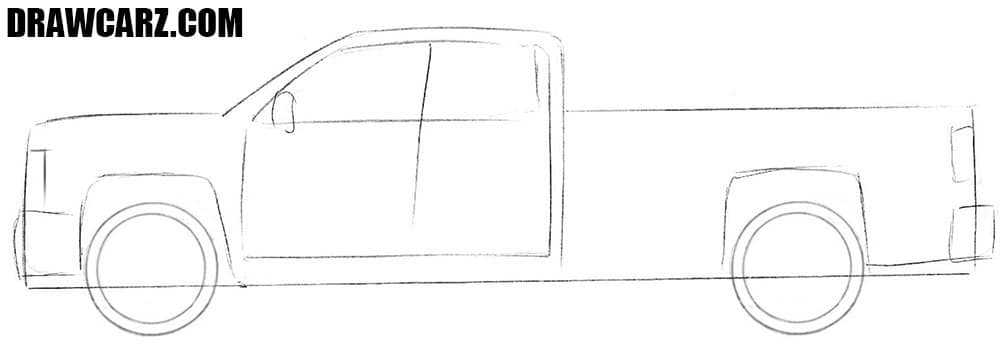
Step 3 – Sketch the fender arches and doors of the truck
Now, mark the square arches above both wheels. These square wheel arches are very typical for American trucks, but you can give them a round look if you want. Next, outline the front and rear bumpers and add door outlines and mirrors. Larger versions will have noticeably larger bumpers and mirrors than compact ones.
Step 4 – Draw out the frontal architecture of the truck
Start tracing the truck drawing to give it a finished look. First, detail the front of the vehicle, outlining the hood, bumper, and headlights with darker lines. Trucks often have very powerful, blocky headlights and massive bumpers, so keep that in mind when detailing.
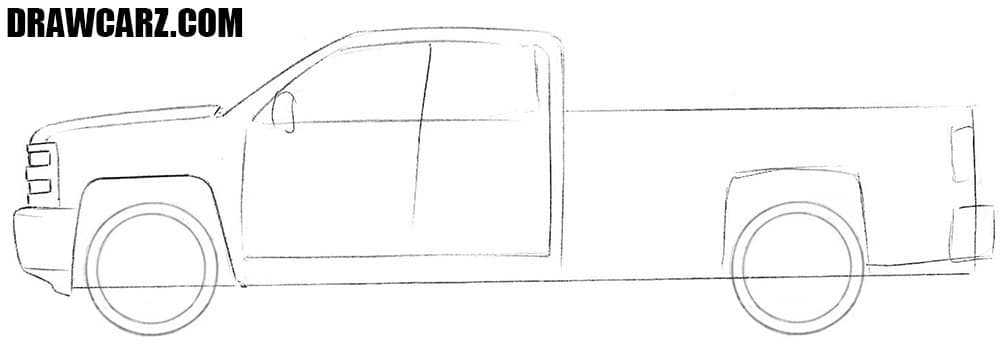
Step 5 – Outline the roof arc with glazing segmentation
Now, move on to the cabin, or more specifically to its roof. Use smooth yet very dark lines to draw the top edge and windows of the truck cabin, giving them a truly crisp and aesthetically pleasing look. These vehicles usually have very tall windows, so when sketching them, give them the correct shape.
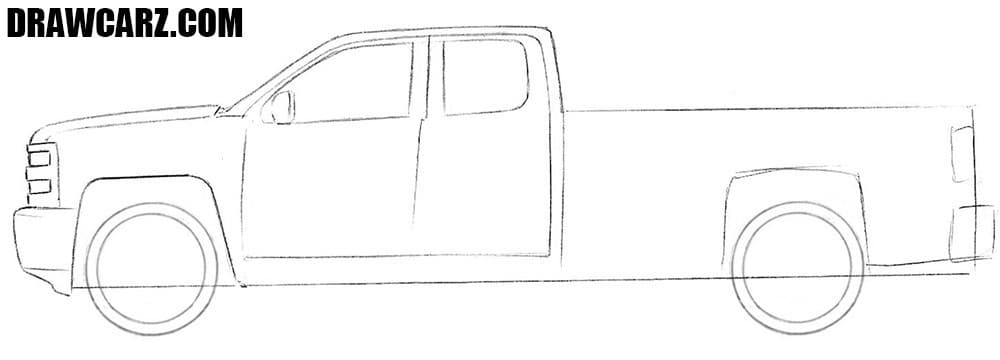
Step 6 – Trace the door panels, handles, and design lines
Finish the cabin by detailing the side surface. Use clean, bold lines to draw out the doors of the truck, maintaining their straight shape and proportions. Some trucks only have one door on each side, so you may want to adjust your drawing to construct only one door here. Next, add horizontal lines of the stiffening ribs and add the handles below the windows.
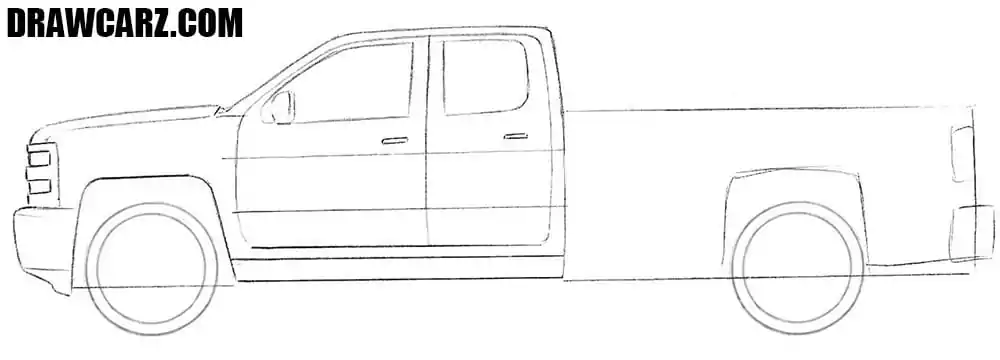
Step 7 – Draw out the truck cargo box and taillamp
Outline the cargo box with long straight horizontals, making the proportions tall and squared-off. After that, trace the taillight as a vertical rectangle at the rear corner, then reinforce the bumper with darker strokes. Clean away all sketch lines so the rear section reads clean and solid. Trucks are not limited to open cargo beds; they can also come in closed-body or flatbed versions, so you can modify the rear section here to match the style you want.
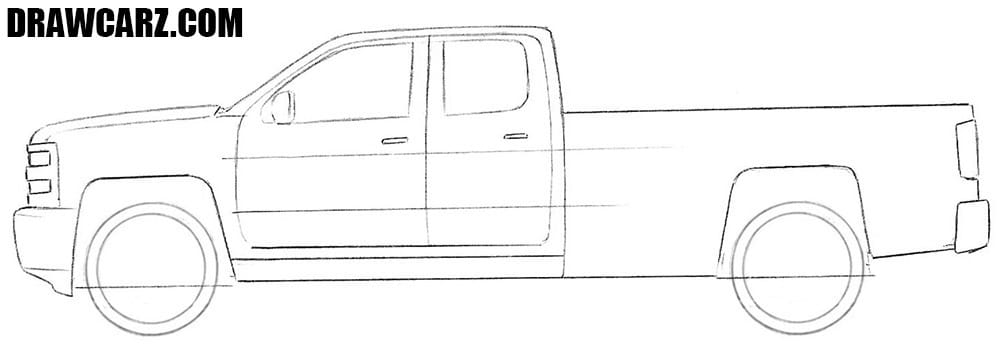
Step 8 – Sketch the alloy rim shapes inside the wheels
This step can be much more challenging, and it requires extreme attention, as you’ll need to sketch the rims of the vehicle. Start at the hub of each rim, then extend the spokes outward. The design can be simple with thick spokes, or more complex, but be sure to make them symmetrical. Darken the tire outlines and remove all guidelines and unwanted marks from the sketch.
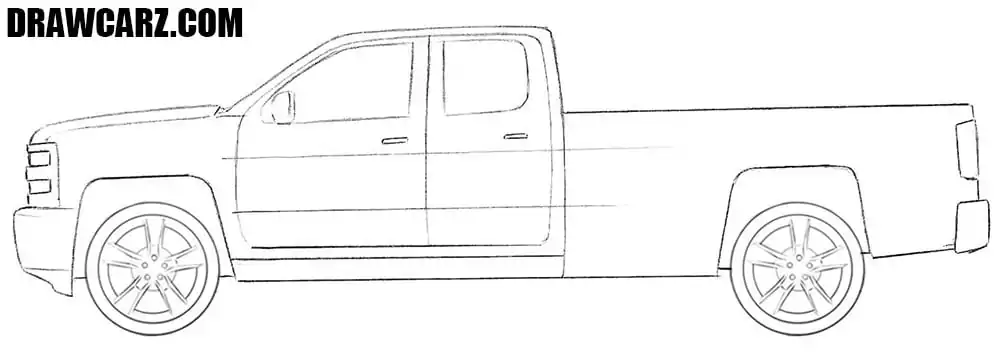
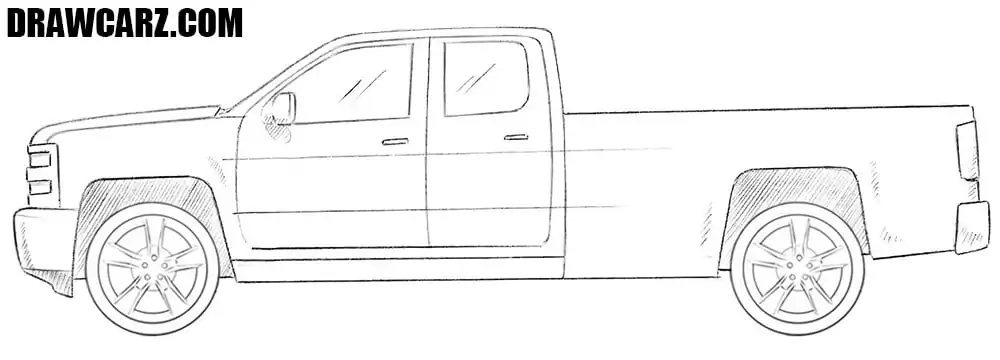
Step 9 – Complete the truck drawing with shadows and reflections
It’s time to give the truck drawing some realism and dimension. To do this, add highlights and shadows. To achieve the right volume, first shade the darkest areas, such as inside the wheel arches and the lower edges of the surfaces. Next, add midtones with lighter strokes and finish by adding highlights on the glass surfaces. Optionally, you can add shadows under the vehicle.
Other trucks to draw
This tutorial on how to sketch a realistic truck is fundamental, as it covers the most important aspects of construction and basics of this body type.
But these vehicles come in many forms, and for further skill development it helps to study their variations in detail.
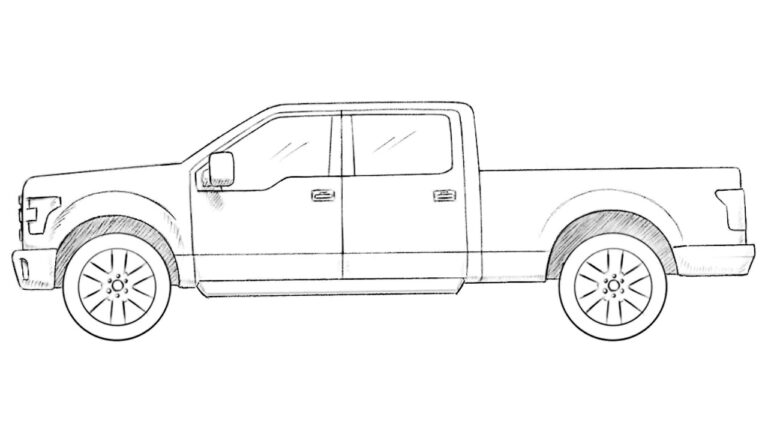
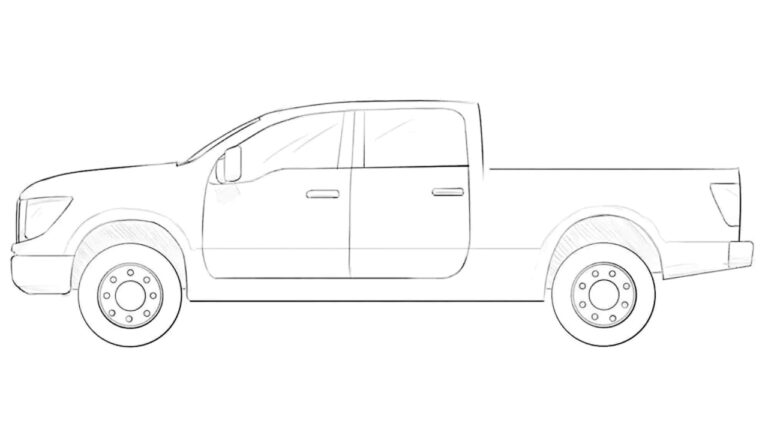
In our pickup truck drawing tutorial, you will see the most popular variations, found on almost every road in any country in the world. Pickups also come in all sorts of different designs, but the basic principles of sketching are the same for all of them, and in this tutorial we’ll detail the most important aspects of pickup design.
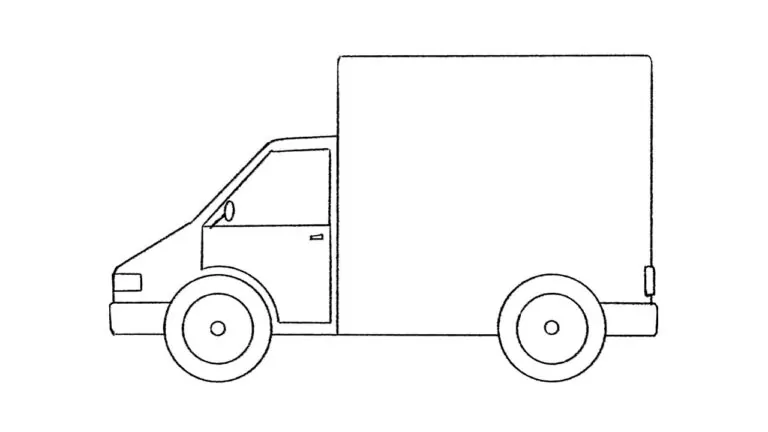
The flatbed truck drawing tutorial shows a different focus. This vehicle, also called a truck, has completely different proportions and appearance, which we will detail during the lesson.
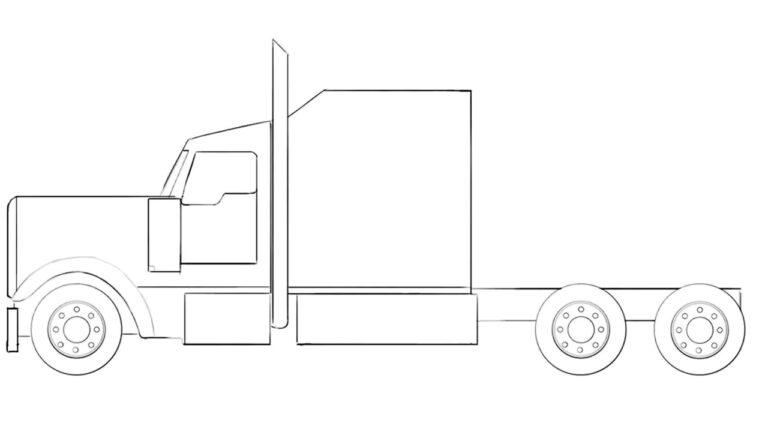
A semi truck drawing tutorial introduces a larger scale and more complex composition. In this guide, we demonstrate completely different proportions and details, and share our experience on how to make such a vehicle recognizable and different from other types.
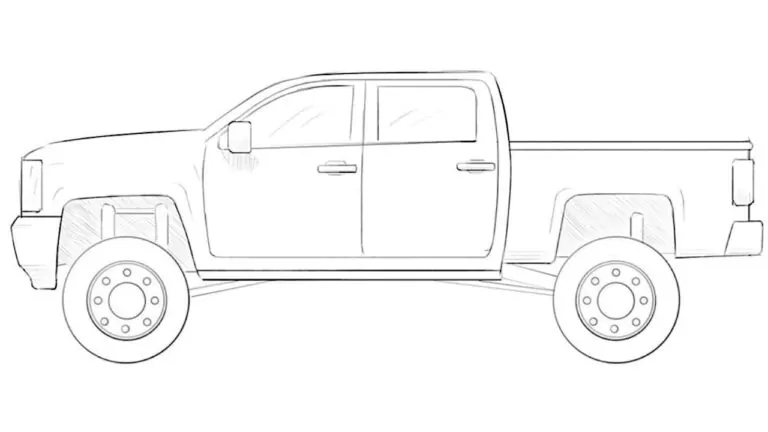
Finally, the monster truck drawing guide presents a more extreme approach. Oversized tires and lifted suspensions test your ability to exaggerate forms and give the vehicle a recognizable monstrous appearance.
All tutorials, including this one, are built on the foundation of our main car drawing tutorial. In that tutorial we cover the essential principles of proportion, perspective, and body construction that apply to any type of vehicle.
Understanding those fundamentals makes it easier to approach trucks of all sizes and shapes, since the same rules carry over from sedans to SUVs, pickups, and heavy-duty vehicles.
If you want to keep up with new tutorials, make sure to follow us on social media and subscribe to our email newsletter. This way you won’t miss future tutorials, updates, and free materials that will help you keep improving your drawing skills.



Nice drawing I like it
Thank you, Thinuka! Glad you enjoyed the drawing.
i like it
Thanks, Zaiden. Happy you liked this guide
silveradoo nice
Appreciate it! The Chevrolet Silverado is always a great truck to draw.
it is so pretty.
Thanks, Paulina.
cool
Thank you, Juma! Happy you liked it.