How to Draw a Lifted Truck
On this page, we’ll show how to draw a lifted truck – actually a normal truck with a modified suspension that improves off-road performance.
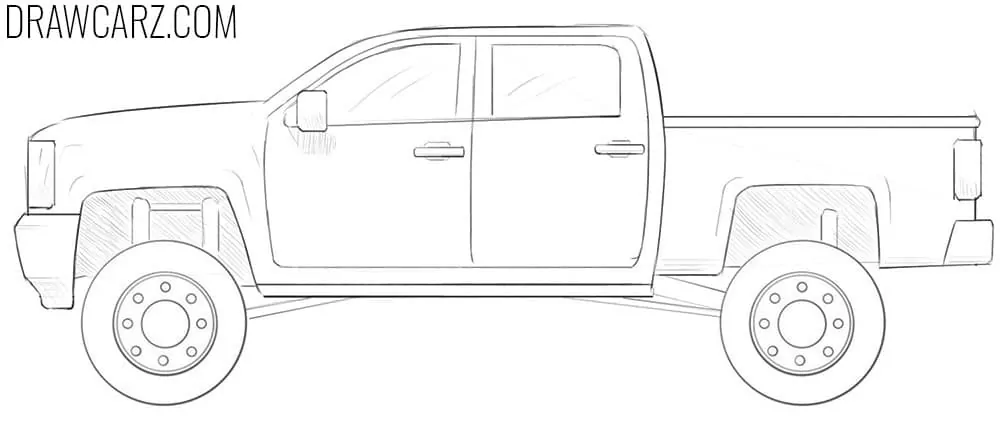
That is, as you can understand, this car looks very much like a classic truck. The main difference from a conventional truck is the unusual suspension and larger wheels.
It is in these details that the process of drawing a lifted track differs from the process of drawing a track with an ordinary suspension, and it is these details that we will study in detail in the steps presented below.

How to draw a lifted truck: step-by-step tutorial
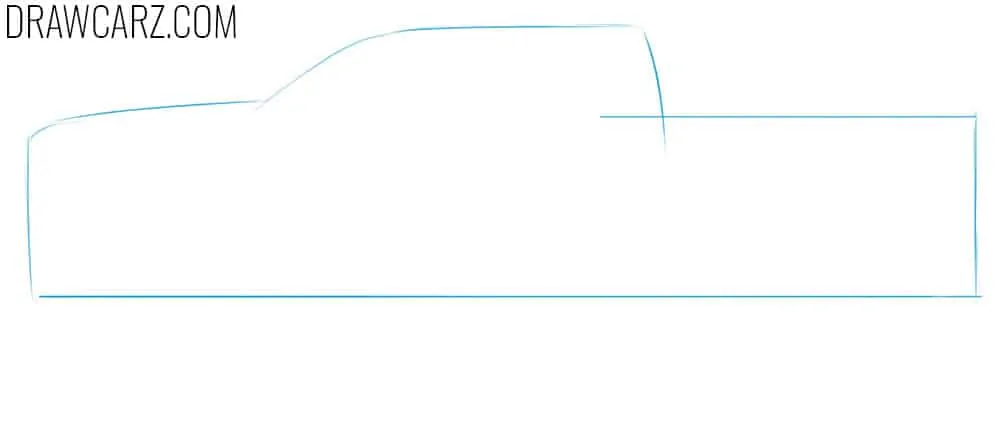
Step 1 – Show the silhouette of the cab and bed
Start by drawing the basic outline of the body with very light and simple lines. At this stage, the outlines and main details should already be very clearly visible.
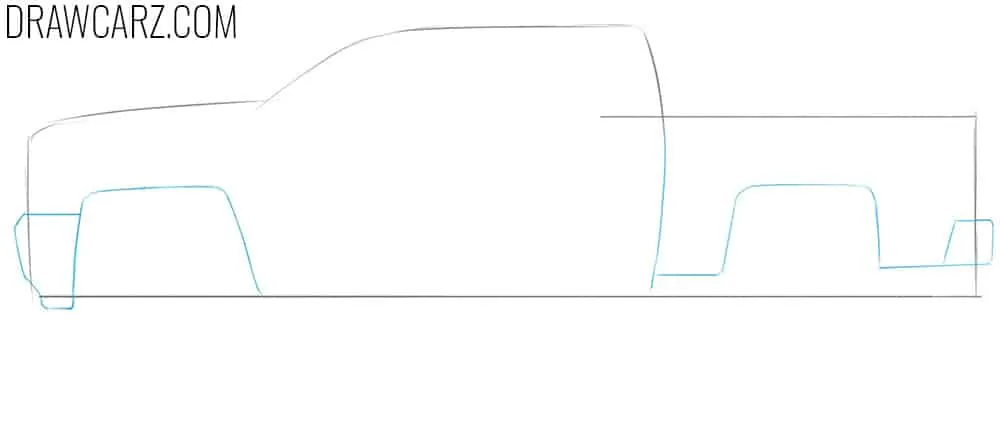
Step 2 – Draw the lifted truck bumpers and arches
Draw angular wheel arches with simple and clear lines. In the same stage, draw the side parts of the front and rear bumpers.
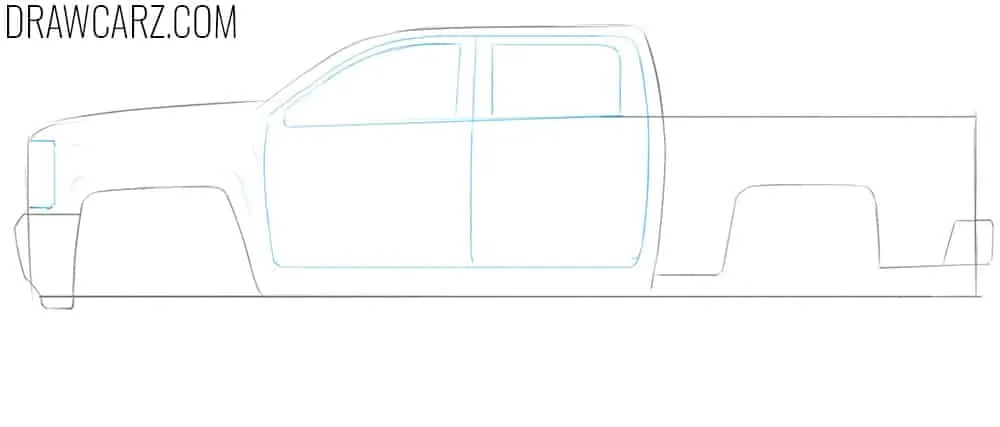
Step 3 – Illustrate the truck’s doors and windows
Draw the windows in the upper part of the body with smooth and clear lines. Next, using long and clear lines, depict the doors. Depict the side of the headlight above the front bumper.
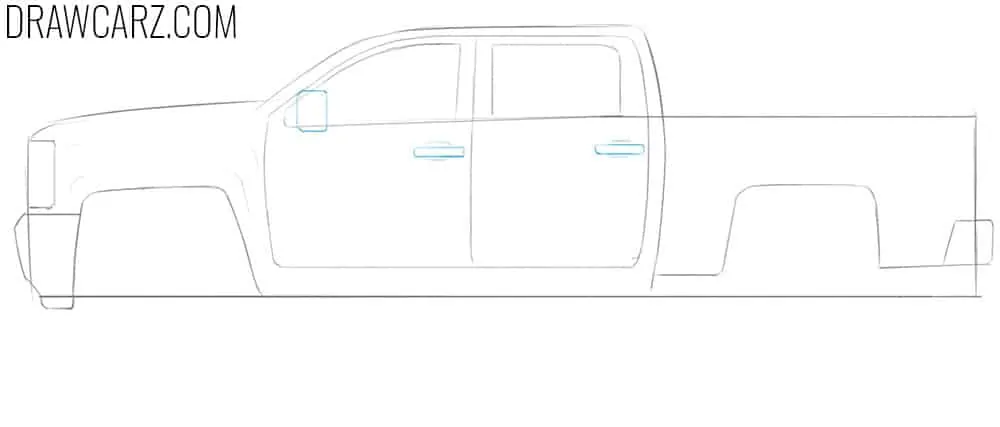
Step 4 – Draw the lifted truck mirror and handles
In the front corner of the window frame, depict a vertically elongated rear-view mirror. On the doors, depict the door handles as simple flat rectangles.
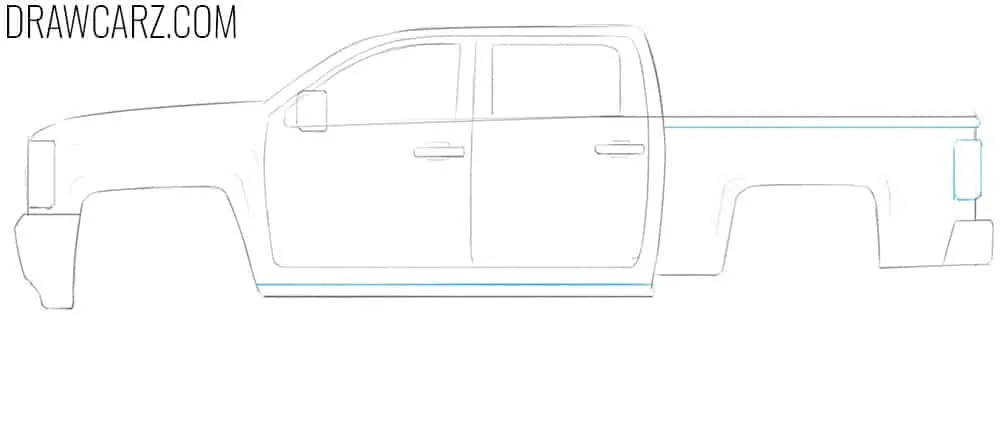
Step 5 – Clean the sketch and add the tail lamp
Take an eraser and use it to get rid of all unnecessary construction lines. Draw a vertically elongated rectangular tail light. Depict a line at the bottom of the body and a line on the side of the truck.
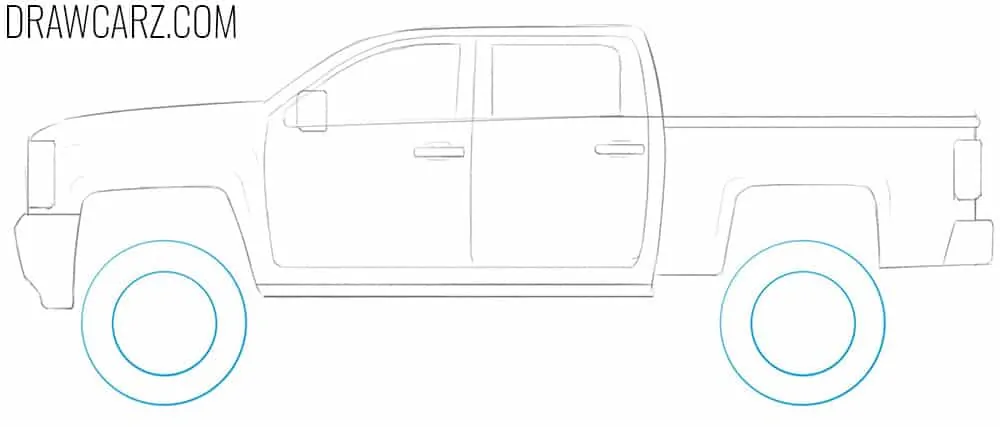
Step 6 – Add the large wheels with concentric rims
Draw the wheels with clear and dark lines. Depict the rims inside them, which should be perfectly round, as well as the wheels.
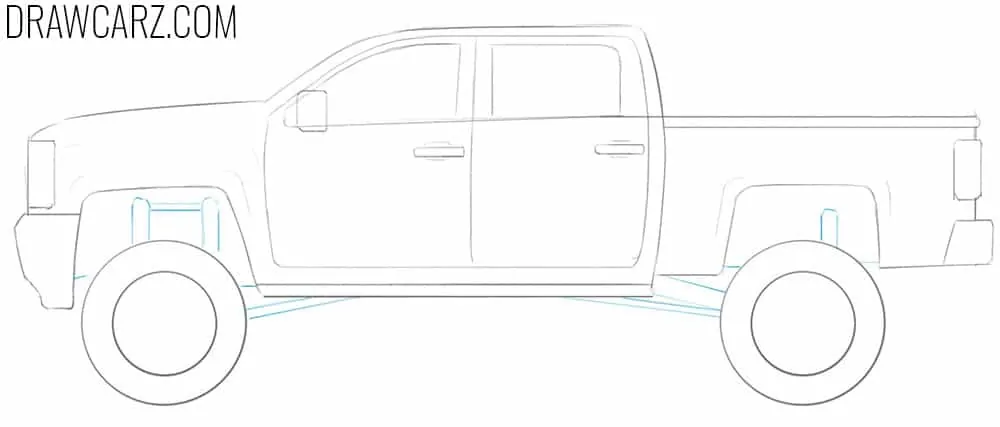
Step 7 – Draw the lifted truck visible suspension parts
Draw the elements of the suspension as shown in the example from the artists of Drawcarz.com. Do not forget to check the proportionality of the artwork from time to time by looking at it through a mirror.
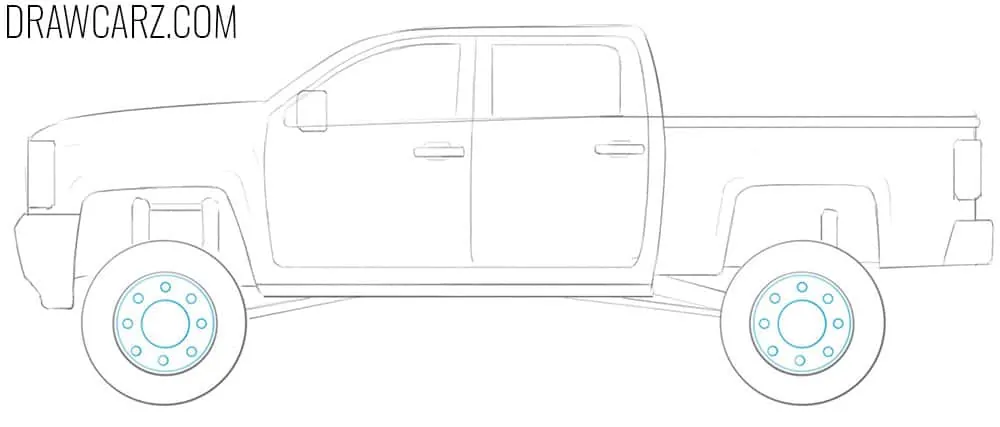
Step 8 – Add the truck’s central hub and lug nuts
Draw circles in the center of both rims. Depict smaller circles around each of the two circles, equally spaced apart. In the center, you can also add lug nuts to make the truck drawing more detailed.
Step 9 – Finish the sketch with shadows and reflections
Start adding shadows to your pickup truck drawing to make it look more dimensional and realistic. Start from the darkest areas and work out into lighter ones. In the same stage, depict highlights on the windows and headlights.
More practice in drawing and coloring trucks
You can make your lifted truck drawing even more authentic by adding additional layers of hatching to it. In addition, you can add details such as people inside the car or the texture of the tires.
It’s also worth noting that a lifted truck or off-road truck is essentially a modified version of a regular pickup, equipped with a stronger and more capable suspension.
Because of this, you can turn almost any standard truck into a lifted one by adjusting the suspension height and changing a few key details.
There are also many ways to finish the drawing, such as adding more unusual shading patterns or using a different light angle to create a stronger and more distinctive look.
Another way to finish the drawing, aside from hatching, is to color the completed truck. We explain this in our truck coloring pages collection, where, at the end of the page, we also share useful observations about how color influences the final look of a drawing.
For more practice with coloring and different palettes, try our monster truck coloring pages. The set grows regularly, offering a wide range of oversized vehicles to color.


awesome every one try this
Glad you liked it! This car drawing tutorial is a great one to start with.
love it
Thanks! Happy you enjoyed the tutorial.
not bad awsome
Appreciate that! Not bad indeed.
nice
Thanks! Glad you found it nice.
absoluitly love it
Glad to hear that!
i hate it.it is terrible
love it don’t know what tory was saying
so true I love it!
Appreciate the support! Always nice to see others enjoying the drawing lessons.
your the terrible one
it the best my art is good cause of this
That’s awesome! Keep drawing.
Maybe check out one of the easier car drawing guides – they might fit your level better.
The drawings are so cool , tried most of them. I dont know what tory is talking about
Good Job!
Thanks, Brandon! Great to know you’ve tried several tutorials.
hello
Hi there!
love the drawing, used it for a school project!
That’s great, Lila! Glad the tutorial helped with your school project.